How to create a Zen garden on a budget
The Engineering of Zen: Why Planning Trumps Materials
Every successful Zen garden starts four inches below the surface. If you are starting your project by looking at stone catalogs, you have already failed the engineering phase. I always drill into my new crew members: if you don’t fix the soil grading first, every plant you put in the ground is just expensive compost. This is especially true for Zen gardens where the static beauty of stone is the focus. If your base isn’t level, your gravel drifts and your boulders sink. I have seen countless DIY jobs where a homeowner spent four thousand dollars on Japanese Maples only to have them drown in a week because they didn’t account for the clay layer underneath. We are building a system, not a decoration. You need to think about soil compaction, particle friction, and hydrostatic pressure before you ever pick up a rake. Planning is 80 percent of the work. If you skip the site survey, the earth will reclaim your work in eighteen months.
How to create a Zen garden on a budget?
Building a Zen garden on a budget requires focusing on site preparation and local material sourcing rather than high-end imports. By prioritizing soil grading, using decomposed granite or pea gravel, and selecting native shrubs, you can achieve a minimalist aesthetic for under 10 dollars per square foot. It is about the precision of the installation rather than the price of the rock. Use local quarry stone instead of imported boulders to save 70 percent on material costs.
How deep should the gravel base be for a Zen garden?
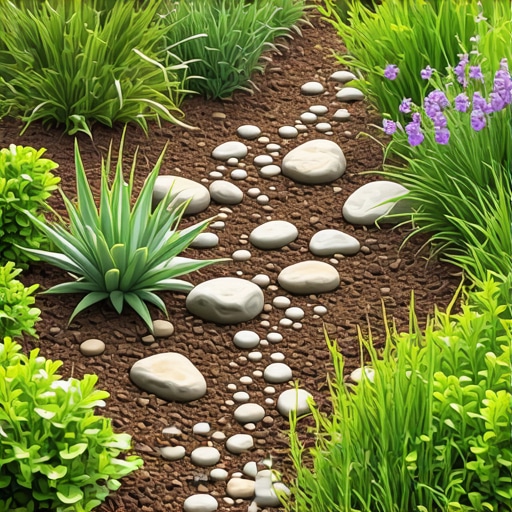
For a stable Zen garden that resists weed intrusion and maintains its raked patterns, you must excavate to a depth of 4 inches. This allows for a 2-inch sub-base of compacted modified gravel and a 2-inch top layer of decorative aggregate. Anything shallower will result in the landscape fabric showing through within three months. You need enough mass to create resistance when raking. I recommend using 3/8 inch pea gravel or crushed granite. If the particles are too large, they won’t hold the ‘ripple’ patterns. If they are too small, they turn into a muddy slurry after a heavy rain. We aim for a specific grain size that balances weight and friction.
The Physics of Stone and Soil Compaction
Soil is not a solid mass; it is a collection of pores and organic matter. When you build a Zen garden, you are essentially creating a slow-draining filter. If you don’t compact the sub-grade to at least 95 percent Proctor density, your garden will settle unevenly. This is why I tell my crews to use a plate compactor, not a hand tamper. A hand tamper is a toy. You need the 3000 pounds of centrifugal force a plate compactor provides to lock those soil particles together. Once the soil is tight, you lay your geotextile. Do not buy the thin, grey rolls from big-box stores. It will rot. You need 4oz non-woven needle-punched fabric. This allows water to move vertically through the profile while preventing the sub-soil from migrating up into your clean gravel.
“A retaining wall doesn’t fail because of the stone; it fails because of the water trapped behind it.” – Hardscape Engineering Axiom
This principle applies to Zen gardens too. If water can’t escape the gravel bed, it will freeze, heave, and ruin your rock placements.
Budget Material Comparison Table
Use the following table to understand where to allocate your budget for the highest impact and lowest long-term maintenance costs.
| Material Type | Estimated Cost per Ton | Durability Level | Engineering Function |
|---|---|---|---|
| Decomposed Granite | $45-$75 | High | Compactible base or surface |
| Pea Gravel (3/8 inch) | $35-$60 | Medium | Raked decorative layer |
| Crushed Limestone | $25-$40 | High | Structural sub-base only |
| Local River Boulders | $60-$120 | Extreme | Visual focal points |
| Non-Woven Geotextile | $1.50 per sq ft | High | Separation and drainage |
[IMAGE_PLACEHOLDER]
The Horticultural Reality of Zen Planting
Zen gardens are often called ‘dry landscapes,’ but the few plants you do use must be treated with scientific precision. Most people kill their Japanese Maples or Azaleas by planting them too deep. We call it ‘the mulch volcano.’ If the root flare is covered, the tree suffocates. It is biology, not a suggestion. You need to ensure the soil pH is slightly acidic, usually between 5.5 and 6.5 for most Zen-style plants. I recommend a soil test before you buy a single plant. If your pH is 8.0, you are fighting a losing battle against chlorosis. Instead of expensive specimens, buy smaller nursery stock. A 3-gallon Acer Palmatum will catch up to a 15-gallon tree in three years if the soil biology is correct. You are paying for time, but if you have a budget, buy small and feed the soil.
“Soil health is the foundation of all sustainable landscapes, requiring a balance of mineral content and microbial activity.” – Agronomy Manual Standard
Focus on the nitrogen cycle. Gravel can get hot. It radiates heat back into the plants, which increases transpiration. You need a drip irrigation line hidden under the gravel to provide deep, infrequent watering. This forces roots to chase moisture down rather than staying at the surface where they will cook.
Step-by-Step Budget Installation Checklist
- Call 811 to mark underground utility lines. Don’t skip this.
- Excavate the area to a uniform 4-inch depth.
- Check the grade: ensure a 2 percent slope away from any house foundations.
- Compact the bare soil with a power plate compactor.
- Lay professional-grade 4oz non-woven geotextile fabric, overlapping seams by 12 inches.
- Set your focal boulders. Bury the bottom third of each rock so they look like they are growing out of the earth, not sitting on top of it.
- Install a rigid edge restraint, such as aluminum or heavy-duty plastic, to keep gravel from migrating into the lawn.
- Fill the first 2 inches with modified gravel and compact again.
- Spread the final 2 inches of decorative pea gravel or granite.
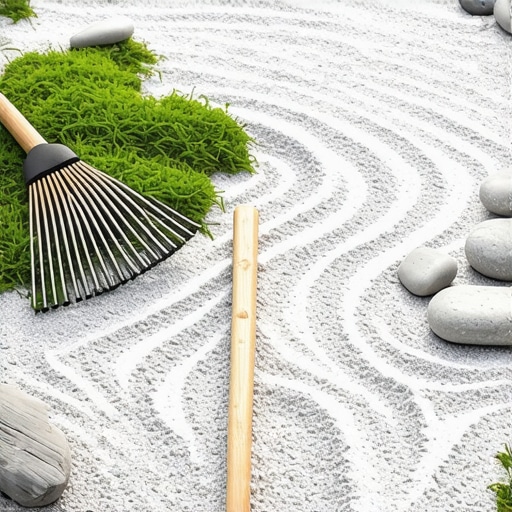
- Rake the patterns using a heavy wooden rake to achieve deep furrows.
Maintaining the Zen: Year One and Beyond
Your garden will settle. In the first year, you will likely see a few low spots where the sub-grade wasn’t perfectly tight. Just add a bit more aggregate. Don’t use herbicides if you can help it; the heat from the rocks usually keeps weeds at bay if your fabric is high quality. If you do get weeds, they are likely growing in the dust that has settled on top of the gravel, not coming from the soil below. Pull them by hand. Rake the garden once a week to prevent algae growth in the shaded areas. Algae thrives in stagnant, damp gravel. Raking turns the stone, exposing all sides to the sun and air. This keeps the stone clean and the aesthetic sharp. It will rot if you leave leaves and organic debris to break down in the gravel. Use a leaf blower on its lowest setting to clear the surface without disturbing the stone. This is the difference between a master landscaper’s work and a hack job: we plan for the maintenance from day one.
![DIY Cedar Raised Beds for $50 [2026 Budget]](https://lawnmajesty.com/wp-content/uploads/2026/09/DIY-Cedar-Raised-Beds-for-50-2026-Budget.jpeg)