Fix 2026 Clay Yard Drainage with This $60 Auger Hack
Fix 2026 Clay Yard Drainage with This $60 Auger Hack
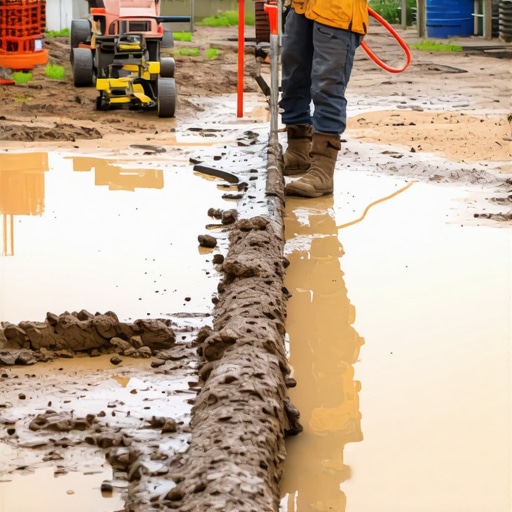
The squish of water-logged turf under a work boot is the sound of a failing landscape engine. When you walk across a lawn in 2026 and feel that rhythmic suction, you are not just looking at a puddle; you are witnessing a biological and engineering catastrophe where the pore spaces in your soil have collapsed, effectively suffocating the root systems of your turf. This is the reality of heavy clay soils that have been compacted by construction equipment, foot traffic, or poor grading. To fix clay drainage, you must bypass the impermeable clay mantle by creating vertical drainage conduits using a $60 heavy-duty earth auger attached to a high-torque drill. This process, often called vertical mulching, forces hydrostatic pressure to work for you rather than against you, moving water from the surface into the lower soil horizons where it can slowly percolate into the water table.
The Anatomy of a Drainage Failure
A drainage failure in a clay-heavy yard occurs because the soil particles are so small and flat that they stack like microscopic sheets of paper, leaving no room for oxygen or water movement. I always drill into my new crew members: if you don’t fix the soil grading and the internal structure first, every plant you put in the ground is just expensive compost. I remember a job three years ago where a client spent fifty thousand dollars on rare Japanese Maples, only to watch them develop phytophthora root rot within six months because they were planted in what amounted to a series of unlined clay pots. The water had nowhere to go. It just sat there, stagnant, until the roots literally drowned. Most homeowners try to fix this by throwing down more seed or expensive fertilizer, but that is like trying to paint a house that is currently on fire. You have to address the structural physics of the ground itself.
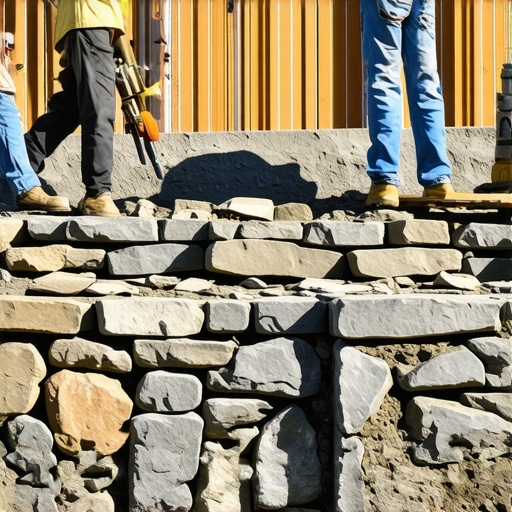
“A retaining wall doesn’t fail because of the stone; it fails because of the water trapped behind it.” – Hardscape Engineering Axiom
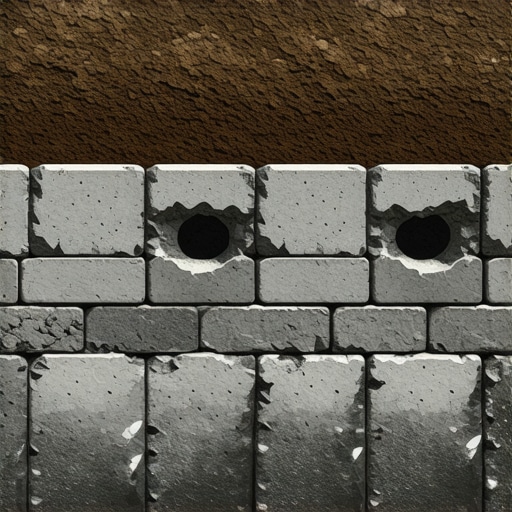
In the world of professional landscaping, we look at the hydraulic conductivity of the soil. Clay has the lowest conductivity of any soil type. When the surface becomes saturated, the water creates a lens that prevents further infiltration. This is why you see standing water even hours after a light rain. The hack we are discussing involves using a 3-inch or 4-inch diameter earth auger, which you can find at any hardware store for about $60, to drill through that compacted lens.
How deep should I drill for clay drainage?
To effectively bypass the compaction layer, you must drill at least 18 to 24 inches deep to reach the less-compacted subsoil layers. Drilling only 6 inches deep will merely create a small sump that fills with water and stays wet, whereas a deeper bore allows for gravitational drainage and capillary action to pull the moisture away from the root zone of your grass. You are essentially creating a network of mini-dry-wells across your property. The spacing should be roughly every three feet in the worst-affected areas.
| Drainage Method | Estimated Cost | Labor Intensity | Primary Function |
|---|---|---|---|
| French Drain | $2,500 – $8,000 | Extreme (Excavation) | Large-scale water diversion |
| Core Aeration | $100 – $200 | Low | Surface gas exchange |
| Auger Vertical Mulching | $60 – $150 | Moderate | Deep-bore percolation |
| Surface Regrading | $1,500 – $5,000 | High | Directional runoff control |
The $60 Auger Hack: Step-by-Step Installation
Before you start drilling, you must call 811 or your local utility marking service. I have seen guys hit irrigation lines, low-voltage lighting wires, and even gas lines because they thought they knew where everything was buried. Once the site is clear, you need a 1/2-inch chuck cordless drill with a side handle. Do not use a small 3/8-inch drill; the torque from a 24-inch auger biting into heavy clay will snap your wrist or burn out the motor. Start by identifying the lowest points in the yard where water collects. Drill holes in a grid pattern. You will feel the resistance change as you move through different soil horizons. Once the hole is drilled, do not leave it empty. It will just collapse. You must backfill it with a high-porosity material. I recommend a mix of 70% coarse masonry sand and 30% organic compost or biochar. This creates a permanent column of porous material that will not compact like the surrounding clay.
“Soil compaction reduces the large pore spaces (macropores) that are essential for the movement of air and water through the soil profile.” – Penn State Agricultural Extension
What is the best material to fill drainage holes?
The best material to fill vertical drainage holes is a coarse, washed sand mixed with calcined clay or pea gravel at the bottom for maximum drainage. Avoid using fine play sand, as the small grains will eventually fill the gaps and create a concrete-like plug; instead, use Angular Masonry Sand which maintains its structure and allows for rapid water infiltration even under heavy pressure. If you want to boost the biology of the lawn care, adding a small amount of humate or biochar into the mix will encourage root growth deep into these new channels, which further stabilizes the soil structure.
Understanding Hydrostatic Pressure and Soil Chemistry
Water moves from areas of high pressure to low pressure. When your clay yard is saturated, the pressure at the surface is immense. By providing these vertical channels, you are creating a path of least resistance. But there is a chemical component too. Clay particles are negatively charged and often held together by sodium ions, which causes them to swell and repel water. In addition to the auger hack, you should consider a heavy application of Gypsum (Calcium Sulfate). The calcium in the gypsum displaces the sodium on the clay particles, a process called flocculation. This causes the tiny clay sheets to clump together into larger “peds,” effectively creating larger pore spaces. It is a slow process, but when combined with vertical drilling, it can turn a swampy mess into a functional garden design within two seasons.
- Identify standing water zones after a 1-inch rain event.
- Mark utility lines and irrigation heads with flags.
- Drill 24-inch deep holes using the $60 auger bit.
- Remove the clay “slugs” from the surface to avoid further compaction.
- Backfill with a 70/30 sand and compost mixture.
- Apply pelletized gypsum at a rate of 40 lbs per 1,000 square feet.
The Maintenance Horizon
After you have installed your vertical drains, you cannot just walk away. The first year is the settling period. You will likely see the sand columns drop an inch or two as the material settles into the bore holes. Top them off. Do not cover them with thick sod right away; let the grass grow over them naturally from the sides. Avoid using heavy riding mowers on these areas when they are wet, as you will just crush the work you have done. Real landscaping is about managing the invisible forces below the surface. If you ignore the soil physics, the soil will ignore your plants. This auger hack is the most cost-effective way to fight back against the heavy clay of 2026 without bringing in a backhoe and destroying your entire hardscaping layout. It takes sweat, a good drill, and an understanding of how water actually behaves in the dirt. Don’t be the guy who buys more fertilizer for a lawn that’s currently drowning.
![Fix Cracked Driveways: 3 Cold-Patch Rules [2026 DIY]](https://lawnmajesty.com/wp-content/uploads/2026/06/Fix-Cracked-Driveways-3-Cold-Patch-Rules-2026-DIY.jpeg)