How to Design a Kitchen Garden That Looks Like a Luxury Park
Engineering the Luxury Kitchen Garden: A Ground-Up Build Guide
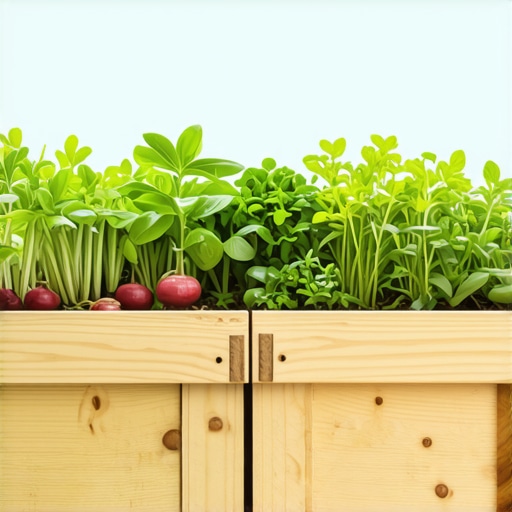
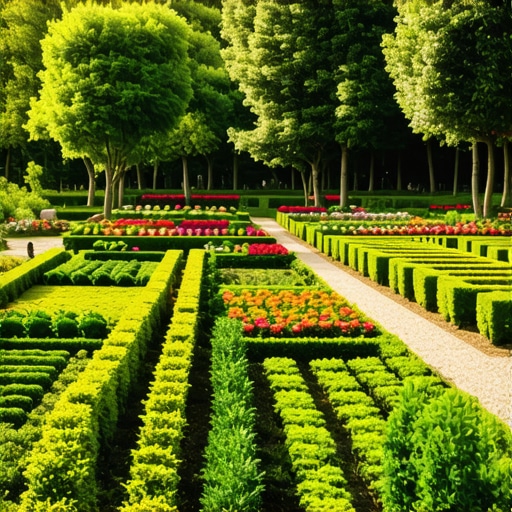
I always drill into my new crew members: if you don’t fix the soil grading first, every plant you put in the ground is just expensive compost. I have watched too many rookies install five-thousand dollars worth of nursery stock into a site with high hydrostatic pressure and zero drainage. They leave. Two months later, the homeowner calls me because their expensive herbs are drowning in a stagnant pond of anaerobic clay. A true luxury kitchen garden, or potager, is not a collection of wooden boxes. It is a calculated piece of civil engineering that balances soil biology with structural integrity. We are building a system, not a hobby. If you want the aesthetic of a high-end park, you start with the foundation, not the seeds. Dirt doesn’t lie. If you cut corners on the base layers, the Earth will reclaim your investment within three seasons.
Site Analysis and Hydraulic Grading
To design a luxury kitchen garden, you must first master site hydrology and solar orientation to ensure plant health and structural longevity. This process involves mapping the sun path for 8 hours of daily exposure, testing soil pH to reach a 6.5 target, and calculating grading slopes to prevent water from pooling against hardscape foundations.
Before you move a single cubic yard of soil, you must understand where the water goes. Most residential lots are graded to push water away from the house, but often it just collects in the center of the yard. In high-end design, we use French drains or 4-inch perforated PVC pipes wrapped in geotextile fabric to move that water. If you are building raised beds out of stone, you are essentially building a series of small retaining walls. These walls must withstand the lateral pressure of wet soil. Without a proper 6-inch base of 2A modified stone, compacted to 95 percent Proctor density, your luxury park will look like a crooked mess after the first freeze-thaw cycle. Buy cheap, buy twice.
How do I know if my soil is good for vegetables?
The only way to know your soil quality is through a laboratory analysis. You are looking for the Cation Exchange Capacity (CEC). A low CEC means your soil can’t hold onto nutrients. Most suburban lots are compacted subsoil from the construction phase. You need to break that compaction at a depth of 12 inches. We use a broadfork for this. Do not rototill. Tilling destroys the fungal hyphae and soil aggregates that plants need to thrive. If your soil is heavy clay, you are fighting a losing battle. You must amend with high-carbon organic matter or build up. Drainage is king. If the roots can’t breathe, the plant dies.
“A retaining wall doesn’t fail because of the stone; it fails because of the water trapped behind it.” – Hardscape Engineering Axiom
The Hardscape Skeleton: Framework of a Luxury Potager
A professional kitchen garden utilizes high-density materials like Pennsylvania Bluestone, Belgian Block, or powder-coated steel to create a permanent architectural framework. These hardscaping elements provide structural definition, suppress weed growth through sub-base compaction, and allow for all-weather access by using permeable or non-porous paving systems.
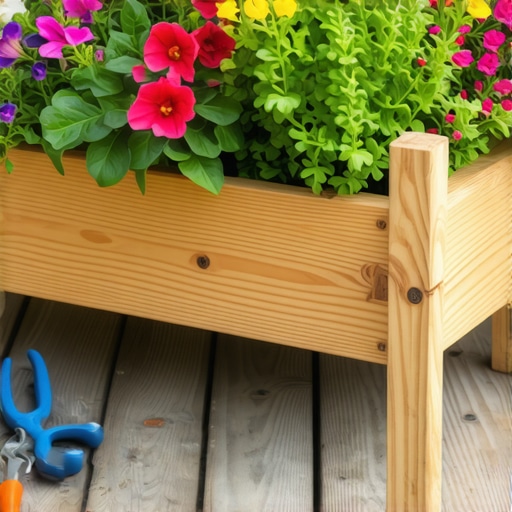
Cheap pressure-treated wood has no place in a luxury park design. It rots. It leaches chemicals. For a high-end build, we look at masonry or rot-resistant hardwoods like Ipe or Cedar. But even the best wood is temporary. If the budget allows, we build walls from natural stone with a 1-inch thermal finish bluestone cap. This creates a “heat sink.” In early spring, the stone absorbs solar radiation and radiates it back into the soil, allowing you to plant cool-season crops like kale and spinach two weeks earlier than your neighbors. It is thermodynamics applied to horticulture.
How much modified gravel do I need for a garden path base?
To calculate the gravel needed, multiply the path length by the width, then by the depth (standard is 0.33 feet for 4 inches), and divide by 27 to get cubic yards. Always add a 10 percent buffer for compaction. For a 50-foot path that is 4 feet wide, you need approximately 3 cubic yards of 2A modified stone. Use a plate compactor. The base should literally bounce the tamper off the surface when it is fully consolidated. If it feels soft, your pavers will shift. Do not skip the geotextile fabric between the subgrade and your base. It prevents the stone from sinking into the mud.
| Material | Lifespan (Years) | Structural Integrity | Thermal Mass Effect |
|---|---|---|---|
| Pressure Treated Wood | 7-10 | Low | Negligible |
| Western Red Cedar | 15-20 | Medium | Low |
| Dry-Stack Fieldstone | 50+ | High | High |
| Powder-Coated Steel | 25+ | High | Medium |
Irrigation Engineering and Micronutrient Management
Implementing a professional irrigation system requires a dedicated manifold with pressure-regulated drip emitters to deliver water directly to the root zone. This setup minimizes evaporative loss, prevents foliar diseases such as powdery mildew, and allows for fertigation, the process of injecting water-soluble nutrients directly into the water line.
The biggest mistake in lawn care and garden design is overhead watering. It is a waste of water and a recipe for fungus. We install 17mm Netafim drip line with 0.6 GPH emitters spaced every 12 inches. This creates a consistent wicking pattern in the soil. You want the soil to be moist, not saturated. We also install a smart controller with a rain sensor. If the soil has 1 inch of water per week, you are golden. But water is only half the battle. You need to manage the NPK ratios (Nitrogen, Phosphorus, Potassium). For vegetables, you want a higher phosphorus count during flowering and high nitrogen during the vegetative state. Don’t just dump 10-10-10 on everything. You will burn the roots and kill the soil microbes.
“Soil health is the foundation of all plant productivity; without a biological focus, the garden is merely a chemical dependent.” – Agricultural Extension Standards
The Ground-Up Build Checklist
- Excavate site to 8 inches below finish grade for all paths.
- Install 4-inch perforated drain pipe to daylight if site has a slope over 2 percent.
- Lay heavy-duty non-woven geotextile fabric over the entire subgrade.
- Spread 4 inches of 2A modified stone in 2-inch lifts, compacting each lift.
- Construct raised beds using 6×6 Cedar or masonry units with masonry ties.
- Fill beds with a 70/30 mix of screened topsoil and leaf compost.
- Install automated drip irrigation with a backflow preventer and pressure regulator.
- Finish paths with 1 inch of clean 3/8-inch river stone or flagstone set in screenings.
Maintenance: The Post-Installation Protocol
Maintaining a luxury garden requires a strict schedule of organic mulch replenishment, seasonal soil testing, and integrated pest management (IPM). High-end landscapes thrive on preventative maintenance, such as applying pre-emergent corn gluten for weed control and monitoring CEC levels to ensure the soil remains a living ecosystem.
A garden is never finished. It is a slow-motion explosion of biological activity. In year one, expect the soil to settle. You will need to top off your beds with fresh compost. Do not use wood chips inside the growing beds; they rob the soil of nitrogen as they decompose. Use straw or shredded leaves. Watch your edges. A sharp edge between the garden path and the planting bed is the difference between a professional install and a DIY project. Keep your tools sharp. Keep your eyes on the leaves. If you see yellowing between the veins, you have a magnesium deficiency. Fix it with Epsom salts. Precision is everything. This is how you build a park that lasts a lifetime.