Stop 2026 Fence Lean with This $50 Support Spur
The Structural Anatomy of a Failing Fence Line
To stop a leaning fence, you must address the structural failure at the ground-to-air interface, typically caused by microbial rot or frost heave. A $50 heavy-duty steel support spur provides a rigid anchor that bypasses the decayed post-base to restore vertical alignment and wind load resistance.
I always drill into my new crew members: if you don’t fix the soil grading first, every plant you put in the ground is just expensive compost. It is the same with hardscaping. I have seen guys spend ten grand on premium Western Red Cedar only to watch it tilt at a fifteen-degree angle after two seasons because they ignored the hydrology of the site. A fence is a sail. When the wind hits a six-foot privacy panel, it translates hundreds of pounds of torque directly to the post base. If your soil is saturated or your post is necking due to fungal decay, the system fails. I recently saw a property where the homeowner tried to prop up a leaning line with 2x4s and duct tape. It looked pathetic. The real solution is mechanical. You have to bridge the gap between stable subsoil and the sound timber remaining above the rot zone. That is where the repair spur comes in. It is not a hack. It is engineering. Don’t skip the prep. Most people think they need a whole new fence. They don’t. They just need to understand the physics of the ground-line interface. Wood rots most aggressively in the first six inches of soil because that is where oxygen and moisture levels are optimal for fungal respiration. Above that, it is too dry. Below that, it is too anaerobic. You lose your structural integrity right at the pivot point. It will fail. Every time.
The Science of Ground-Line Decay and Soil Shear
Understanding why a fence leans requires an analysis of soil shear strength and the biological degradation of lignin in pressure-treated lumber. When the lateral pressure of the wind exceeds the resistance of the soil-post bond, the post creates a wedge-shaped void in the earth.
The enemy is Basidiomycetes. These are the fungi that eat your fence. Even ACQ-treated lumber eventually succumbs if the drainage is poor. When the post-base softens, the soil can no longer hold the lever arm. We call this soil shear failure. In heavy clay soils common in the Midwest and South, the clay holds onto water, keeping the post in a constant state of saturation. In sandy soils, the drainage is better, but the friction is lower. You need to know what you are digging into. I have seen fences in the Pacific Northwest last thirty years because they were set in free-draining crushed stone, while fences in the Georgia clay rot out in seven. It is about the rhizosphere.
“The moisture content of soil directly affects its shear strength; saturated soils lose the ability to provide lateral resistance to fence posts under wind load.” – USDA Soil Mechanics Manual
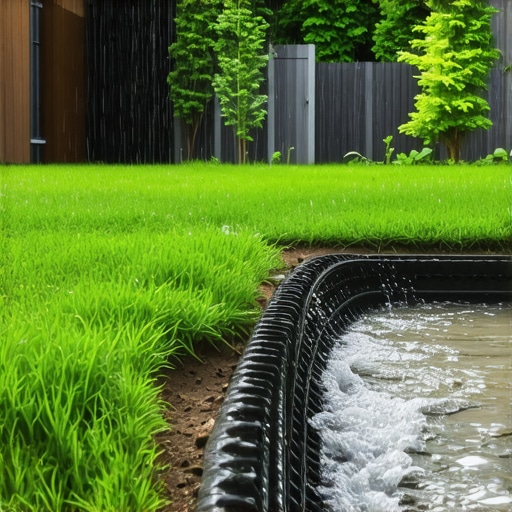
This is why you see fences leaning after a heavy rainstorm. The soil turns to a plastic state. Your fence post is just a giant lever trying to flip a heavy clod of dirt. If that dirt is mud, it wins. The support spur works by driving a galvanized steel blade deep into the undisturbed soil below the rot zone. You are essentially bypassing the failure point. You are moving the load from the rotted wood to the steel. It is simple. It is effective.
How deep should a fence post be in 2026?
A fence post should be buried at a depth equal to at least one-third of its total height, plus six inches for a gravel drainage base. For a standard 6-foot fence, this means a minimum burial depth of 30 to 36 inches to stay below the frost line.
| Soil Type | Post Depth (6ft Fence) | Backfill Material | Risk Factor |
|---|---|---|---|
| Heavy Clay | 36 inches | 3/4″ Crushed Stone | High (Frost Heave) |
| Sandy Loam | 30 inches | Concrete (Tapered Top) | Low (Drainage) |
| Rocky/Shale | 24 inches | Native Fines (Compacted) | Medium (Installation) |
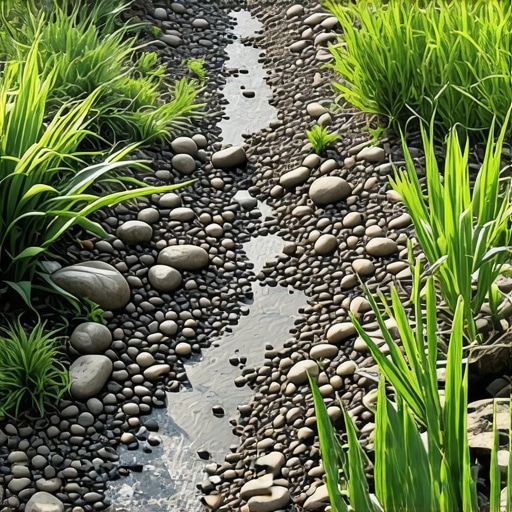
How much modified gravel do I need for a patio base?
For a standard patio or a fence post stabilization project, you should calculate 4 to 6 inches of compacted 2A modified gravel. For fence posts, use approximately 0.5 cubic feet of gravel per hole to ensure water migrates away from the timber base.
The Forensic Repair: Installing the $50 Support Spur
The installation of a repair spur involves excavating the tension side of the leaning post, driving the steel spur into the subgrade, and mechanically fastening it to the sound wood above the decay. This creates a structural bridge that stabilizes the fence without requiring a full post replacement.
First, identify the lean. You always install the spur on the side the fence is leaning toward or the side receiving the most wind pressure. Clear the grass. Digging a small pilot hole helps, but don’t over-excavate. You want the steel to bite into undisturbed earth. Use a sledgehammer or a rotary hammer with a ground rod driver attachment. Drive it until the flange is flush with the ground. Then, use heavy-duty galvanized lag bolts to secure the spur to the post. Don’t use cheap deck screws. They will snap. You need the shear strength of a lag bolt.
“Fence posts must be set deep enough to resist the lateral pressure of frost heave, which can exert upwards of 50,000 pounds of pressure per square foot in certain clay soils.” – International Residential Code Commentary
This is why the spur is usually three to four feet long. It needs to get deep. Once the bolts are in, the fence will immediately feel rigid. It is a night and day difference. No more wobbling. No more sagging. It is a permanent fix for a fraction of the cost of a full crew coming out to dig a new hole. Most contractors won’t tell you about this because they want the $500 post replacement fee. I’m telling you this because I’m sick of seeing bad DIY work. Do it right. Fix the physics. Save the wood.
- Identify the direction of the lean using a 4-foot level.
- Excavate a 12-inch deep pilot area around the base of the post to inspect rot depth.
- Drive the galvanized steel spur at least 24 inches into the ground.
- Use a bottle jack if necessary to plumb the fence before fastening.
- Secure with two 1/2-inch diameter hot-dipped galvanized lag bolts.
- Backfill the pilot area with crushed stone, not dirt, to prevent future rot.
Stop using concrete collars as a default. In heavy clay, a concrete collar acts like a bucket that holds water against the wood, accelerating fungal growth. Use crushed stone for drainage instead. This forces water to move away from the post rather than sitting against it. It is a contrarian view, but twenty years in the dirt has proven it to me. Your fence will thank you. The wood stays dry. The steel stays strong. The fence stays straight. Don’t wait until the next windstorm. A leaning fence is a liability. Fix it now for fifty bucks or fix it later for five thousand. The choice is yours. Keep your hands calloused and your lines straight.