How to Create a DIY Bubbling Rock Fountain in One Afternoon
The Hardscape Autopsy: Why Most DIY Water Features Fail
I recently got called out to tear up a $3,000 backyard installation that was sinking because the previous contractor used a thin plastic storage bin instead of a structural basin. The weight of the 300-pound basalt column simply crushed the reservoir, leading to a massive leak that turned the yard into a swamp. If you do not account for the weight of the stone and the volume of water displacement, you are wasting your time and money. Professional hardscaping is not about making things look pretty; it is about managing weight and water. Most people think they can just dig a hole and throw in a pump. They are wrong. Physics wins every time.
Engineering the Foundation for a Bubbling Rock Fountain
To build a lasting bubbling rock fountain, you must excavate a pit 20% wider than your basin, level the subgrade with compacted crushed stone, and ensure the pump reservoir sits perfectly level to prevent pump burnout and uneven water flow. The foundation is the most critical part of the build. If your basin is off by even a quarter inch, the water will trail down one side of the rock, leaving the other side dry and the internal pump exposed. Use a 4-foot level. Don’t eyeball it.
How deep should a bubbling rock basin be?
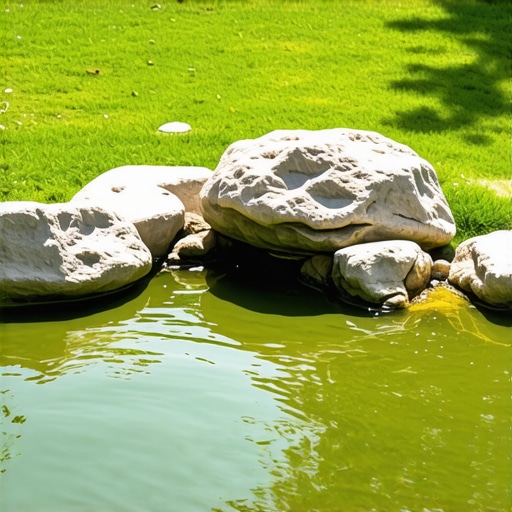
The depth of your bubbling rock basin depends on the reservoir height plus an additional 3 inches for a compacted gravel base. A standard 2-foot deep basin requires a 27-inch deep hole to ensure the top rim sits slightly above the surrounding grade, preventing mulch and dirt from washing into your clean water system during heavy rain. If you bury it flush with the ground, you are inviting debris to clog your pump.
“A retaining wall doesn’t fail because of the stone; it fails because of the water trapped behind it.” – Hardscape Engineering Axiom
The Physics of Pump Sizing and Head Height
Selecting the correct pump for a bubbling rock requires calculating the total dynamic head, which includes the vertical distance the water must travel plus the friction loss from the diameter of your tubing. Most DIYers buy a pump based on the Gallons Per Hour (GPH) rating without looking at the head height chart. A pump rated for 500 GPH at zero feet might only push 50 GPH at four feet of height. This leads to a weak trickle rather than a bubbling flow.
| Rock Height (Inches) | Recommended GPH | Tubing Diameter (ID) |
|---|---|---|
| 12 – 18 | 350 GPH | 3/4 Inch |
| 18 – 36 | 500 – 750 GPH | 1 Inch |
| 36 – 48+ | 1000+ GPH | 1.5 Inch |
Check the pump’s performance curve on the box. If your rock is 3 feet tall and the pump maxes out at 4 feet, that pump will run hot and fail within a season. You need overhead capacity. Buy a pump with a flow control valve so you can dial it back rather than running a smaller pump at its absolute limit. Precision matters.
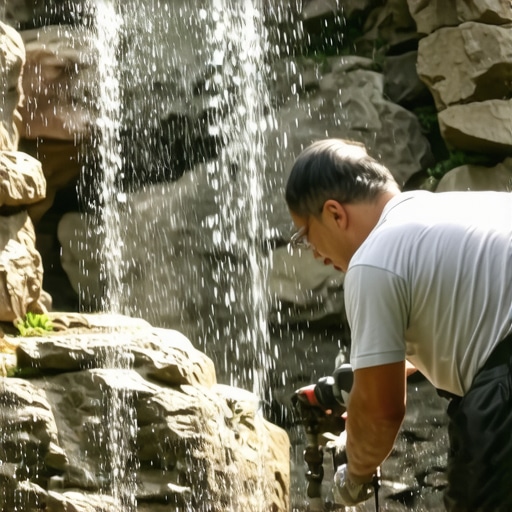
Step-by-Step Installation Protocol
Follow this checklist to ensure your water feature survives the first winter and doesn’t become a mosquito breeding ground. Skip a step, and you’ll be digging it up in July.
- Call 811: Marking utilities is mandatory. Do not hit a gas line for a fountain.
- Excavate and Level: Remove all organic matter. Soil with roots will settle.
- Base Layer: Add 2 inches of 3/4-inch modified gravel. Tamp it until the tamper bounces.
- Set the Basin: Level the basin in all four directions. Use a transit if you have one.
- Plumb the Rock: Use 45-mil EPDM liner scraps around the rock hole to prevent splash loss.
- Backfill: Use clean 1B stone or river pebbles around the basin. Avoid soil.
What size pump do I need for a bubbling rock?
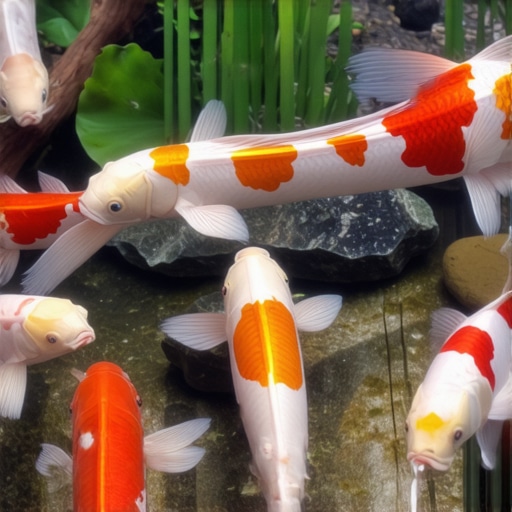
For a standard basalt column or boulder, you need a submersible pump that provides 100 GPH for every inch of the rock’s diameter at the top. If your rock has a 6-inch diameter surface, a pump providing 600 GPH at the exit height will ensure a full, consistent water plume that coats the entire stone surface without excessive splashing.
Material Science: Choosing the Right Stone
Not all rocks are suitable for water features. Sedimentary rocks like limestone or sandstone will eventually degrade and crumble due to constant water contact and freeze-thaw cycles. Igneous rocks like basalt or granite are the industry standard because they are non-porous and incredibly dense. They won’t leach minerals that throw off your water chemistry or promote algae growth. When you drill the rock, use a 1-inch diamond-core bit. Don’t use a hammer drill; you’ll crack the stone. Slow and steady wins. Use water to cool the bit throughout the process.
“Proper aeration and water movement are critical to preventing anaerobic bacterial colonies in stagnant garden features.” – Midwestern Agronomy Manual
The Long-Term Maintenance Schedule
Water evaporates. If your pump runs dry, the motor will burn out in minutes. Install an auto-fill valve connected to your irrigation line to maintain water levels automatically. In colder climates, you must pull the pump in late autumn. Do not leave it in the basin to freeze. Store it in a bucket of water in your basement to keep the seals from drying out. Use a biological water clarifier to keep the feature clean. Avoid chlorine; it ruins the pump seals and kills the local bird population. Hardscaping is a commitment to biology and mechanics. Take care of your gear, and it will last twenty years. Ignore it, and it’s just an expensive pile of rocks.