Build a $300 Fieldstone Retaining Wall for 2026 Yard Slopes
Building a fieldstone retaining wall for under $300 is not about cutting corners; it is about local sourcing and physical labor. Most homeowners fail because they start at the garden center instead of the survey. If you do not account for the lateral earth pressure and the hydraulic load of a 2026-season rainfall, your wall will be a pile of expensive rubble within three winters. Success in hardscaping requires 80% preparation and 20% stacking.
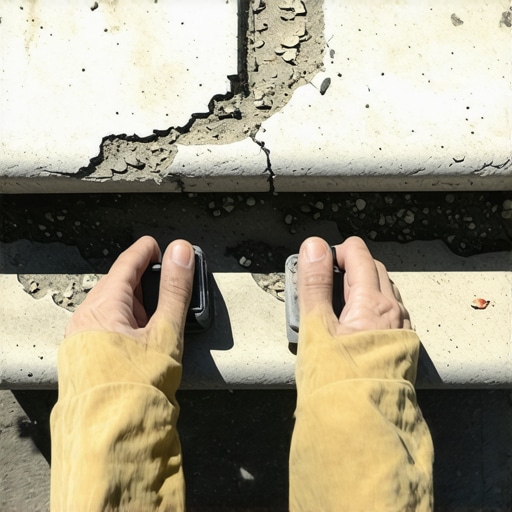
I recently got called out to tear up a $30,000 patio that was sinking because the previous contractor thought he could skip the compaction of the sub-base. The entire project was a structural autopsy. Water had pooled behind the wall, turned the clay into a slurry, and the sheer weight of the saturated soil pushed a six-foot wall three inches off its axis. I see this every month. It is the result of ‘mow-and-blow’ mentalities applied to civil engineering. Whether you are spending $300 or $30,000, gravity does not care about your budget. It only cares about your base. [image placeholder]
The Physics of Retaining Walls on 2026 Slopes
A retaining wall on a slope must withstand hydrostatic pressure and the angle of repose inherent to your specific soil type. To build this for $300, you are limited to a height of 18 to 24 inches, which eliminates the need for expensive geogrid reinforcement or municipal engineering permits while still effectively managing soil erosion and surface runoff.
“A retaining wall doesn’t fail because of the stone; it fails because of the water trapped behind it.” – Hardscape Engineering Axiom
When you deal with yard slopes, you are fighting two forces: gravity and water. Soil expands when it freezes and gains massive weight when saturated. A dry-stack fieldstone wall is the professional’s choice for a $300 budget because it is flexible. It breathes. It moves with the freeze-thaw cycle instead of cracking like rigid poured concrete. But this flexibility only works if your stone-to-soil ratio is correct. You need stones with ‘depth’—at least 8 to 12 inches—to reach back into the hill and anchor the structure.
How much modified gravel do I need for a patio base?
To calculate modified gravel needs for a wall or patio base, multiply the trench length by the width (usually 12-18 inches) and a depth of 6 inches, then divide by 27 to get cubic yards. For a standard 20-foot fieldstone wall, you will typically need about 0.5 to 0.75 tons of 2A modified stone to ensure a stable, non-shifting foundation.
Sourcing Fieldstone for a $300 Budget
Staying under a $300 price point requires sourcing raw fieldstone from local quarries or landscape supply yards rather than buying palletized, pre-cut stone from big-box retailers. Palletized stone carries a 300% markup for the convenience of uniform shapes. To save money, look for ‘bulk rip-rap’ or ‘quarry run’ fieldstone. These are the irregularly shaped rocks that require a mason’s eye to fit together. It is harder work, but the structural interlock is superior when done correctly. You can often find farmers or developers looking to offload ‘field stone’ for the cost of hauling it away. This is the ultimate budget win for landscape design.
| Material | Purpose | Estimated Cost (20ft Wall) |
|---|---|---|
| 2A Modified Gravel | Structural Base | $45 – $60 |
| Raw Fieldstone (Bulk) | Wall Mass | $180 – $220 |
| Perforated Drain Pipe | Water Management | $15 – $20 |
| Non-woven Geotextile | Soil Separation | $25 |
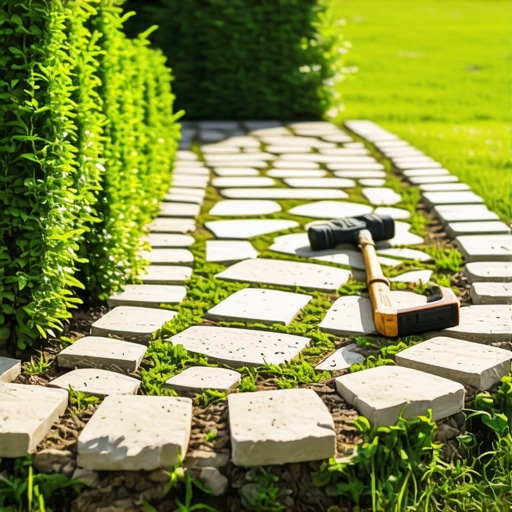
Excavation and Base Preparation: The Invisible Foundation
The foundation of your wall must be buried. This is non-negotiable. You must excavate a trench at least 6 inches deep and twice as wide as your thickest stone. This subgrade must be compacted until a hand tamper literally bounces off the surface. If the soil is soft, you keep digging. You are looking for undisturbed subsoil. Once the trench is ready, fill it with 4 inches of crushed limestone (2A modified) and compact it in 2-inch ‘lifts.’ If you skip the compaction, the wall will settle unevenly, and the stones will ‘walk’ out of alignment within a year. It will rot. Don’t skip this.
“Base compaction is the most critical phase of any hardscape installation; a failure to reach 95% Standard Proctor Density will result in structural displacement.” – ICPI Installation Standards
Can I build a retaining wall with fieldstone without mortar?
Yes, dry-stacking fieldstone is the preferred method for residential slopes under 3 feet because it allows for natural drainage and thermal expansion. Without mortar, water can seep through the gaps in the stones, which prevents the build-up of hydrostatic pressure that frequently causes mortared walls to bulge and eventually collapse.
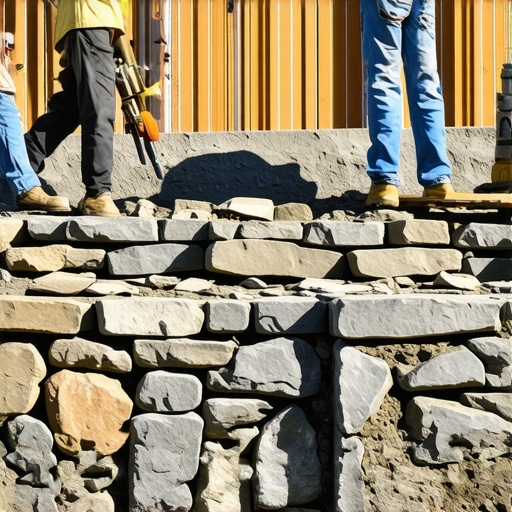
Stacking and Batter: Defeating Gravity
When stacking fieldstone, you must implement a ‘batter’. This means the wall should lean back into the slope at a rate of 1 inch for every 1 foot of height. Never build a fieldstone wall perfectly vertical. Gravity is constantly trying to push the wall forward; a lean ensures the center of gravity stays over the base. Use your largest, flattest stones for the first course—these are your footing stones. Place them side-by-side, ensuring they are level from front to back and side to side. As you build up, ‘bridge’ the joints. One stone over two, two stones over one. This creates lateral stability. If you have vertical seams running through multiple courses, the wall is weak. It will fail.
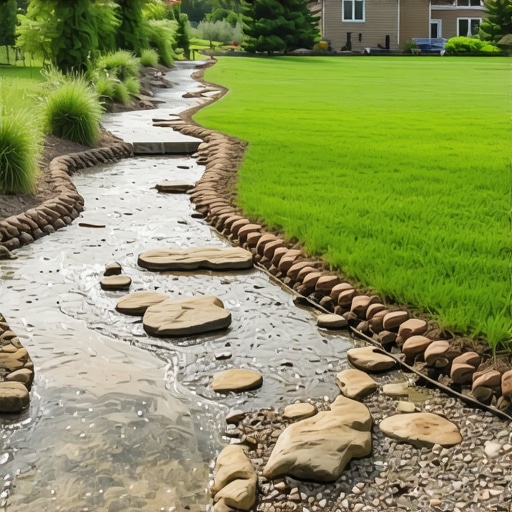
Drainage: The Silent Wall Killer
Water is the enemy of all hardscaping. Behind your first course of stone, you must install a 4-inch perforated drainage pipe wrapped in a ‘sock’ of geotextile fabric. This pipe must be sloped to ‘daylight’ at the ends of the wall. As you stack stones, fill the 6-12 inch gap between the stones and the soil with clean 3/4 inch drainage stone (AASHTO #57). Do not backfill with the dirt you dug out. Dirt holds water; gravel lets it drop to the pipe. This is the difference between a wall that lasts 50 years and one that lasts five.
- Excavate trench to 6-inch depth below grade.
- Compact modified gravel base to 95% density.
- Set footing stones with a 1-inch-per-foot batter.
- Install perforated pipe with positive pitch.
- Backfill with clean drainage stone, not native soil.
- Cap the wall with heavy, flat stones to lock the structure.
The Year One Outlook
After the first winter, your wall will settle. This is normal. If you used dry-stack methods, you can simply lift a capstone and adjust the stones beneath if any minor shifting occurs. Monitor the ‘weep holes’ or the ends of your drainage pipe during heavy rain. If water is flowing, your system is working. If the wall stays dry, the hydrostatic pressure is being managed. This $300 investment, built with engineering logic, will outperform any ‘hack’ job regardless of the price tag. Maintenance is minimal: keep invasive vines from pulling at the stones and ensure the drainage exits stay clear of debris. Hardscaping is a marathon, not a sprint.
![Fix Standing Water: Why Your Yard Needs a Swale [DIY]](https://lawnmajesty.com/wp-content/uploads/2026/06/Fix-Standing-Water-Why-Your-Yard-Needs-a-Swale-DIY.jpeg)
![Build a $150 2026 Cedar Garden Border for Bedding [DIY]](https://lawnmajesty.com/wp-content/uploads/2026/07/Build-a-150-2026-Cedar-Garden-Border-for-Bedding-DIY.jpeg)