Build a $150 River Rock Dry Creek Bed for Better Drainage
The Engineering Reality of Residential Drainage
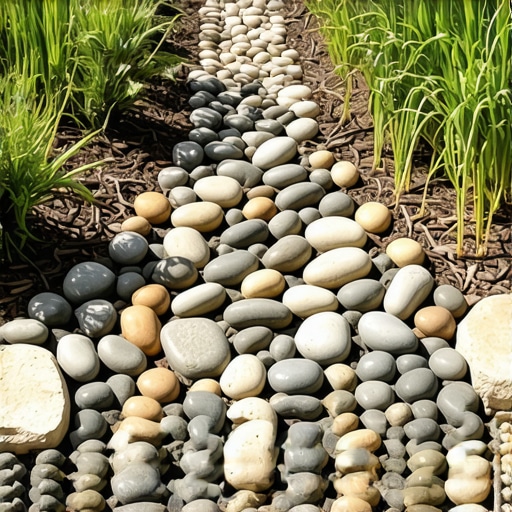
A dry creek bed is a functional landscape feature designed to mimic a natural stream, redirecting stormwater runoff and preventing soil erosion. By using layered river rock and non-woven geotextile fabric, you create a permeable channel that manages hydrostatic pressure during heavy rain events while protecting your home’s foundation from hydraulic saturation. Most homeowners see a puddle and think it is a nuisance; I see it as a structural threat to the footer of your house. Water is the most destructive force in the landscape. It will find the path of least resistance every single time. If you do not provide that path, it will carve one through your mulch or, worse, under your slab.
The Hardscape Autopsy: Why This Matters
I recently got called out to tear up a $30,000 patio that was sinking because the previous contractor ignored a 2-degree slope heading straight for the pavers. They didn’t install a swale or a creek bed; they just dumped 21-A gravel and hoped for the best. Within two seasons, the subgrade was completely undermined. The soil turned to soup. This $150 project we are discussing today would have saved that homeowner thirty grand. Drainage isn’t an afterthought. It is the foundation of every yard I have ever built in my 20-year career. If you ignore the physics of water, you are just throwing money into a mud pit.
“A retaining wall doesn’t fail because of the stone; it fails because of the water trapped behind it.” – Hardscape Engineering Axiom
The Science of the Swale: Planning and Site Prep
To plan a dry creek bed, you must calculate the peak flow volume of your yard by identifying the primary watershed points such as downspouts and uphill slopes. You need a minimum 1% slope (one foot of drop for every 100 feet of run) to ensure gravity overcomes the friction of the stone. Don’t eyeball this. Use a line level or a transit. If you build a flat creek bed, you’ve just built a long, skinny pond that will breed mosquitoes and rot your turf. You are looking for the ‘natural’ low point. Trace where the water flows during a heavy downpour and mark it with marking paint. Do not fight the land. Work with it.
How deep should a dry creek bed be?
A professional-grade dry creek bed should be excavated to a depth of 8 to 12 inches in the center, tapering upward to the edges to create a saucer-shaped profile. This depth allows for a 4-inch layer of structural stone while still leaving room for water to channel below the surrounding grade without overtopping the banks. If you go too shallow, the first heavy storm will wash your expensive river rock right onto your lawn. If you go too deep, you risk hitting utility lines or creating a safety hazard. Depth is about capacity. Measure the output of your downspouts. A one-inch rain on a 2,000-square-foot roof produces 1,250 gallons of water. That water has to go somewhere.
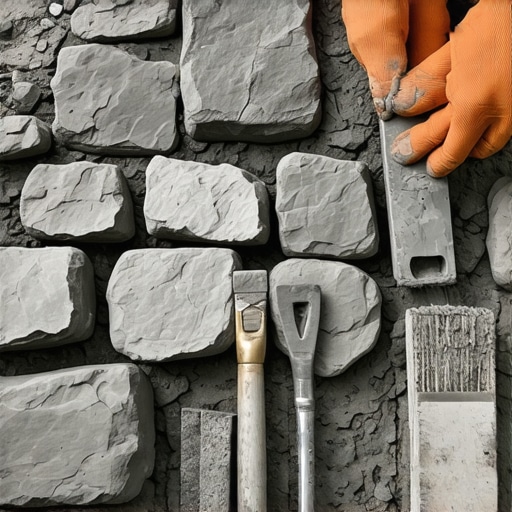
Materials Breakdown: Making the $150 Budget Work
The secret to building a high-end drainage system for $150 is sourcing bulk materials from a local quarry rather than buying plastic bags at a big-box retailer. For a 15-foot creek bed, you will need approximately one cubic yard of 1-3 inch river rock and a handful of larger anchor boulders. Avoid limestone if you are planting acid-loving species like azaleas nearby, as the runoff will spike the soil pH. Use basalt or granite if available. You also need professional-grade non-woven geotextile fabric. Do not use the cheap woven plastic weed barrier. It doesn’t let water pass through quickly enough and will eventually clog with silt, turning your creek bed into a slip-and-slide.
| Material Type | Function | Estimated Cost (Bulk) |
|---|---|---|
| 1-3″ River Rock | Main channel filler/Water dispersion | $45 – $60 per yard |
| Non-woven Geotextile | Soil separation/Filtration | $25 – $40 roll |
| 4-8″ Anchor Stones | Structural integrity at bends | $20 (Scavenged or Bulk) |
| Marking Paint/Stakes | Layout and Grading | $10 |
| Delivery Fee | Transportation of bulk rock | $40 (Split with neighbor?) |
Installation: The Step-by-Step Build
First, excavate the trench. Dig a wide, shallow ‘V’ or ‘U’ shape. The center must be the lowest point. Once excavated, compact the subgrade. Use a hand tamper. If the soil is loose, the rocks will eventually sink into the mud. Lay your geotextile fabric. Overlap your seams by at least 12 inches and pin them down. This fabric is the most important part of the build. It keeps the rock from mixing with the dirt. Without it, your creek bed will disappear into the earth within three years. That is a fact. I have dug up enough failed DIY projects to know.
What is the best fabric for a dry creek bed?
The best fabric for a dry creek bed is a 4oz or 6oz non-woven needle-punched geotextile because it offers high permeability and excellent tensile strength. Unlike woven landscape fabric, which acts like a sieve that eventually plugs, non-woven fabric allows water to move through the entire surface area while keeping the fines of the soil from migrating upward. It is the same material used in highway construction for subgrade stabilization. It is durable. It lasts decades. Use it or prepare to fail.
“Soil saturation reduces the shear strength of the ground, leading to localized slope failure and root asphyxiation in sensitive plant species.” – Regional Agricultural Extension Office
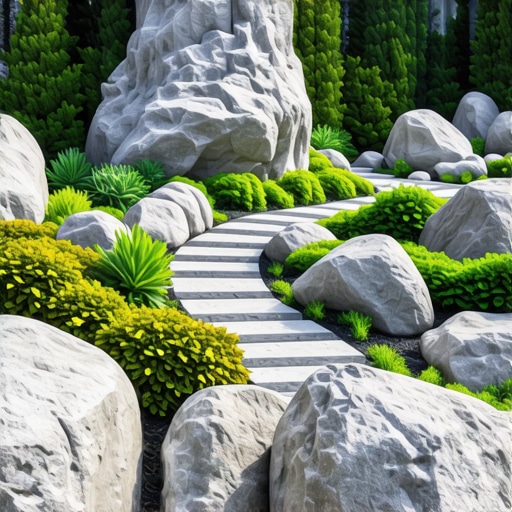
The Art of Rock Placement
Don’t just dump the rock. You want the creek bed to look like it has been there for a century. Place your largest anchor stones at the ‘outside’ of every curve. In a real river, this is where the water hits the hardest. These stones prevent scouring. Fill the middle with your 1-3 inch river rock. Avoid perfect symmetry. Nature is chaotic but balanced. Use smaller pea gravel or 57-stone to fill the gaps between larger rocks. This creates a locking effect. It prevents the rocks from shifting when you walk on them or when the water is moving at 5 feet per second. It’s about interlocking friction.
- Check the Slope: Ensure the exit point is lower than the entry point.
- Bury the Edges: Tuck the fabric under the stones at the edges so it isn’t visible.
- Direct the Exit: Ensure the water exits into a safe area, like a rain garden or a municipal storm drain.
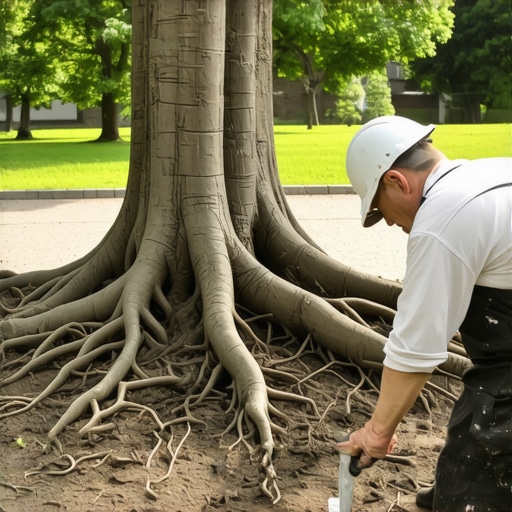
- Clear the Area: Remove all sod and roots before laying fabric to prevent decomposition under the bed.
Maintenance and Longevity
A dry creek bed is not ‘zero maintenance.’ It is ‘low maintenance.’ Every autumn, you will need to blow out leaves. If organic matter builds up between the rocks, it will turn into soil. Once you have soil, you get weeds. It’s the nitrogen cycle in action. If you stay on top of the debris, the system will last 20 years. If you let it fill with leaves, it will be a weed patch by year four. Don’t use herbicides near the bed if it drains into a local pond. The chemical runoff will kill the fish. Use a propane torch for weeds or just pull them by hand after a rain when the ground is soft. Stay vigilant.
Technical Considerations for Clay Soils
If you live in an area with heavy illite or smectite clay, your infiltration rate is near zero. In these cases, the dry creek bed acts more like a conveyance system than an infiltration basin. You must ensure the ‘exit’ of your creek bed is capable of handling the entire volume of the watershed. In sandy soils, the water will soak in as it travels. In clay, it’s a high-speed highway. Adjust your rock size accordingly. Faster water requires heavier rock. Small gravel will simply wash away in a heavy Georgia or Ohio rainstorm. Use larger 4-inch stones if you are dealing with a steep pitch on clay. Physics doesn’t care about your budget.
![Build a $50 2026 Rain Barrel System [Save Water]](https://lawnmajesty.com/wp-content/uploads/2026/07/Build-a-50-2026-Rain-Barrel-System-Save-Water.jpeg)