
![Fix Cracked Driveways: 3 Cold-Patch Rules [2026 DIY]](https://lawnmajesty.com/wp-content/uploads/2026/06/Fix-Cracked-Driveways-3-Cold-Patch-Rules-2026-DIY.jpeg)
Fix Cracked Driveways: 3 Cold-Patch Rules [2026 DIY]
Why Most Driveway Patches Fail Within Six Months
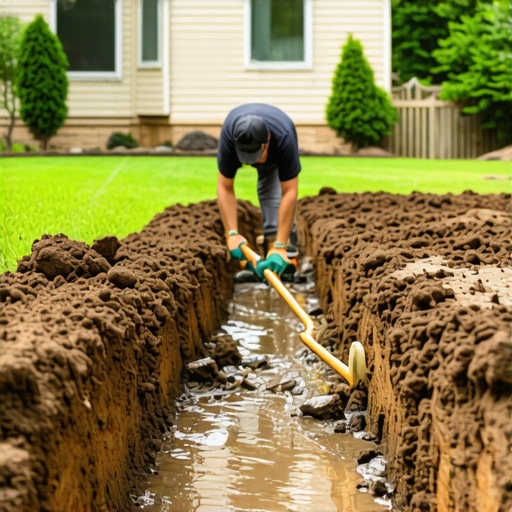
Most driveway repair failures occur because homeowners treat asphalt like play-dough rather than a structural engineering component. To fix a cracked driveway using cold-patch, you must ensure the repair area is excavated to a depth of at least 2 inches, the edges are squared off to provide mechanical resistance, and the sub-grade is compacted to a minimum of 95% Proctor density to prevent future settling. I recently got called out to tear up a $30,000 driveway and patio system that was sinking and spider-webbing because the previous contractor ignored the drainage. The hydrostatic pressure from a poorly graded lawn was shoving water directly under the asphalt, turning the sub-grade into soup. It did not matter how much patch they threw at it; the foundation was compromised. If you do not fix the water, the asphalt is just a temporary bandage. Asphalt is essentially a flexible pavement. It relies on the stone beneath it to carry the load. When water enters a crack, it undergoes freeze-thaw cycles that expand the gap, eventually leading to alligator cracking or full-blown potholes. Stop buying the cheap, oily bags of ‘filler’ from big-box stores that never actually harden. You need a high-performance cold mix that utilizes polymer-modified bitumen.
“A retaining wall doesn’t fail because of the stone; it fails because of the water trapped behind it.” – Hardscape Engineering Axiom
How long does cold patch take to cure?
Cold patch asphalt typically requires 30 to 90 days to fully cure before a sealcoat can be applied. The polymers must off-gas and the binders need to harden through oxidation; driving on it immediately is usually fine, but turning your wheels while stationary will tear the fresh patch. Use a piece of plywood over the repair if you must drive over it within the first 24 hours.
Rule 1: The Mechanical Edge and The Cleanout
Effective asphalt repair starts with a hammer and chisel, not a bag of material. You cannot simply pour cold-patch into a v-shaped crack and expect it to stay. As the ground shifts, that wedge-shaped patch will simply pop out like a cork. You must square the edges. Use a circular saw with a diamond blade or a cold chisel to create vertical walls at the edge of the hole. This provides a ‘shoulder’ for the new material to bite into. After squaring the edges, you must remove every trace of organic matter. Dirt, grass, and moss act as a bond-breaker. I use a stiff wire brush and a leaf blower. If there is oil saturated into the stone base, it must be removed. Asphalt won’t bond to grease. Period. It is a chemical impossibility. If you leave a single dandelion root in that crack, it will grow through your new patch in three weeks. It will rot the repair from the inside out.
Rule 2: Sub-Grade Compaction and Stabilization
Proper driveway sub-base is more important than the black stuff on top. If the hole is deeper than 2 inches, do not fill the whole thing with cold-patch. You are wasting money and creating a soft spot. Instead, use a 21A or 3/4-inch minus crushed stone. Fill the hole until you have exactly 2 inches of headspace left. Now, compact that stone. I don’t mean stepping on it with your work boots. I mean using a heavy steel hand tamper or a 4×4 post to pound that stone until it doesn’t move when you hit it. The tamper should literally bounce off the compacted base. If the base is soft, the patch will flex, crack, and fail. This is where the ‘mow-and-blow’ guys fail; they just dump and run. In my 20 years of hardscaping, I have seen thousand-dollar repairs fail because someone was too lazy to spend ten minutes with a tamper. The sub-grade is the skeleton of your driveway. Without it, you have nothing.
| Material Type | Best Use Case | Durability Rating | DIY Difficulty |
|---|---|---|---|
| Liquid Crack Filler | Hairline cracks (<1/2 inch) | Low | Easy |
| Polymer Cold Patch | Potholes and wide cracks | Moderate | Medium |
| Hot Mix Asphalt | Full resurfacing/Large sections | High | Professional Only |
| Infrared Repair | Seamless blending | Very High | Professional Only |
Rule 3: The Lift Method and The Crown
Applying cold-patch asphalt requires a technique called ‘lifting.’ Never dump 4 inches of material into a hole and try to compact it all at once. The air trapped in the middle will prevent the binders from setting. Apply the material in 1-inch increments, compacting each layer as you go. When you reach the final layer, leave the patch about 1/2 inch higher than the surrounding driveway. This is called ‘crowning.’ As you drive over the patch, it will naturally compress. If you fill it flush, it will eventually become a divot that collects water. Collect water, and you start the whole failure cycle over again. Don’t skip this. Use a screed board to ensure the material is even, then hit it with the tamper until it is rock hard. If you can see the individual stones moving under the tamper, you aren’t done yet. Keep hitting it.
Is cold patch better than hot mix for driveways?
Hot mix asphalt is objectively superior for structural longevity, but cold-patch is the only viable DIY solution for localized repairs because hot mix must be applied at temperatures above 275 degrees Fahrenheit. Cold patch is a temporary-to-permanent fix designed to stop further erosion of the driveway base until a full resurfacing can be performed. Don’t let a salesman tell you otherwise.
- Square the edges: Use a chisel to create 90-degree vertical walls.
- Clean thoroughly: No dust, no dirt, no oil, and definitely no weeds.
- Check the base: Use crushed stone if the hole is deeper than 2 inches.
- Compact in lifts: 1-inch layers are the maximum for proper density.
- Crown the finish: Leave it slightly high to account for future settling.
“The engineering properties of bitumen are highly temperature-dependent; cold-patch relies on solvent evaporation or chemical break to achieve stability.” – Pavement Materials Manual
![Build a $150 2026 Cedar Garden Border for Bedding [DIY]](https://lawnmajesty.com/wp-content/uploads/2026/07/Build-a-150-2026-Cedar-Garden-Border-for-Bedding-DIY.jpeg)
![Build a $500 2026 Flagstone Fire Pit Circle [DIY]](https://lawnmajesty.com/wp-content/uploads/2026/05/Build-a-500-2026-Flagstone-Fire-Pit-Circle-DIY.jpeg)