Build a $200 2026 Gravel Path for Small Backyards
Why Most DIY Gravel Paths Fail Within Six Months
A professional gravel path succeeds or fails based on subgrade compaction and hydrostatic pressure management rather than the aesthetic quality of the top-layer stone. To build a durable 20-foot walkway for under $200 in 2026, you must prioritize excavation depth and geotextile separation to prevent the stone from migrating into the native soil. Failing to address soil plasticity will result in a sinking, muddy mess within one freeze-thaw cycle.
I recently got called out to tear up a $30,000 patio that was sinking because the previous contractor thought they could skip the plate compactor and just ‘hand tamp’ the base. It was a disaster. The clay soil underneath had saturated, turned to slurry, and the expensive pavers were literally swimming in mud. When we excavated, we found they used cheap landscape fabric instead of a woven geotextile. That mistake cost the homeowner five figures. When you are building a small gravel path on a $200 budget, you cannot afford to waste money on materials that will fail. You have to do the engineering work yourself. Don’t be the person who buys expensive decorative pebbles only to watch them disappear into the dirt. We are talking about soil mechanics, not just gardening. If the base isn’t solid, the project is a waste of time.
“A retaining wall doesn’t fail because of the stone; it fails because of the water trapped behind it.” – Hardscape Engineering Axiom
The Physics of Interlocking Aggregate
In the world of hardscaping, we deal with the ‘angle of repose’ and ‘interlocking friction.’ Round stones, like pea gravel, act like ball bearings. They shift. They move. They are a nightmare for strollers or wheelchairs. If you want a path that feels like a sidewalk, you need angular aggregate. This is stone that has been crushed, creating sharp edges that lock together under pressure. In 2026, with rising material costs, sourcing 3/4-inch minus crushed stone or recycled concrete aggregate (RCA) is the most cost-effective way to achieve a professional-grade base. This material contains both the stone and the ‘fines’ (dust), which act as a binder when wetted and compacted.
Essential Materials for a Durable 2026 Gravel Walkway
Budgeting for a landscaping project in 2026 requires precise material take-offs to ensure you stay under the $200 threshold for a standard 15-to-20-foot path. Focus your spending on structural integrity—specifically the base-layer aggregate and a high-quality edging system—while sourcing local quarry screenings to minimize delivery surcharges. Avoid big-box retail stores where margins are marked up 300% on bagged goods.
| Material Item | Quantity (for 20′ x 3′ path) | Estimated 2026 Cost | Purpose |
|---|---|---|---|
| 3/4″ Minus Crushed Stone | 0.75 Cubic Yards | $45.00 | Structural Base Layer |
| 1/4″ Angular Granite or Pea Stone | 0.5 Cubic Yards | $55.00 | Decorative Top Layer |
| Woven Geotextile Fabric | 60 Square Feet | $25.00 | Soil Separation |
| Steel or Heavy-Duty Poly Edging | 40 Linear Feet | $60.00 | Lateral Restraint |
| 811 Utility Marking | 1 Call | $0.00 | Safety/Prevention |
Notice the budget. We are spending more on the edging and fabric than the actual stone. This is intentional. Without lateral restraint, your gravel will migrate into your lawn care zone, destroying mower blades and creating a maintenance nightmare. Steel edging is preferred for its longevity, though heavy-duty composite is acceptable if it is anchored with 10-inch galvanized spikes every 2 feet. Don’t use the thin plastic rolls; they will heave out of the ground during the first frost.
How much modified gravel do I need for a patio or path base?
To calculate gravel volume, multiply length x width x depth (in feet) and divide by 27 to get cubic yards. For a 20-foot path that is 3 feet wide with a 3-inch total depth, you need approximately 0.67 cubic yards. Always round up by 15% for compaction loss. When you run a plate compactor over crushed stone, the volume shrinks as the air pockets are removed. If you don’t account for this, you will run short. Order 0.75 or 1 yard. Bulk delivery is cheaper than bags. Go to a local landscape supply yard. Tell them you need ‘crusher run’ or ‘dense grade.’ They will know what you mean. It is the backbone of all civil engineering.
The Professional Installation Sequence: Step-by-Step
The installation process begins with a subgrade autopsy, where you remove the organic layer (sod and topsoil) until you hit the B-horizon soil, which is denser and less prone to settling. For a $200 budget, your labor is the primary investment, requiring a 4-inch deep excavation to accommodate both the compacted base and the finished aggregate without creating a trip hazard. Use a flat-head shovel for the edges to maintain a crisp line.
- Excavation: Remove 4 inches of soil. Ensure the floor of the trench is smooth.
- Grading: Create a 1% slope away from any structures. Water must move.
- Compaction: Rent a power tamper if the soil is loose. Otherwise, use a 10-lb hand tamper.
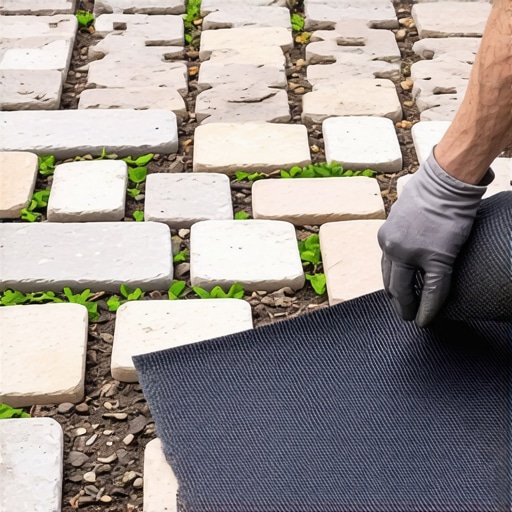
- Geotextile: Lay the fabric. Overlap seams by 12 inches. Do not skip this.
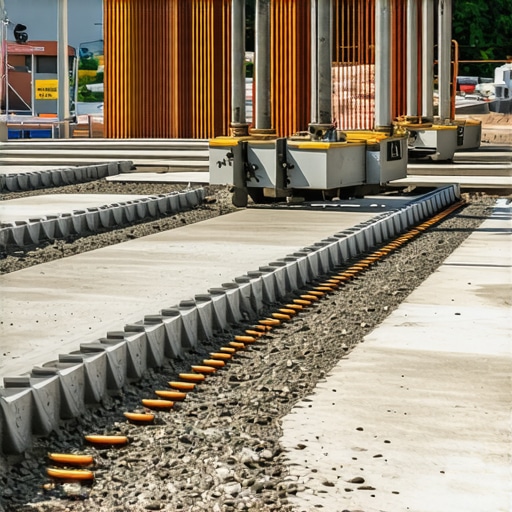
- Edging: Install the restraint system. It should sit 1/2 inch above the final gravel level.
- Base Layer: Spread 2 inches of crushed stone. Wet it down. Tamp it until it’s rock hard.
- Top Layer: Spread 1.5 inches of your decorative stone. Rake it level.
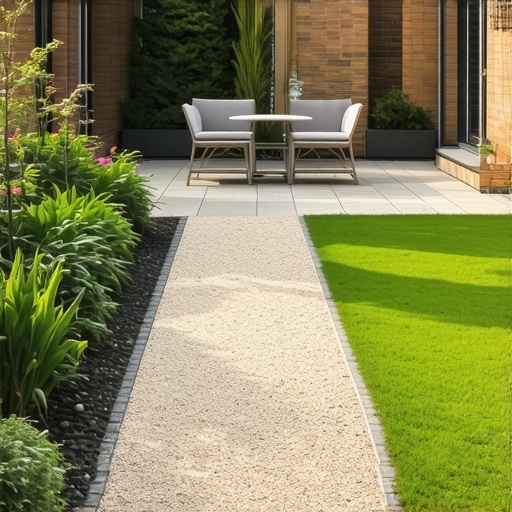
The tamper should literally bounce off the compacted base. If it feels soft, you have trapped moisture or poor soil quality. Keep tamping. This is where the work is done. [IMAGE_PLACEHOLDER] The final surface should be slightly crowned in the center. This forces rainwater to run off toward the edging rather than pooling in the middle. Most homeowners ignore micro-grading, but it is the difference between a path that lasts 20 years and one that becomes a puddle in year two.
What is the best gravel for a high-traffic walkway?
The best hardscaping gravel for high traffic is decomposed granite (DG) or 3/8″ crushed basalt. These materials feature high internal friction. Avoid smooth, round river pebbles in small sizes; they are unstable underfoot. For a $200 budget, search for ‘quarry screenings’ or ‘fines.’ These are the byproduct of stone crushing and are often sold at a steep discount. They pack down into a surface nearly as hard as concrete but remain permeable, allowing water to infiltrate the soil and reducing runoff into municipal drains.
“Infiltration rates are critical for sustainable site design; a well-constructed gravel path can manage 50% of the surface runoff of a small backyard.” – USDA NRCS Soil Guidelines
The “Settling In” Period and Long-Term Maintenance
In the first year, your gravel path will undergo a ‘settling in’ phase. As the fines wash into the lower voids of the compacted base, you may see minor depressions. This is normal. Simply rake the surface to redistribute the stone. Do not add more stone immediately. Wait for the soil to stabilize through a full season of rain. Your biggest enemy is organic matter accumulation. Leaves and grass clippings will rot in the gravel, creating a growth medium for weeds. Blow the path off weekly. If a weed does sprout, it’s likely growing in the surface debris, not through the fabric. Pull it by hand. Do not use salt; it will ruin the soil pH of the surrounding garden design and kill your turf.
Check your edging spikes every spring. Frost heave can push them up. Tap them back down with a sledgehammer. If you followed the compaction rules, the path should feel solid. It should not ‘crunch’ excessively. A professional path is quiet. It is stable. It is a piece of engineering. Don’t let the simplicity of gravel fool you. You are managing weights and measures. Stick to the inches. Stick to the PSI. That is how you win.