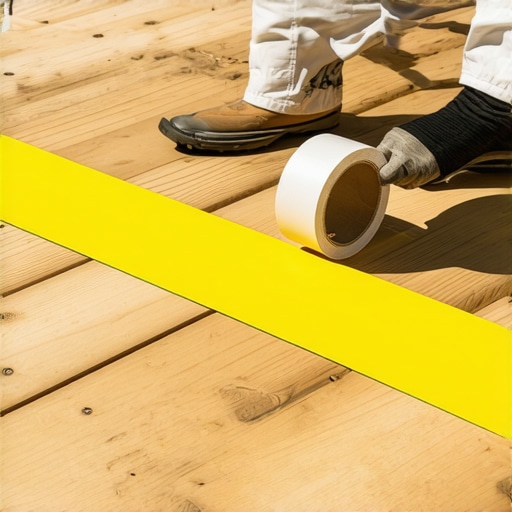
Stop 2026 Deck Rot with This $15 Joist Tape Trick
The Forensic Autopsy of a $30,000 Structural Failure
I recently got called out to tear up a $30,000 mahogany deck that was sinking because the previous contractor failed to understand a basic principle of fluid dynamics and wood biology. From the surface, the exotic hardwood looked pristine, but the moment my pry bar hit the frame, the truth came out. The joists were essentially mush. The homeowner was shocked, but I wasn’t. They had spent a fortune on the visible boards while ignoring the horizontal surfaces of the substructure. It was a classic case of top-down rot where moisture gets trapped between the decking and the joist, creating a permanent damp microclimate. This is where 90 percent of deck failures begin. If you are building or resurfacing a deck in 2026, you can avoid this entire catastrophe with a single roll of joist tape. It is a $15 investment that protects a $15,000 frame. Don’t skip it.
What is Joist Tape and Why is it Necessary?
Joist tape is a self-adhesive flashing membrane, typically engineered from butyl or acrylic compounds, designed to shield the top surface of deck joists from moisture infiltration and fungal decay. By creating a waterproof barrier and gasketing around fastener penetrations, it prevents the structural frame from rotting long before the decking boards reach their service life.
“A deck frame typically fails at the fastener interface because moisture is pulled into the wood grain through capillary action, where it cannot evaporate.” – Structural Timber Association Engineering Manual
When you drive a screw into a joist, you are creating a direct conduit for water. Gravity pulls rain down the screw shank into the heartwood of the joist. Because the decking board sits directly on top of the joist, there is zero airflow. The wood stays wet. In my twenty years of tearing down decks, I have seen pressure-treated 2x10s that looked like they were dipped in a swamp because of this moisture trap. The wood fibers lose their structural integrity as basidiomycetes fungi feed on the lignin. The $15 trick is simply applying a high-quality butyl tape over the top of those joists before the decking goes down. It seals the wood. It stops the rot. It is that simple.
How much deck joist tape do I need?
To calculate your requirements, multiply the total linear footage of your joists, rim joists, and ledger board by 1.1 to account for 10 percent waste and overlapping. Most standard 50-foot rolls will cover approximately four to five 12-foot joists when applied to the top 2-inch edge. For a standard 12×16 deck with 16-inch on-center spacing, you will typically need 4 to 6 rolls of tape. Ensure you purchase tape that is at least 1-5/8 inches wide for standard 2x lumber, or 3-1/4 inches for double joists. Measurements matter here. Don’t eyeball it.
| Tape Material | Adhesion Strength | Temperature Range | Self-Sealing Ability | Average Cost |
|---|---|---|---|---|
| Asphalt-Based | Moderate | 30°F to 120°F | Low | $10 – $12 |
| Butyl Rubber | High | -20°F to 200°F | Excellent | $15 – $25 |
| Acrylic | Superior | -40°F to 240°F | Very High | $25 – $40 |
Not all tapes are equal. Avoid the cheap asphalt-based flashing you find in the roofing aisle. Asphalt dries out, cracks, and loses its grip in cold climates. I only use butyl-based tapes. Butyl is chemically inert, meaning it won’t react with the copper-based preservatives found in modern ACQ or MCQ pressure-treated lumber. It remains pliable in sub-zero temperatures and literally ‘grabs’ the screw as it passes through, forming a watertight gasket. This is non-negotiable for high-end hardscaping projects.
Is joist tape worth it for pressure-treated wood?
Yes, because modern pressure-treated wood is not the same as the old CCA-treated lumber from twenty years ago. Current MCQ (Micronized Copper Quaternary) treatments offer great rot resistance but are highly prone to internal moisture retention and fastener corrosion. Joist tape provides a dielectric barrier that prevents the copper in the wood from reacting with the zinc in your fasteners, while simultaneously blocking the hydrostatic pressure that forces water into the joist’s crown. Without it, the wood will eventually split along the grain lines where the screws are driven.
The Anatomy of Fungal Decay in Deck Framing
Rot is not an accident; it is biology. To thrive, wood-decay fungi need four things: oxygen, temperatures between 40 and 100 degrees Fahrenheit, a food source (your joists), and moisture content above 20 percent. We cannot control the air or the temperature, and the joists are the food. The only variable we can control is moisture. When decking boards are fastened directly to joists, the gap between them—often less than a millimeter—acts as a capillary tube. It sucks water in and holds it there through surface tension. This creates a permanent damp zone. Even ‘weatherproof’ wood cannot survive being submerged for 10 years. The joist tape breaks this capillary bond. It forces the water to shed off the sides of the joist rather than sitting on top. If you don’t do this, you are building a shelf-life into your deck. It will fail. No question.
“Failure to provide adequate flashing or moisture protection on horizontal wood members results in a 60% reduction in structural lifespan compared to protected members.” – Agricultural Extension Forest Products Laboratory
In my experience, the ‘mow-and-blow’ contractors won’t tell you about this because it adds an hour of labor to the job. They want to get in, get paid, and leave. But if you want a deck that lasts 30 years instead of 10, you have to think like an engineer. You have to manage the water. Use a heavy-duty roller to apply the tape to ensure there are no air bubbles. Any air pocket is a place where condensation can form. Smooth it out. Make it tight.
- Step 1: Clean the top of the joists to remove sawdust and debris.
- Step 2: Center the tape over the joist, allowing a slight overhang on both sides.
- Step 3: Apply firm pressure using a J-roller to activate the pressure-sensitive adhesive.
- Step 4: Overlap any seams by at least 2 inches to ensure a continuous waterproof seal.
- Step 5: Install decking boards immediately to protect the tape from UV degradation.
One specific, contrarian point: do not use wide tape that covers the entire side of the joist. You only want to cover the top and maybe a quarter-inch of the sides. If you wrap the entire joist in plastic or tape, you trap moisture inside the wood, preventing it from ‘breathing’ out the sides. This causes internal rot. The goal is to shed water from the top, not to mummify the wood. Landscaping is about managing the transition between the dry and the wet. If you mess that up, nature wins every time. Don’t let nature win your deck. Spend the fifteen dollars.