Build a $300 Cedar Pergola Corner for 2026 Shade
Strategic Planning for the $300 Cedar Pergola Corner
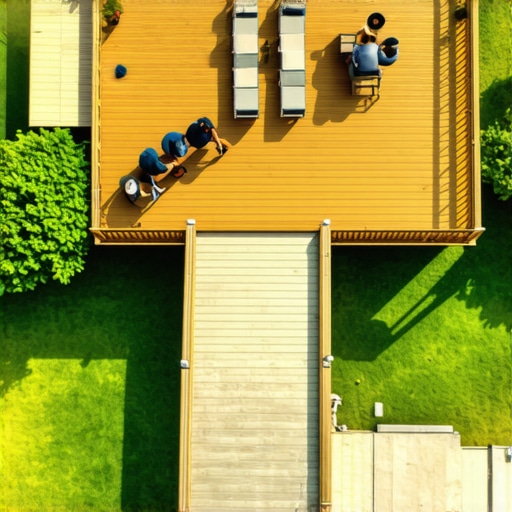
Building a cedar pergola corner for $300 requires a rigorous focus on structural simplicity and lumber grading. A corner unit utilizes two load-bearing posts and utilizes existing structures or a triangular footprint to minimize material overhead while maximizing shade density. Unlike full-sized structures, the corner design focuses on tension and shear strength at the joints to resist lateral wind loads. I always drill into my new crew members: if you don’t fix the soil grading first, every plant you put in the ground is just expensive compost. The same logic applies to hardscaping. If you ignore the soil compaction and grading before setting your posts, you are not building a shade structure; you are building a future hazard that will lean and fail within three seasons. Success in landscaping is found in the details of the base layer. Every garden design must account for the freeze-thaw cycle and how it impacts vertical posts. This pergola build is an exercise in civil engineering on a micro scale. You are managing static loads and organic decay cycles. By 2026, this structure will provide a 15 degree temperature drop if you calculate your rafter spacing for solar orientation.
Material Procurement and Cost Breakdown
Selecting Western Red Cedar for a $300 budget involves sourcing rough-sawn heartwood which offers superior thujaplicin content for natural rot resistance. You must avoid sapwood, which lacks the chemical defense needed for direct weather exposure. Below is a breakdown of the materials required to hit the target price point without sacrificing structural integrity.
| Material Item | Quantity | Function | Estimated Cost |
|---|---|---|---|
| 4x4x8 Rough Sawn Cedar | 2 | Load-bearing posts | $110 |
| 2x6x10 Cedar Beams | 4 | Primary rafters | $120 |
| 80lb Bag Concrete (4000 PSI) | 3 | Post anchorage | $21 |
| #10 3-inch Stainless Steel Screws | 1 Box | Corrosion-resistant fasteners | $35 |
| 5/8-inch Crushed Limestone | 2 Bags | Drainage base | $14 |
Totaling roughly $300, this list prioritizes stainless steel over galvanized fasteners. Galvanized hardware reacts with the tannic acid in cedar, causing black streaking and accelerated fastener failure. In hardscaping, using the wrong metal is a rookie mistake that compromises the entire landscaping project.
Excavation and Post Footing Engineering
Excavating post footings for a pergola requires reaching the frost line, typically 36 inches deep in temperate zones, to prevent heaving. A bell-bottom hole design increases the surface area of the concrete base, distributing the vertical load more effectively across the subsoil.
“Structural failure in small-scale timber frames often originates at the post-soil interface where moisture retention exceeds the wood’s natural fungal resistance.” – American Wood Council Standards
Don’t skip the gravel. Pouring 4 inches of limestone gravel at the bottom of the hole creates a capillary break. This allows water to drain away from the end-grain of the cedar post. Without this, the post sits in a concrete bucket that holds water, leading to fungal colonization and cellulose breakdown. Dig deeper. It is the only way to ensure the structure stays plumb. I have seen countless $30,000 patios fail because the base layer was neglected; a $300 pergola will fail even faster if the hydrostatic pressure in the soil isn’t managed. The soil pH can also impact the longevity of your concrete footings if it is highly acidic, though this is rarely a concern for residential lawn care environments.
How deep do pergola posts need to be?
Pergola posts must be buried to a minimum depth of one-third their total height, or at least 6 inches below the local frost line. This depth ensures lateral stability against wind shear and prevents the structure from shifting during ground freeze. Use a post-hole digger to keep the diameter narrow, which minimizes soil disturbance around the load-bearing zone.
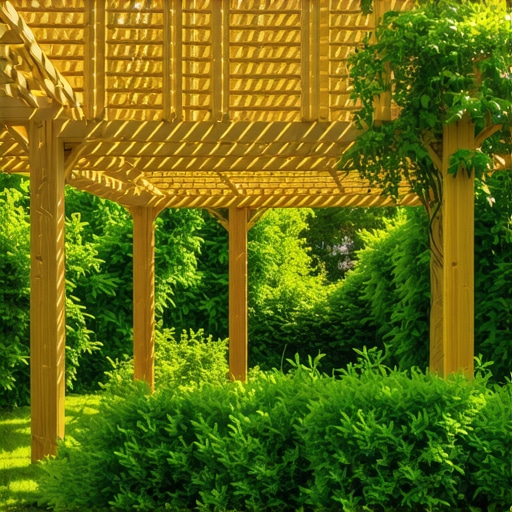
Assembly and Rafter Geometry
The assembly of cedar rafters requires notched joints or structural screws to maintain frame rigidity under thermal expansion. Spacing your 2×6 beams every 12 inches on center will provide 60% shade coverage by the year 2026 as the wood seasons and climbing vines take hold.
“The angle of the sun at the summer solstice determines the required spacing of pergola rafters to achieve maximum shade coverage.” – Solar Geometry for Landscape Architects
When you drive your fasteners, always pre-drill. Cedar is a softwood and prone to splitting along the growth rings if screws are driven without a pilot hole. Use an 1/8-inch drill bit to clear the path. This prevents internal stresses that could lead to structural cracks during the dry season. If you are integrating this into your garden design, ensure the rafters run North-to-South. This orientation tracks the sun’s path and provides moving shade throughout the afternoon. It works. Don’t eyeball the level. Use a line level and a 4-foot box level to ensure the header beams are perfectly horizontal. Even a 1-degree tilt will be magnified over a 10-foot span, creating torque on the post footings.
Is cedar better than pressure treated for pergolas?
Cedar is superior to pressure-treated lumber for pergolas because it is dimensionally stable and contains natural oils that resist decay without toxic chemicals. Pressure-treated wood often warps, twists, and shrinks as it dries, which can pull structural joints apart and ruin the aesthetic alignment of your landscaping project.
Maintenance and Long-Term Stability
Maintaining a cedar pergola involves monitoring the wood’s moisture content and ensuring air circulation around the base. Do not allow mulch to build up against the cedar posts. This creates a moisture trap that invites subterranean termites and rot. Keep lawn care equipment like string trimmers away from the posts; mechanical damage to the wood fibers allows pathogens to enter the heartwood. Check the torque on your stainless steel bolts every spring. The wood will shrink and swell with the seasons, and fasteners can loosen over time. Use a penetrating oil stain if you want to keep the amber hue, or let it weather to a silvery gray for a low-maintenance approach. The structural integrity remains the same either way. Hardscaping isn’t a set-it-and-forget-it task. It is a multi-year commitment to structural monitoring. Following this engineering protocol ensures your $300 investment provides a functional canopy for years to come.
- Call 811 before digging to locate underground utility lines.
- Use 3000 PSI or higher strength concrete mix.
- Ensure stainless steel hardware is 304 or 316 grade.
- Apply a wax-based sealer to the end-grain of posts before burial.
- Space rafters based on latitude-specific solar angles.
![Build a $500 Outdoor Kitchen Base [2026 Budget]](https://lawnmajesty.com/wp-content/uploads/2026/06/Build-a-500-Outdoor-Kitchen-Base-2026-Budget.jpeg)