The $50 Gravel Secret to Keeping Your Paver Edges From Shifting
The Critical Failure of the Edge: Why Patios Walk Away
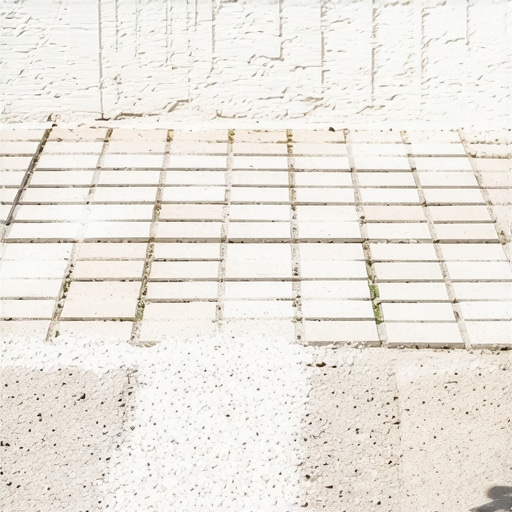
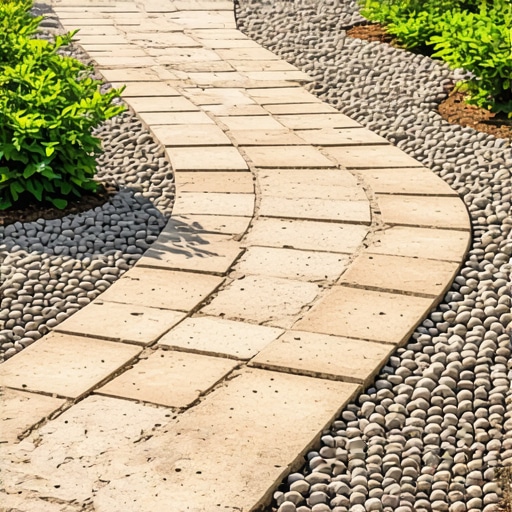
The secret to preventing paver displacement is the extended aggregate base, a process where you spend approximately $50 on additional 3/4-inch modified gravel to extend the foundation 12 inches beyond the visible paver edge. This structural shoulder ensures that the edge restraint spikes drive into a compacted, engineered medium rather than soft, expansive topsoil. Without this 12-inch over-build, the lateral pressure of the pavers combined with freeze-thaw cycles will inevitably force the perimeter units to migrate outward, destroying the structural integrity of the entire installation.
I recently got called out to tear up a $30,000 patio that was sinking because the previous contractor stopped the base exactly at the paver line. It was a forensic disaster. The homeowner had beautiful natural stone pavers, but the edges were rolling into the flower beds like they were trying to escape. When I put my spade into the ground, I found that the geotextile fabric ended right at the edge of the stone. There was no support for the PVC edge restraints. Those plastic strips were spiked into mud. After three years of heavy rain and North American winters, the hydrostatic pressure had shoved the pavers nearly two inches out of alignment. We had to excavate the entire perimeter, a costly remediation that could have been avoided with five extra wheelbarrows of crushed stone during the initial build. This is the difference between a contractor who understands civil engineering and a guy who just knows how to lay blocks in a pattern.
The Engineering of the Base: Beyond the Surface
Proper hardscaping requires a deep understanding of soil mechanics and the Proctor density of your subgrade. Most DIY manuals suggest a four inch base, which is a recipe for failure in areas with high clay content. Heavy clay holds water, and water is the enemy of stability. When that water freezes, it expands by 9%, exerting thousands of pounds of heave pressure on your pavers. If your base isn’t thick enough or wide enough to distribute this load, your patio becomes a series of disjointed speed bumps. You must excavate deep enough to reach virgin subsoil, then replace it with a well-graded aggregate that can be compacted to 98% density. This isn’t just about making it flat; it is about creating a monolithic structural plate that floats on the earth.
“A retaining wall doesn’t fail because of the stone; it fails because of the water trapped behind it.” – Hardscape Engineering Axiom
How much modified gravel do I need for a patio base?
To calculate your gravel requirements, multiply the total square footage by the desired depth in feet, then divide by 27 to find the cubic yardage; for a standard 400 square foot patio with a 6-inch base and a 1-foot over-travel on all sides, you will typically need about 10.5 cubic yards of 2A modified stone. Remember that compaction will reduce the volume of your loose gravel by about 20%, so always order extra. It is better to have a small pile of stone left over than to run short when you are in the middle of a plate compactor rental window.
The $50 Secret: The 12-Inch Base Extension
The primary reason edges shift is lateral displacement. When you walk on a paver, the weight is transferred downward and outward. If the edge of the paver sits on the edge of the gravel base, that outward force has nowhere to go but into the soft dirt. The dirt gives way, the paver tilts, and the polymeric sand joints crack. By extending the base 12 inches past the pavers, you create a structural shoulder. This extra foot of compacted stone acts as an anchor for your edge restraint system. When you drive an 8-inch steel spike into 6 inches of compacted 2A modified stone, it stays put. When you drive it into dirt, it moves with the first rain. The cost of this extra stone for a medium-sized patio is rarely more than $50 at a local quarry, but it adds decades to the life of the project.
| Material Type | Function | Stability Rating | Drainage Capability |
|---|---|---|---|
| 2A Modified (Crushed Stone) | Primary Base Layer | Ultra-High | Moderate |
| #57 Clean Crushed Stone | Drainage/Permeable Base | High | Excellent |
| Screenings/Stone Dust | Bedding (Not Recommended) | Low | Poor |
| C33 Concrete Sand | Ideal Bedding Layer | High | Good |
Avoid stone dust like the plague. It is a byproduct of the crushing process and contains too many fines. These tiny particles trap water and turn into a mushy, unstable paste during heavy rains. Use washed concrete sand (ASTM C33) for your bedding layer instead. It allows for better drainage and provides a more stable nesting site for the pavers. This is the Horticultural & Engineering reality that many skip because sand is harder to screed than dust. Do not be lazy. Your patio’s lifespan depends on the permeability of these layers.
What causes paver edges to shift over time?
Paver edges shift primarily due to inadequate edge restraint and base erosion, where water infiltrates the perimeter and washes away the bedding sand, causing the outside units to tip and migrate away from the main field. This is often exacerbated by capillary action pulling moisture into the subbase, which then undergoes freeze-thaw cycling. Without a solid 12-inch aggregate shoulder to lock the edging in place, the lateral pressure of foot traffic and furniture eventually overcomes the friction of the joints.
The Step-by-Step Installation Protocol
Installation is not about speed; it is about vibration and density. Every two inches of stone you add must be compacted with a vibratory plate compactor. If you throw six inches of stone in a hole and run the machine over the top, the bottom four inches will remain loose. Over time, that stone will settle, and your patio will follow. Follow this sequence for a professional-grade result.
- Excavate to a depth of 10-12 inches, ensuring you are 12 inches wider than the finished patio size.
- Install a non-woven geotextile fabric to separate the subsoil from your aggregate.
- Add 2 inches of 2A modified stone and moisture-condition it with a light mist.
- Compact the layer until the machine literally bounces off the surface.
- Repeat in 2-inch lifts until you reach your desired base height.
- Screed 1 inch of C33 concrete sand as your bedding layer.
- Lay your pavers, ensuring tight joints.
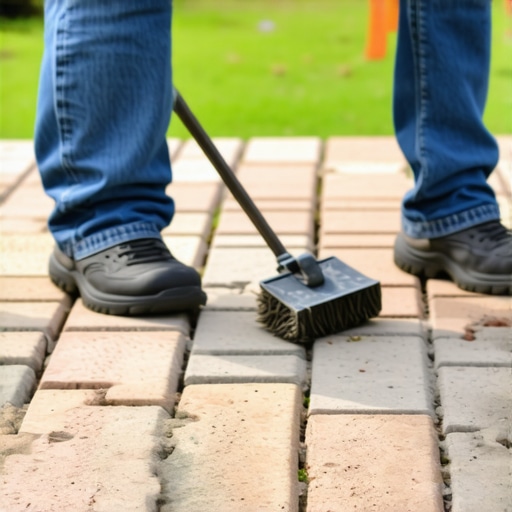
- Install professional-grade PVC edge restraints, spiking them every 12 inches into the extended base.
- Sweep in polymeric sand and vibrate the pavers to lock them into the bedding sand.
- Apply a fine mist to activate the polymers in the sand.
“Base thickness must be determined by the expected load and subgrade soil strength, typically requiring a minimum of 4 inches for pedestrian areas and 6 to 8 inches for driveways.” – ICPI Tech Spec No. 2
The final step is the most overlooked: the compaction of the pavers themselves. After the stones are laid and the sand is swept, you must run the compactor over the top of the pavers (using a protective mat). This forces the bedding sand up into the joints and the pavers down into the sand, creating a mechanical interlock. This makes the surface behave as a single, flexible unit rather than individual stones. It will not move. It will not rot. It will last. Don’t skip this. Most people are afraid they will break the stones. If your base is flat and compacted, they won’t break. If they do break, they were defective or your base was uneven. Better to find out now than in two years.
The Maintenance Horizon
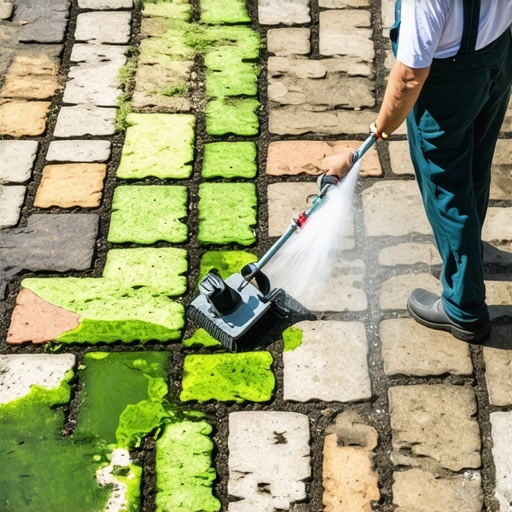
In the first year, your patio will settle into its final position. You might see a small amount of efflorescence, a white salty powder, rise to the surface of the pavers. This is a natural chemical reaction as the concrete cures and the salts migrate outward. Do not panic. It will wash away with rain or a mild specialized cleaner. The polymeric sand joints are your first line of defense against weed seeds. If you see a weed, it didn’t come from the bottom; it blew in from the top. Keep the joints full. If you notice the sand receding, top it off. A well-built patio is a 30-year investment, but it requires you to respect the physics of the dirt. Stop looking at the pretty stones and start looking at the gravel underneath them. That is where the real work happens.