Build a $200 2026 Pergola with Reclaimed Wood
Engineering a $200 Reclaimed Wood Pergola: The Hardscape Professional’s Guide to Structural Integrity
Building a structure that survives the elements for $200 in 2026 requires more than a hammer and a dream; it requires a deep understanding of structural load, timber salvage, and soil mechanics. While most homeowners get distracted by the aesthetics of reclaimed wood, a veteran contractor knows the real work happens below the grade. I always drill into my new crew members: if you don’t fix the soil grading first, every plant you put in the ground is just expensive compost, and every post you set is just a ticking clock until it leans. This same logic applies to vertical structures. If you don’t account for the hydrostatic pressure and the organic decay of your salvaged materials, your weekend project will be a pile of kindling in three seasons. It will rot. Don’t skip the physics.
The Answer Capsule: Sourcing Salvaged Timber for Budget Garden Design
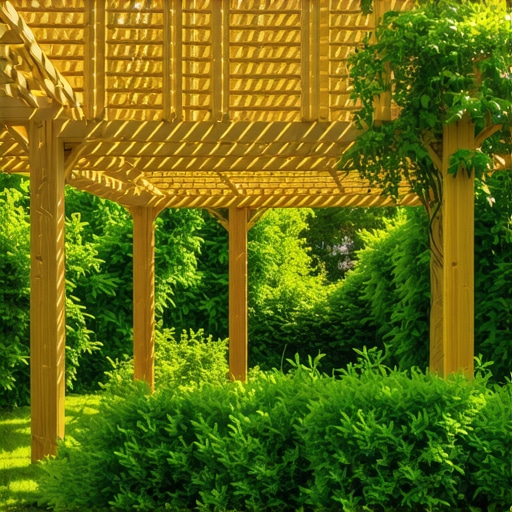
To build a $200 pergola in 2026 using reclaimed wood, you must source local salvaged timber from demolition sites or pallet wholesalers, prioritize structural fasteners over expensive trim, and ensure deep post-footing stabilization to prevent frost heave or wind-lift failure in your garden design.
Reclaimed wood isn’t just a style choice; it’s a structural gamble. You aren’t buying kiln-dried, pressure-treated lumber from a climate-controlled warehouse. You are dealing with timber that has already lived a life. It might be heartwood cedar from a 50-year-old fence or oak from a shipping pallet. You must inspect every inch for “exit holes” which indicate powderpost beetles or other wood-boring insects. If you bring infested wood into your landscape, you aren’t just building a pergola; you’re inviting a plague into your garden design. Use a moisture meter. If the wood is above 15% moisture content, it’s going to warp as it dries in the sun. Wait for it to stabilize.
“Proper drainage in the post-hole assembly prevents the anaerobic conditions that accelerate fungal decay in reclaimed cellulose fibers.” – Wood Engineering Handbook
How deep should pergola posts be buried?
In most jurisdictions, pergola post footings must be excavated to at least 36 inches deep or below the local frost line to prevent the structure from shifting during freeze-thaw cycles. In heavy clay soils, you must add a 6-inch layer of modified gravel (3/4-inch minus) at the bottom of the hole to facilitate drainage and prevent the wood base from sitting in a saturated environment. Do not just pour concrete around the wood. This creates a “bucket” that traps water against the grain. Instead, use a standoff bracket or a gravel-bottom sleeve. Use 3000 PSI concrete minimum. It matters.
| Material Component | Source Strategy | Estimated 2026 Cost |
|---|---|---|
| 4×4 Support Posts (4) | Barn Demolition / Salvage Yard | $40 – $60 |
| 2×6 Headers (2) | Industrial Pallet Wholesale | $20 – $40 |
| 2×4 Rafters (8) | Reclaimed Fencing / Craigslist | $30 – $50 |
| Structural Screws (6-inch) | Bulk Hardware Purchase | $40 – $50 |
| Concrete (80lb bags) | Home Center Clearance | $30 – $40 |
The math is tight. To hit that $200 mark, you are trading your labor for material savings. This means spending three days on Facebook Marketplace and driving to a job site at 6:00 AM to haul away someone else’s “trash.” Avoid the big-box stores for anything other than your fasteners and concrete. Their lumber prices are dictated by global commodity shifts; your local demolition guy is dictated by how fast he needs his site cleared. High-end landscaping is often about who you know in the trades.
The Physics of Wind Loading and Rafter Spacing
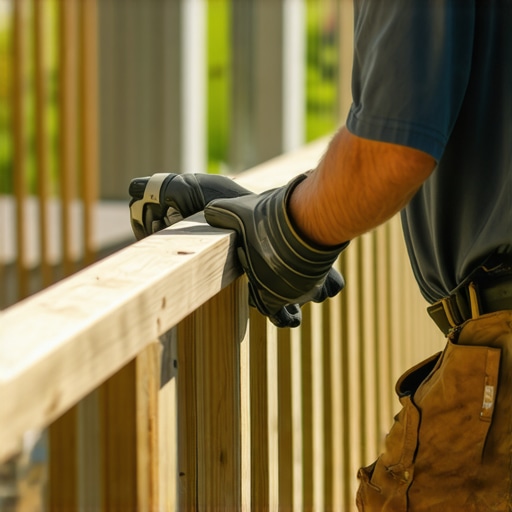
A pergola is essentially a giant sail. In a high-wind event, the uplift force can be enough to pull poorly set posts right out of the dirt. This is why we use structural screws, not nails. Nails have great shear strength but terrible withdrawal resistance. When the wind gets under those rafters, you need the threads of a 6-inch structural screw to bite into the grain. For the rafters, I recommend a 12-inch to 16-inch on-center spacing. This provides enough shade to be functional but keeps the weight manageable for reclaimed 2x4s. Check the crown of every board. Always install the crown up. Gravity will eventually level it out. If you install it crown down, it will sag immediately. It looks amateur. Don’t be an amateur.
“A structure’s lifespan is inversely proportional to its moisture retention capacity at the ground interface.” – Forest Products Laboratory General Technical Report
What is the best reclaimed wood for outdoor structures?
The best reclaimed wood species for an outdoor pergola are Western Red Cedar, Black Locust, and White Oak due to their natural tannins and oils that resist rot and insect infestation. Avoid reclaimed “white wood” or pine unless it has been chemically treated, as these species lack the biological defenses necessary to survive ground-contact or high-moisture exposure in a typical hardscaping environment.
- Call 811 before you dig to mark underground utility lines.
- Inspect all reclaimed timber for structural cracks or fungal rot.
- Use a 4-foot level and a string line to ensure the site is graded for drainage.
- Pre-drill all holes in reclaimed hardwood to prevent splitting.
- Apply a high-quality oil-based sealer to the end-grain of every cut.
Maintenance is the part that everyone ignores. Because you are using reclaimed wood, the cellular structure is already compromised by age. You need to saturate the wood with a paraffin-based or oil-based sealer. Do not use cheap water-based stains that just sit on the surface like a film. They will peel within twelve months. You want a product that penetrates the fibers. This is especially true for the top of the rafters where the sun is most brutal. If you don’t seal it, the sun will bake the remaining lignin, and the wood will turn into gray, brittle fluff. Protect your investment. It’s only $200, but your time is worth more than that. Treat it like a million-dollar install.