How to Repair a Cracked Concrete Birdbath in Minutes
A concrete birdbath is more than a garden ornament; it is a structural hydrological vessel subject to the same laws of physics and material fatigue as a retaining wall or a foundation. Most homeowners treat a crack as a cosmetic nuisance, but as a hardscape contractor, I see it as a mechanical failure of the substrate. When concrete develops a fissure, it is no longer a watertight container. Capillary action draws water deep into the aggregate, where it sits. If you live in a region with freeze-thaw cycles, that trapped moisture expands with a force of up to 30,000 PSI, turning a hairline fracture into a total structural collapse. Repairing this requires more than a tube of cheap caulk from a big-box store. You need to understand the bond strength, the alkalinity of the repair material, and the curing physics involved in masonry remediation.
The Hardscape Autopsy: Why Birdbaths Fail
Concrete birdbaths fail because of poor vibration during the casting process or hydrostatic pressure caused by water saturating the porous concrete and then freezing. I recently got called out to tear up a $30,000 patio that was sinking because the previous contractor didn’t understand how water moves through a substrate, and the same logic applies to your birdbath. If the concrete was poured with too much water in the mix, it leaves behind microscopic voids as it cures. These voids are the entry points for disaster. Once a crack starts, it acts as a funnel, directing more water into the core of the concrete. You aren’t just fixing a hole; you are re-engineering the vessel’s integrity to prevent further moisture migration. Don’t skip the cleaning phase. It is the most critical part of the job.
“Hydraulic cement is specifically designed to expand as it sets, which creates a mechanical lock within the crack that traditional mortars cannot achieve.” – Masonry Construction Handbook
The Materials Science of Concrete Repair
To repair a birdbath permanently, you must use materials that match the thermal expansion coefficient of the original concrete while remaining non-toxic to avian life. Most DIYers reach for silicone, but silicone is a topical fix that will eventually peel because it does not form a chemical bond with the cementitious surface. For a structural repair, you need hydraulic cement or a two-part marine-grade epoxy that is certified for potable water contact. Hydraulic cement is the gold standard for masonry because it sets underwater and expands into the crevices, creating a watertight seal that actually gets stronger as it ages. It is the same material we use to stop leaks in basement foundations.
What is the best sealant for a concrete birdbath?
The best sealant for a concrete birdbath is a food-grade, low-VOC penetrating masonry sealer or a potable-water-safe epoxy resin that creates a non-porous barrier against moisture. Avoid standard driveway sealers or high-gloss urethanes, as these can leach toxic chemicals into the water, which will harm the birds you are trying to attract. A penetrating sealer is superior because it works within the pores of the concrete rather than just sitting on the surface where the sun can bake it off. Sunlight is the enemy of most sealants. UV radiation breaks down the polymer chains in cheap resins. You need something UV-stable. Below is a comparison of common repair materials we use in the field.
| Material Type | Bond Strength (PSI) | Curing Time | Durability Rating |
|---|---|---|---|
| Hydraulic Cement | 5,500 | 3-5 Minutes | Extreme |
| Marine Epoxy | 3,200 | 24 Hours | High |
| Masonry Caulk | 150 | 12 Hours | Low |
| Silicone Sealant | 100 | 24 Hours | Very Low |
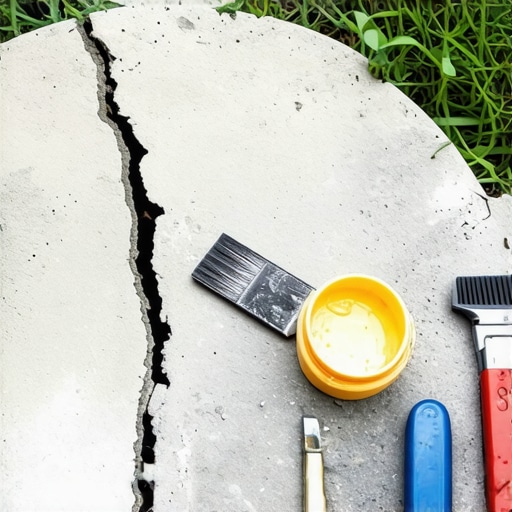
Phase 1: The Forensic Cleaning and Preparation
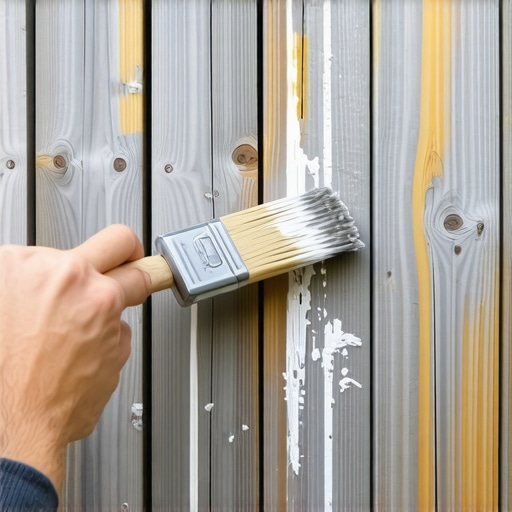
The number one reason repairs fail is lack of surface preparation. Concrete is naturally dirty and often covered in biofilm, algae, and mineral deposits. If you apply a patch over algae, the patch will fail within a month. You must use a stiff wire brush to scrub the crack down to the raw aggregate. I tell my crew: if you don’t see clean stone, you aren’t ready to pour. Use a solution of one part white vinegar to three parts water to etch the surface. This slight acidity removes the calcium carbonate buildup and opens the pores of the concrete so the new material can bite into the old. Do not use bleach. Bleach is toxic to birds and can leave a residue that interferes with the bonding agent of your epoxy. Once scrubbed, use compressed air or a high-pressure hose to blow out every bit of dust from the crack. If there is dust in the crack, your repair is sitting on a layer of ball bearings. It will slide right out.
How do I fix a leaking concrete birdbath bowl?
To fix a leaking bowl, you must widen the crack into a V-shape using a cold chisel to ensure the repair material has enough surface area to create a permanent mechanical bond. This is called ‘chasing the crack.’ If you just smear material over a thin line, the patch will be too thin to resist the pressure of the water and the movement of the concrete. By widening the top of the crack to about a quarter inch, you create a ‘plug’ that is physically locked into the structure of the bowl. After chiseling, dampen the concrete. Most people think you need it dry, but for hydraulic cement, a damp surface prevents the old concrete from sucking the moisture out of the new patch too quickly, which would cause the patch to shrink and crack. This is basic masonry science. Keep it damp, not soaking.
- Scrub with a wire brush until raw concrete is visible.
- Etch the crack with a mild acidic solution (vinegar/water).
- Use a cold chisel to create a V-groove for better mechanical grip.
- Remove all dust with compressed air or high-pressure water.
- Pre-dampen the repair area to prevent premature desiccation.
- Apply the hydraulic cement or epoxy using a putty knife.
- Trowel the surface flush to match the original contour.
“A retaining wall doesn’t fail because of the stone; it fails because of the water trapped behind it, and a birdbath fails for the exact same reason.” – Hardscape Engineering Axiom
Phase 2: The Application and Curing Process
If you are using hydraulic cement, you have a working window of about three minutes. This is not the time to be casual. Mix only what you can use in sixty seconds. The consistency should be like stiff putty. Pack it into the V-groove you chiseled, starting at the deepest point and working your way out. Force it in. You want to eliminate any air pockets. Once it is packed, use a wet trowel to smooth the surface. If you are using epoxy, you have more time, but you must ensure the two parts are mixed perfectly. An improper mix ratio will result in a gummy, soft patch that never fully cures. I prefer hydraulic cement for birdbaths because it is inorganic and matches the texture of the original piece. After the patch is in, let it cure. But don’t just walk away. Concrete needs to cure, not just dry. For the best results, cover the repair with a damp rag for 24 hours. This slow-curing process ensures maximum crystalline growth within the cement, leading to a much stronger bond.
The Biological Impact: Post-Repair Water Management
As a horticulturist, I care as much about the water chemistry as the masonry. After your repair is cured, you must neutralize the alkalinity. New concrete and many repair mortars are highly alkaline and can spike the pH of the water to levels that are harmful to bird feathers and skin. Fill the bowl, let it sit for two hours, and then dump it. Repeat this three times. This ‘leaches’ the excess lime out of the new patch. Once the pH is stabilized around 7.0, you are safe to invite the wildlife back. Remember, a birdbath is a mini-ecosystem. If you have cracks, you have a breeding ground for mosquito larvae and harmful bacteria like salmonella. A smooth, sealed surface is easy to scrub and keeps the avian population healthy. This is why we don’t use ‘mow-and-blow’ hacks for this kind of work. It requires a technician’s eye.
Engineering the Foundation: Preventing Future Cracks
If your birdbath is sitting on the soil, it is going to crack again. Soil expands and contracts with moisture levels, causing the birdbath to tilt. This tilt puts uneven stress on the pedestal and the bowl. To do this right, you need a compacted gravel base. Dig a hole six inches deep, fill it with modified gravel (crushed stone with fines), and tamp it down until it is like a rock. The tamper should literally bounce off the compacted base. Set your birdbath on this stable platform. This prevents the settling and heaving that causes structural fractures in the first place. Landscaping is about managing gravity and water. If you ignore the foundation, you are just wasting your time on the repair. Every plant you put in the ground is expensive compost if the soil grading is wrong, and every birdbath repair is temporary if the base is unstable. Do it right the first time. Stop buying the cheap stuff. Build it to last a century, not a season.