The Best Stones for a Heat-Resistant Patio Surface
Why Stone Selection Dictates Your Patio Thermal Performance
Choosing the best stones for a heat-resistant patio surface requires selecting materials with a high Solar Reflectance Index (SRI) and low thermal mass, such as travertine, shell reef limestone, or light sandstone, which stay cool by reflecting UV rays instead of absorbing and radiating heat back to your feet. Most homeowners look at color; I look at mineralogy. If you pick a dark basalt or a dense granite for a south-facing pool deck, you aren’t building a patio; you’re building a frying pan. The thermal conductivity of your stone determines whether you can walk barefoot or if you’ll be treating second-degree burns by July.
The $30,000 Hardscape Autopsy: A Lesson in Thermal Expansion
I recently got called out to tear up a $30,000 patio that was sinking and cracking because the previous contractor used a dark charcoal slate on a high-traffic area in direct sun. The stone was absorbing so much heat that the moisture in the setting bed was vaporizing, creating hydrostatic pressure that eventually blew out the grout lines. Worse, the thermal expansion of the slate was nearly double that of the concrete sub-base it was thin-set to. It sheared the bond completely. I had to explain to the homeowner that their beautiful ‘modern’ look was physically incompatible with 100-degree afternoons. We ripped it out and started from the dirt up. Don’t be that homeowner. Hardscaping is a game of physics. If you ignore the albedo effect, the sun will win every time.
“A retaining wall or patio surface doesn’t fail because of the stone; it fails because of the water trapped behind it or the thermal energy trapped within it.” – Hardscape Engineering Axiom
The Science of Cool: Materials That Defy the Sun
To identify heat-resistant stones, we must examine the lithology of the material, focusing on porosity and reflectivity because porous, light-colored stones like honed travertine or calcareous limestone allow for better air-entrainment and heat dissipation compared to dense, dark igneous rocks. Here is the technical breakdown of the top performers in the industry.
Travertine: The King of Heat Resistance
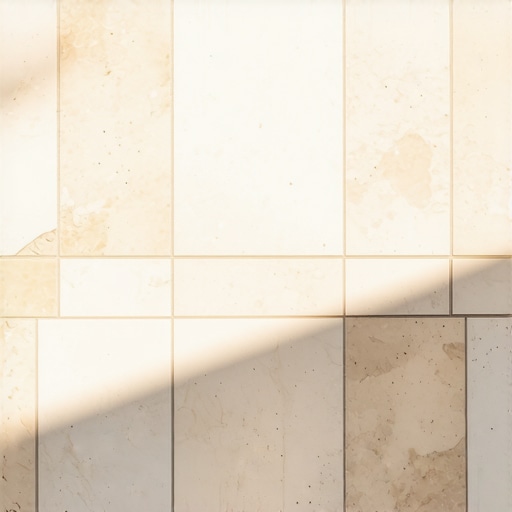
Travertine is a form of terrestrial limestone deposited around hot springs. Because it is naturally porous, it contains tiny air pockets that act as thermal insulators. These pockets prevent the stone from becoming a solid thermal mass. When we install travertine, we typically use a French pattern with a sand-set base. This allows the entire system to breathe. If you use a honed finish, the stone stays remarkably cool. It is the gold standard for pool decks for a reason. It doesn’t just look expensive; it functions at a higher biological level.
White Shell Stone and Limestone
Limestone, specifically shell reef varieties, contains fossils and calcium carbonate. These materials have a high Albedo, meaning they reflect the majority of the solar spectrum. In my experience, shell stone is the most effective at staying cool in 95-plus degree weather. We often see surface temperatures 20 to 30 degrees lower than traditional brick or concrete pavers. It’s a game-changer for pets and children. However, you must ensure the limestone is high-density. Cheap big-box limestone is junk. It will spall and flake within three freeze-thaw cycles. Buy from a reputable quarry. Demand the ASTM testing data on absorption and compressive strength.
Sandstone (Flagstone) in Light Hues
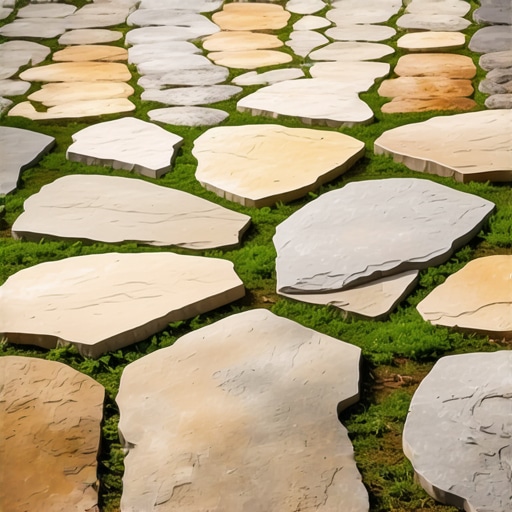
Not all flagstone is created equal. Arizona Sandstone, for instance, is excellent if you stick to the ‘Buff’ or ‘Peach’ tones. It has a gritty texture that provides slip resistance, but its sedimentary layers allow for heat to move through the stone rather than sitting on the surface. Avoid the dark ‘Buckskin’ or ‘Chocolate’ varieties. Those are heat magnets. You want stones that have a high silica content and a light pigment. It’s basic thermodynamics.
Material Comparison for Thermal Performance
| Stone Material | Heat Retention | SRI Rating (Approx) | Primary Benefit |
|---|---|---|---|
| Travertine (Light) | Very Low | 80-90 | Excellent for barefoot traffic |
| Shell Limestone | Lowest | 90+ | Reflects maximum UV rays |
| Light Sandstone | Moderate-Low | 60-70 | Natural slip resistance |
| Slate (Dark) | Extremely High | 20-30 | High thermal mass (Avoid) |
| Granite (Gray) | High | 40-50 | Durable but holds heat |
The Infrastructure: Why the Base Matters
The base layer of your patio acts as a geothermal heat sink, meaning a properly compacted 6-inch layer of modified gravel (21A or 57 stone) not only provides structural stability but also facilitates evaporative cooling from the soil below. Most hacks skip the base. They throw stone on an inch of sand and call it a day. That is a failure waiting to happen. You need a minimum of 4 to 6 inches of compacted aggregate. I use a vibratory plate compactor until the machine literally bounces off the surface. That is when you know you have the density required to support the stone and manage the moisture cycles.
How much modified gravel do I need for a patio base?
To calculate gravel needs, multiply the square footage by the desired depth in feet (e.g., 0.5 feet for 6 inches) and divide by 27 to get cubic yards, then add a 20% compaction factor to ensure you have enough material to reach the necessary 98% Proctor density. Do not eye-ball this. Use a string line and a laser level. If your base is uneven, your stone will heave. It’s a mathematical certainty.
How do I prevent weeds from growing between my patio stones?
Preventing weeds requires the use of polymeric sand in the joints, which creates a semi-rigid, water-resistant barrier that inhibits seed germination while still allowing for lateral thermal expansion of the stones. Forget weed fabric. It’s a myth. Weeds grow from the top down in the dirt that accumulates in the cracks. Polymeric sand, once activated with water, hardens to keep the joint clean. It also stops ants from mining the sand out from under your pavers. Use the high-performance stuff, not the cheap bags from the hardware store.
“Turfgrass adjacent to hardscaping requires 1.5 inches of water per week, compared to the standard 1 inch, to compensate for the radiant heat and increased evaporation caused by the stone’s thermal footprint.” – University Agronomy Extension
The Ground-Up Installation Checklist
If you are building this yourself, or watching a contractor, follow this protocol. Don’t skip steps. It will rot if you do.
- Excavation: Dig 8-10 inches deep. Remove all organic matter. Roots will decay and create voids.
- Sub-grade Compaction: Compact the raw dirt before adding gravel.
- Geotextile Fabric: Lay down a 4oz non-woven fabric. This keeps the gravel from migrating into the clay.
- Base Material: 6 inches of CR-6 or 21A modified stone. Compact in 2-inch lifts.
- Screeding: Use 1-inch outside diameter pipes to create a perfectly level sand bed.
- Stone Placement: Lay the stone. Use a dead-blow hammer. Do not use a metal sledge.
- Jointing: Sweep in polymeric sand. Blow off the excess. Mist with water.
Maintaining the Thermal Refuge
Once the patio is in, you aren’t done. Seal your light-colored stones with a penetrating, breathable sealer. Avoid ‘wet look’ or high-gloss sealers. These create a plastic film that traps heat and can turn yellow under UV exposure. A penetrating sealer goes into the pores and keeps the stone cool while preventing salt and organic staining. Your patio is an investment in civil engineering. Treat it like one. Clean it with a pH-neutral cleaner. Never use muriatic acid on limestone or travertine. It will dissolve the calcium and ruin the finish. Keep it simple. Keep it cool. Work with the physics of the earth, not against it. “