![Why Your 2026 Drip Emitters Keep Clogging [Fix]](https://lawnmajesty.com/wp-content/uploads/2026/06/Why-Your-2026-Drip-Emitters-Keep-Clogging-Fix.jpeg)
Why Your 2026 Drip Emitters Keep Clogging [Fix]
The Forensic Autopsy of a Dying Landscape Bed
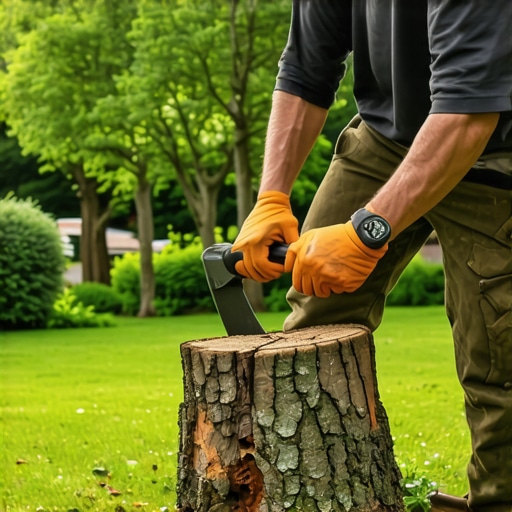
You step out into your garden design project in the heat of July, expecting a thriving ecosystem, but instead, you find your high-value perennials flagging. The soil feels like bone-dry powder despite the controller claiming the cycle ran for forty minutes. This is the visual signature of a systemic drip failure. When I walk onto a site and see a $400 Japanese Maple with scorched leaf margins, my first move isn’t to check for pests; I’m looking at the emitters. Often, you will see a tell-tale white, crusty ring around the orifice of the dripper. That is calcium carbonate crystallization. It is the silent killer of efficient irrigation. I always drill into my new crew members: if you do not fix the water filtration and pressure regulation first, every plant you put in the ground is just expensive compost. I have seen guys spend three days on a precise garden design install, only to have the entire system fail in six months because they didn’t account for the micron rating of the local well water. It is a rookie mistake that costs thousands in replacement nursery stock.
The Primary Culprits of Emitter Failure
Drip emitters keep clogging primarily due to three factors: mineral precipitation from hard water, biological biofilm growth, and physical sediment bypass resulting from inadequate filtration. To fix this, you must install a 120-mesh filter, utilize pressure-compensating emitters, and perform a seasonal acid flush to dissolve accumulated calcium and magnesium salts.
The Chemical Nightmare: Mineral Calcification
In many regions, particularly where hardscaping and landscaping rely on well water, high concentrations of calcium and magnesium are the norm. As water exits the emitter and evaporates, these minerals stay behind, eventually forming a concrete-like plug. This is not just a surface issue; the scaling happens inside the labyrinth of the emitter. A standard 1.0 GPH (gallon per hour) emitter has a flow path narrower than a paperclip. It doesn’t take much to choke it. You need to monitor your water’s pH levels. High pH (above 7.5) encourages this precipitation. Using a phosphoric acid injection system can keep these minerals in suspension, ensuring the orifice remains clear for the duration of the 2026 growing season. Don’t skip the water test.
“Drip irrigation systems require high-quality filtration to prevent the clogging of small emitter flow paths by physical, chemical, or biological contaminants.” – Texas A&M AgriLife Extension
The Biological Factor: Biofilm and Algal Slime
If your drip lines are exposed to sunlight or if you are pulling from a pond for your lawn care and landscaping needs, you are fighting a biological war. Algae and iron-reducing bacteria create a viscous slime that acts as an adhesive for fine silt. This biofilm coats the interior of the poly tubing. When the pump kicks on, chunks of this slime break loose and wedge themselves into the emitter’s intake. This is why I demand my crews use opaque, UV-resistant tubing and bury the lines under at least three inches of mulch. Sunlight is the fuel for the fire of biological clogging. If you see green tint in your filters, you have an algae problem that requires a chlorine shock or specialized UV treatment.
| Contaminant Type | Primary Cause | Recommended Filtration/Treatment |
|---|---|---|
| Physical Silt/Sand | Well sand or pipe bursts | 200-mesh Disc Filter |
| Calcium Scale | Hard water/High pH | Acid Injection (Phosphoric/Citric) |
| Biological Slime | Algae/Iron Bacteria | Chlorine Injection/Opaque Tubing |
| Polymeric Residue | Degrading cheap tubing | Replace with Professional Grade Poly |
Physical Sediment Bypass
Many DIY garden design setups use a simple screen filter. These are garbage. A screen filter has a tiny surface area and clogs almost instantly, or worse, it tears and lets everything through. For professional-grade landscaping, we use disc filters. A disc filter consists of a stack of grooved plastic rings that create a three-dimensional filtration path. This captures sediment that a flat screen would miss. If your emitters are clogging, check your filter’s mesh count. For most drip systems, a 120 to 150 mesh rating is mandatory. If you are running 0.5 GPH emitters, you should bump that up to 200 mesh. Small orifices require tighter security.
“A retaining wall doesn’t fail because of the stone; it fails because of the water trapped behind it, and an irrigation system doesn’t fail because of the pump; it fails because of the debris trapped inside it.” – Hardscape Engineering Axiom
How do I clear clogged drip emitters?
You can clear minor clogs by soaking the emitters in a 10% white vinegar solution to dissolve calcium deposits. However, for large-scale landscaping systems, it is more cost-effective to replace the individual emitters and install a high-capacity disc filter at the zone valve to prevent recurrence. Manual cleaning is often a temporary fix for a systemic filtration failure. Check the pressure.
What is the best pressure for drip systems?
Most drip irrigation systems operate optimally between 20 and 30 PSI. If your pressure exceeds 40 PSI, you risk blowing the emitters off the line or forcing debris deeper into the internal labyrinth. Always install a pressure regulator after the filter to maintain a consistent 25 PSI across the entire garden design layout. High pressure is not your friend here.
The Step-by-Step Fix Protocol
If your system is already failing, you cannot just hope it gets better. You need a forensic overhaul. Follow this checklist to restore flow to your garden bed:
- Shut down the system and pull the end caps off all lateral lines.
- Flush the main headers and laterals with high-velocity water for 5 minutes to eject loose sediment.
- Inspect the primary filter; if it is a screen filter, replace it with a 120-mesh disc filter assembly.
- Check the pressure regulator. Use a pressure gauge at the furthest emitter to ensure you have at least 15 PSI but no more than 30 PSI.
- Replace any emitter that does not show a steady drip after the flush.
- Install an automated flush valve at the end of the longest run to purge sediment at the start of every cycle.
Long-Term Maintenance and the 2026 Outlook
Prevention is the only way to survive the 2026 season without losing plants. You should be opening your manual flush valves once a month. This prevents the accumulation of the ‘heavy’ sediment that sits at the bottom of the lines. Also, check your emitters for ‘salt creep’ every time you do your lawn care rounds. If you see white crust, it is time for an acid wash. This involves running a mild acidic solution through the lines for 30 minutes, then letting it sit overnight before flushing. It sounds like a lot of work, but it is cheaper than replacing a 15-year-old Boxwood hedge. Stay on top of the chemistry. The dirt doesn’t lie, and neither do the plants.
![Stop Killing 2026 Lavender: 3 Clay Soil Drainage Fixes [Zone 7]](https://lawnmajesty.com/wp-content/uploads/2026/05/Stop-Killing-2026-Lavender-3-Clay-Soil-Drainage-Fixes-Zone-7.jpeg)