![Why Your 2026 Retaining Wall is Leaning [3 Fixes]](https://lawnmajesty.com/wp-content/uploads/2026/06/Why-Your-2026-Retaining-Wall-is-Leaning-3-Fixes.jpeg)
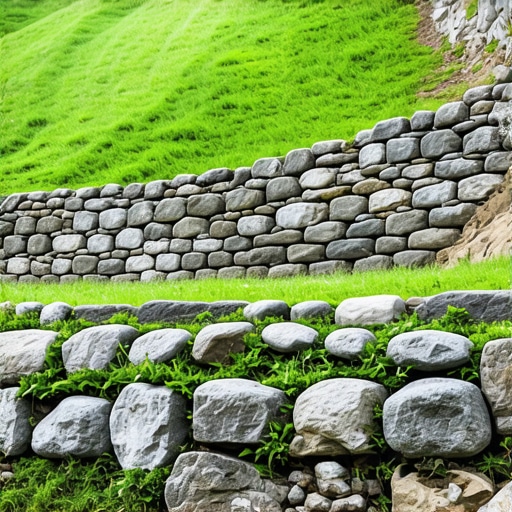
Why Your 2026 Retaining Wall is Leaning [3 Fixes]
Why Your 2026 Retaining Wall is Leaning [3 Fixes]
The first sign is usually a hairline fracture in the mortar or a slight, almost imperceptible tilt in the coping stones. Then comes the ‘bulge.’ By the time you notice your retaining wall is leaning, the physics of the soil behind it have already reached a tipping point. This is not a cosmetic issue; it is a structural failure. If left unaddressed, gravity and hydrostatic pressure will eventually pancake the entire structure into your lawn. Most homeowners ignore the warning signs until a heavy spring rain turns their hardscaping investment into a pile of expensive rubble. We are going to look at why this happens and how to fix it before the collapse occurs.
What causes a retaining wall to lean?
A retaining wall leans primarily because of hydrostatic pressure and soil saturation which exert massive lateral forces against the structure. When drainage systems fail or are omitted, water collects behind the wall, increasing the weight of the soil and forcing the wall to tilt or slide forward.
The Hardscape Autopsy: A Case Study in Failure
I recently got called out to tear up a $30,000 patio and wall system that was sinking and leaning because the previous contractor thought he could skip the gravel. This ‘pro’ had backfilled the wall with the same heavy clay he excavated from the site. Clay is a sponge. It holds water, it expands when frozen, and it weighs significantly more than clean stone. During the first freeze-thaw cycle of the year, that clay expanded and shoved a six-foot wall three inches out of plumb. The homeowner was devastated. The ‘mow-and-blow’ crew they hired had vanished, leaving behind a structural nightmare. I had to explain that we couldn’t just ‘push it back.’ We had to excavate the entire site, haul away twenty tons of wet clay, and start from the native subgrade. Don’t let this be your story. Cutting corners on the base or the backfill is just a slow-motion way to throw money in the trash. It will fail. Water always wins.
“A retaining wall doesn’t fail because of the stone; it fails because of the water trapped behind it.” – Hardscape Engineering Axiom
The Science of Soil and Hydrostatic Pressure
To understand why your wall is failing, you have to understand the physics of what it is holding back. Soil has a ‘friction angle.’ Loose soil wants to settle at a natural slope. When you build a wall, you are artificially steepening that slope. This creates a wedge of soil that is constantly trying to slide downward and outward. This is called lateral earth pressure. When you add water to that mix, the pressure doubles. Saturated soil can exert over 60 pounds per square foot of pressure for every foot of depth. On a four-foot wall, that is 240 pounds of pressure pushing against the bottom of the wall every single day. If you do not have a way for that water to escape, the wall will give way. It is basic civil engineering. You are not just building a decorative border; you are building a dam that must also be a sieve.
How much modified gravel do I need for a patio base?
For a standard hardscaping project, you need a minimum of 6 inches of 2A modified gravel for the base, compacted in 2-inch lifts to ensure maximum density. For retaining walls, the base depth should be at least 12 inches, extending 6 inches in front of and behind the wall units to provide a stable leveling pad.
Fix 1: Implementing a Hydrostatic Relief System
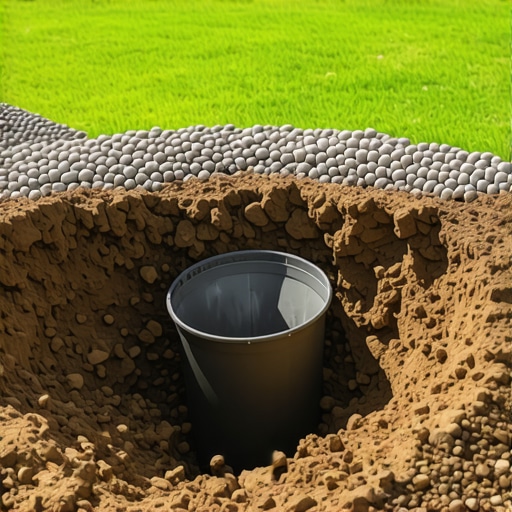
If your wall is leaning but hasn’t collapsed, the first fix is often installing or repairing the drainage system. This involves excavating the soil directly behind the wall and installing a 4-inch perforated French drain pipe. This pipe must be ‘daylighted,’ meaning it has to exit the wall or the grade at some point to let the water out. Surround this pipe with clean, angular #57 stone. Do not use rounded pea gravel; rounded stones roll like ball bearings. You need angular stone that interlocks to provide structural stability while allowing water to flow through the voids. This creates a vertical ‘chimney drain’ that catches water before it hits the back of the blocks. Wrap the entire stone column in a non-woven geotextile fabric. This prevents fine soil particles from clogging the gaps between the stones. If the water can’t get out, the wall goes down. It is that simple.
Fix 2: Correcting the Footing and Base Compaction
A wall is only as good as the dirt it sits on. If your wall is leaning, it might be ‘toeing out’ because the leveling pad was too shallow or was placed on uncompacted soil. The fix here is more invasive. You must excavate down to the native subgrade. You cannot build on topsoil. Topsoil contains organic matter that rots and creates air pockets, leading to settling. You need to reach the ‘hard pan’ or undisturbed subsoil. Once you are there, you lay down geotextile fabric and start your gravel lifts. Each lift must be compacted with a plate compactor until it is rock hard. The tamper should literally bounce off the surface. If you see a footprint when you walk on it, it is not compacted enough. We use a nuclear density test on commercial jobs, but for residential work, the ‘thumb test’ or visual compaction checks are mandatory. You need a minimum of 100% Proctor density to ensure that 2026 retaining wall stays upright for the next thirty years.
How deep should a retaining wall footer be?
The standard rule for a retaining wall footer is that for every 8 to 10 inches of wall height, you should have 1 inch of block buried below the finished grade. At a minimum, the first course of block should be entirely underground to prevent the ‘toe’ of the wall from sliding forward under the weight of the backfill.
Fix 3: Structural Reinforcement with Geogrid
For walls over three feet tall, gravity alone isn’t enough. You need geogrid reinforcement. Geogrid is a high-tenacity polymer mesh that you sandwich between the courses of the wall and extend back into the soil. This mesh ‘ties’ the wall to the soil mass behind it. It turns the entire hillside into one giant, stable block of earth. If your wall is leaning, it is likely because the geogrid was either missing, too short, or installed upside down (yes, it has a ‘strong’ direction). When we perform a remediation, we pull back the soil in 12-inch increments and lay in new grid. This creates mechanically stabilized earth (MSE). Think of it like rebar in concrete. Without it, the blocks are just individual units; with it, they are part of a massive, reinforced structure. This is non-negotiable for tiered garden designs or any wall supporting a driveway or lawn care equipment.
| Material Type | Drainage Capacity | Structural Stability | Recommended Use |
|---|---|---|---|
| Clean #57 Stone | Excellent | High (Angular) | Backfill and Drainage Chimneys |
| 2A Modified Gravel | Moderate | Very High | Base Leveling Pads and Footings |
| Bank Run Sand | Good | Low | Pipe Bedding (Not for Walls) |
| Native Clay/Silt | Very Poor | Unstable | Landscape Berms (Never Backfill) |
“Soil is a structural material, and like any material, it has a failure point determined by its moisture content and compaction levels.” – USDA Soil Mechanics Manual
The Maintenance Schedule for Structural Integrity
Once the wall is fixed, the job isn’t over. You must maintain the landscaping around the wall to prevent future failures. Check your gutters. If a downspout is dumping water directly behind your wall, you are asking for trouble. Pipe that water at least ten feet away from the wall. Inspect the ‘weep holes’ (the gaps between blocks or dedicated pipes) after every major storm. If they are dry while the lawn is soaking wet, your drainage is clogged. Keep heavy machinery—like large zero-turn mowers—at least three feet away from the edge of the wall to avoid adding unnecessary ‘surcharge’ loads. Finally, manage your garden design. Avoid planting large trees with invasive root systems right against the wall. Roots can exert thousands of pounds of pressure as they grow, easily snapping concrete units. Treat your wall like the engineering feat it is, and it will stand the test of time.
Checklist: Is Your Wall Ready for 2026?
- Check for daylighting drainage pipes (Water must have an exit).
- Verify the first course of block is buried (Prevents toe-kick).
- Identify any ‘bulges’ in the center of the wall (Sign of missing geogrid).
- Ensure downspouts are routed away from the wall’s backfill zone.
- Check for sinkholes behind the wall (Indicates soil washing through the stones).

![Build a $200 Gravel Path for Wet Side Yards [Fast]](https://lawnmajesty.com/wp-content/uploads/2026/06/Build-a-200-Gravel-Path-for-Wet-Side-Yards-Fast.jpeg)