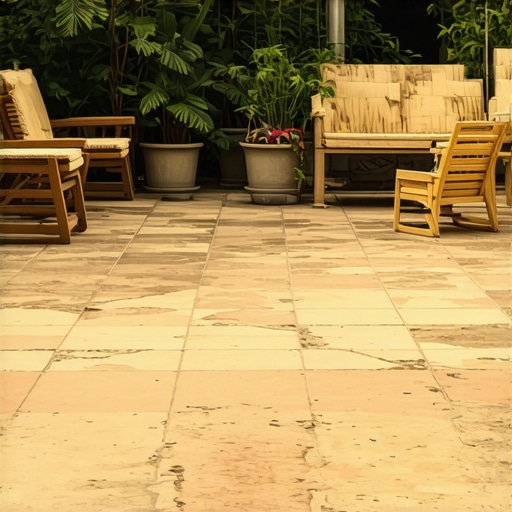
3 Signs It’s Time to Replace Your Old Patio
Decoding the Structural Failure of Residential Patios
Recognizing when to replace your patio involves identifying structural instability, significant drainage failures, or terminal material degradation that compromises the safety and integrity of your outdoor living space. When a hardscape installation shifts or holds water, it is no longer a cosmetic issue; it is a civil engineering failure that requires immediate professional intervention to prevent further property damage.
I recently got called out to tear up a $30,000 patio that was sinking because the previous contractor decided that a three-inch layer of uncompacted pea gravel was a ‘sufficient’ base. It was a disaster. The homeowner was literally watching their investment slide toward the foundation of their house. Within two years, the pavers had shifted so drastically that the sliding glass door wouldn’t open. This wasn’t bad luck. It was a total disregard for the physics of soil compaction and hydrostatic pressure. If you don’t respect the dirt, the dirt will eventually win. Every single time.
1. Chronic Standing Water and Negative Grading
Persistent ponding or water migrating toward your home foundation indicates a failure in the original site grading or a collapsed drainage system that requires a full tear-out and reconstruction. When water sits on a patio surface for more than 24 hours after a rain event, the sub-base is likely saturated, leading to a loss of load-bearing capacity in the underlying soil.
Most ‘mow-and-blow’ contractors don’t understand the concept of a 2% slope. That is a 1/4-inch drop for every foot of horizontal run. Without this, water finds its own path. Often, that path leads straight into your crawlspace or basement. Over time, this water creates hydrostatic pressure behind any retaining walls or under the paver field.
“A retaining wall doesn’t fail because of the stone; it fails because of the water trapped behind it.” – Hardscape Engineering Axiom
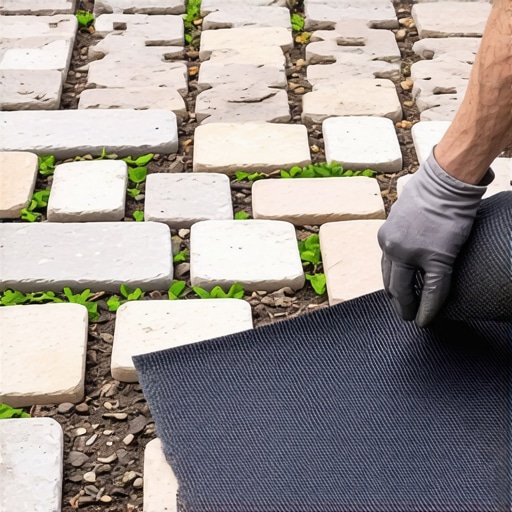
We use a laser level for a reason. If your patio has developed a ‘bowl’ in the middle, the subgrade has likely settled due to poor compaction (less than the industry standard of 95% Proctor density). You cannot simply ‘patch’ this. You have to excavate, install a geotextile fabric to separate the subgrade from the base, and start over with 21A or 57 stone modified gravel.
How much modified gravel do I need for a patio base?
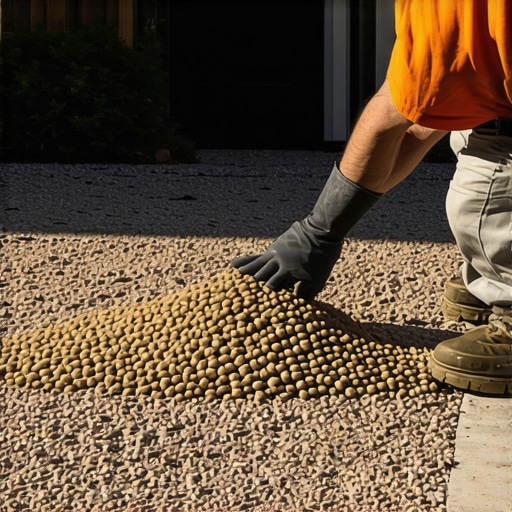
For a standard pedestrian patio, you need a minimum of 4 to 6 inches of compacted modified gravel, while driveways or areas with heavy clay soil require 8 to 12 inches to ensure structural stability. Calculations must account for a 20% compaction factor when ordering materials to achieve the desired finished thickness.
2. Excessive Heaving and Differential Settlement
Differential settlement occurs when different areas of a patio sink at varying rates, creating dangerous trip hazards and structural shearing of the joints and bedding layers. This is typically a symptom of inadequate base preparation or the use of improper materials like ‘stone dust’ which retains moisture and exacerbates freeze-thaw cycles.
In regions with freeze-thaw cycles, the ground acts like a slow-motion hydraulic press. If your base isn’t free-draining, the water in the soil freezes, expands, and pushes the pavers up. When it thaws, they don’t drop back into the same place. They shift. We call this ‘heaving.’ If you see gaps wider than 1/2 inch between pavers, or if one edge is sitting an inch higher than its neighbor, the ‘interlock’ is broken. At this point, the polymeric sand has failed, and weeds are likely the only thing holding the surface together. You are looking at a liability, not a patio. It’s a trip hazard waiting for a lawsuit.
| Base Material | Drainage Rating | Compaction Stability | Primary Use Case |
|---|---|---|---|
| Stone Dust | Poor | Low | Not recommended for structural bases |
| Modified Gravel (21A) | Good | High | Standard patio/walkway bases |
| Clean #57 Stone | Excellent | Medium | Permeable paver systems/Wet areas |
| Masonry Sand | N/A | N/A | Bedding layer only (1 inch max) |
3. Terminal Material Spalling and Surface Degradation
Terminal degradation refers to the irreversible breakdown of the paving material’s surface, often caused by low-density concrete mixes, excessive salt use, or age-related aggregate exposure. When the ‘cream’ or top finished layer of a concrete paver or slab begins to flake off (spalling), the internal structure is exposed to the elements, accelerating the rate of failure.
I see this all the time with cheap big-box store pavers. They aren’t manufactured with the same PSI (pounds per square inch) ratings as professional-grade materials from companies like Techo-Bloc or Belgard. A professional paver is often rated at 8,000 PSI or higher; a cheap slab might only hit 3,000 PSI. Once that surface starts to pit and crumble, there is no ‘sealer’ in the world that will save it. You’re walking on expensive gravel. Furthermore, if you have a poured concrete patio with cracks wider than a quarter-inch, the rebar inside (if they even used it) is likely rusting and expanding, which will only blow the crack wider.
“The durability of a pavement system is directly proportional to the density of the units and the permeability of the bedding environment.” – ICPI Manual of Standards
Don’t throw good money after bad. If the surface is disintegrating, the chemistry of the block is gone. Replace it with a high-density, low-absorption unit that can actually handle the local climate.
What is the best material for a long-lasting patio?
The best material for longevity is high-density concrete pavers or natural stones like Pennsylvania Bluestone, provided they are installed over a properly compacted, free-draining aggregate base. Professional-grade pavers offer superior PSI strength and lower water absorption rates compared to standard poured concrete or DIY-grade products.
The Professional Remediation Checklist
If you have decided to rip out the old failure and do it right, follow this protocol. Don’t skip steps. Don’t listen to a contractor who says he ‘eyeballs’ the grade.
- Utility Locates: Call 811 before you touch a shovel. No exceptions.
- Excavation Depth: Dig deep enough for the base (6″), bedding sand (1″), and the paver thickness.
- Subgrade Compaction: Use a plate compactor on the raw dirt before any stone goes in.
- Geotextile Membrane: Use a woven fabric to keep your expensive gravel from sinking into the mud.
- Lifts: Add your base stone in 2-inch ‘lifts’ and compact each one. You can’t compact 6 inches at once.
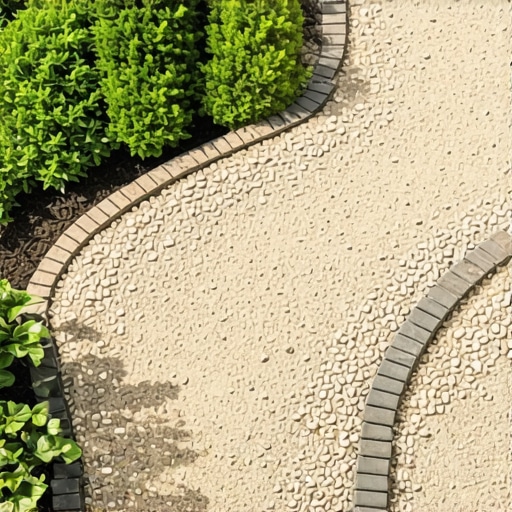
- Edge Restraints: Use heavy-duty PVC or aluminum edging with 10-inch spikes to prevent lateral shifting.
It will rot if you leave organic matter under the base. It will shift if you don’t use a compactor. Do it right once, or do it twice and pay double. That is the reality of the dirt business.