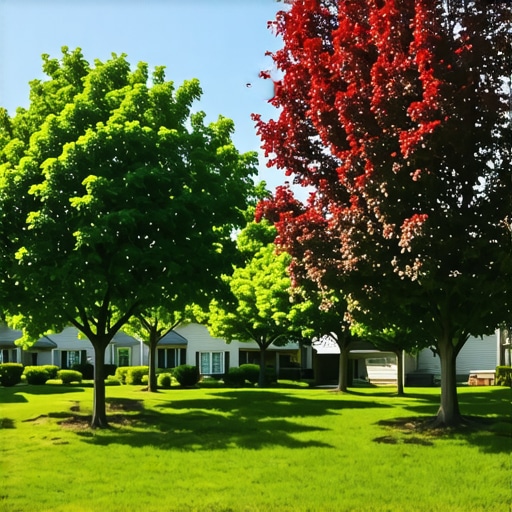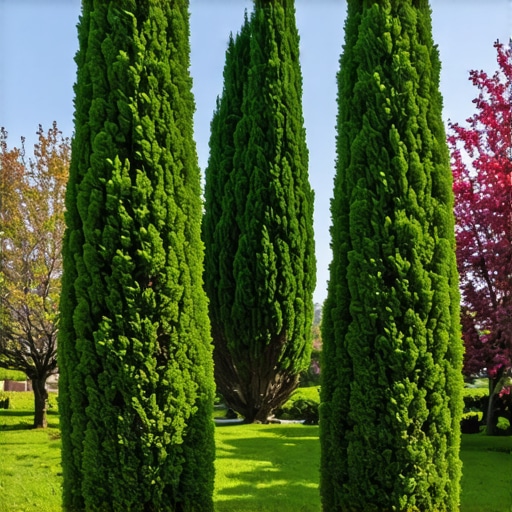
5 2026 Best Trees for High Privacy in Zone 6 Suburban Yard
I always drill into my new crew members: if you don’t fix the soil grading first, every plant you put in the ground is just expensive compost. I have spent twenty years watching homeowners drop five figures on nursery stock only to watch it decline because they ignored the root flare or failed to account for the heavy clay drainage common in Zone 6 suburban plots. Privacy is a biological engineering project, not a decoration. For 2026, the industry is shifting away from monocultures that get wiped out by single pathogens and moving toward resilient, site-specific cultivars that can handle -10°F winters and humid 90°F summers.
The Critical Importance of Zone 6 Site Analysis
Zone 6 privacy trees must be selected based on their ability to withstand extreme temperature fluctuations and heavy soil compaction typical of suburban developments. Success requires evaluating soil pH levels, drainage percolation rates, and available sunlight hours to ensure the root systems can establish before the first hard freeze in October.
Before you dig a single hole, you must perform a percolation test. Dig a hole 12 inches deep, fill it with water, and let it drain. Fill it again and clock how long it takes to empty. If it takes longer than 4 hours, you are planting in a bathtub. You will drown your investment. In Zone 6, we often deal with illite and smectite clays. These soils hold water too long, leading to anaerobic conditions that rot the roots of sensitive species like certain arborvitae. You do not want a ‘lush’ look; you want healthy vascular systems and high turgor pressure. If you do not understand your soil chemistry, specifically the Nitrogen-Phosphorus-Potassium (NPK) ratios and the micronutrient availability, you are just guessing. Guessing is for amateurs.
“The most common cause of tree failure in the landscape is improper planting depth, specifically the burial of the root flare which leads to stem girdling roots and eventual vascular collapse.” – Penn State Extension Horticultural Manual
How far apart should I plant Green Giant arborvitae for privacy?
To create a dense privacy screen with Green Giant Arborvitae, plant them 5 to 6 feet apart on center for a single row, or 8 feet apart in a staggered double row. This spacing ensures adequate airflow to prevent fungal pathogens like Passalora needle blight while still providing total visual occlusion within three growing seasons.
The Top 5 Trees for 2026 Privacy Screens
Selecting the right species for 2026 involves looking at growth rates, pest resistance, and mature height requirements for the specific suburban lot. We focus on coniferous evergreens and fastigiate deciduous varieties that offer maximum verticality with a minimal horizontal footprint to respect property lines and utility easements.
| Tree Species | Growth Rate (Annual) | Mature Width | Soil Preference |
|---|---|---|---|
| Thuja ‘Green Giant’ | 3-5 Feet | 12-15 Feet | Moist, Well-drained |
| Juniperus ‘Taylor’ | 1-2 Feet | 3 Feet | Drought-tolerant / Alkaline |
| Tsuga canadensis | 1-2 Feet | 15-20 Feet | Acidic / Shade Tolerant |
| Taxus x media ‘Hicksii’ | 6-12 Inches | 3-4 Feet | Versatile / High Drainage |
| Carpinus betulus ‘Fastigiata’ | 1-2 Feet | 10-15 Feet | Heavy Clay / Adaptable |
1. Thuja standishii x plicata ‘Green Giant’
This is the workhorse of the industry. It is a hybrid that brings together the growth rate of the Western Red Cedar and the cold hardiness of the Japanese Thuja. It hits 30 feet faster than any other conifer in Zone 6. It is not a ‘vibrant’ addition; it is a structural wall. We specify this because it is relatively deer resistant compared to the ‘Emerald Green’ variety, which deer treat like a salad bar. You must monitor for bagworms in late June. If you see spindles, you spray with Bacillus thuringiensis (Bt) immediately. No excuses.
2. Juniperus virginiana ‘Taylor’ (Taylor Juniper)
If you have a narrow side yard where a 15 foot wide tree will overhang the neighbor’s fence, the Taylor Juniper is your solution. It looks like an Italian Cypress but actually survives a Zone 6 winter. It stays about 3 feet wide while reaching 15 to 20 feet in height. It thrives in high pH soils, which is common where builders leave concrete washout in the backfill. It is a tough, pragmatic choice for tight urban spaces.
3. Tsuga canadensis (Canadian Hemlock)
Most privacy trees need full sun. If your yard is shaded by large oaks or the neighbor’s house, you need the Canadian Hemlock. It is one of the few conifers that can maintain density in 4 hours of sun. However, do not plant this if you have a woolly adelgid infestation in your area. You must inspect the undersides of the needles for white, cottony masses. If the site is too dry, these trees will drop needles and fail. They require consistent moisture and acidic soil.
4. Taxus x media ‘Hicksii’ (Hicks Yew)
The Hicks Yew is for the homeowner who wants a formal, sheared look. It is slow-growing compared to the Green Giant, but it is nearly indestructible once established. It can handle heavy pruning, making it ideal for 8 to 10 foot tall screens that need to stay thin. Warning: the berries and foliage are toxic to dogs and horses. If you have a pet that chews, skip this one. But for pure hardiness and shade tolerance, it is a top-tier engineering tool.
5. Carpinus betulus ‘Fastigiata’ (Columnar European Hornbeam)
Don’t be afraid of a deciduous tree for privacy. The European Hornbeam holds its dead leaves (marcescence) through much of the winter, providing a screen even after the chlorophyll dies back. It is incredibly dense. It handles the heavy, wet clay of Zone 6 better than almost any evergreen. It is the tree we use when we have to deal with municipal drainage easements because it can handle the occasional ‘wet feet’ better than a cedar.
What is the fastest growing privacy tree for Zone 6?
The Thuja ‘Green Giant’ remains the fastest growing privacy tree for Zone 6, capable of adding 3 to 5 feet of vertical height annually under optimal conditions. To achieve this growth rate, you must provide drip irrigation and a balanced fertilizer application (such as 10-10-10) in early spring before the first flush of growth.
The Ground-Up Build: Installation Protocol
Eighty percent of your success happens before the tree arrives on the truck. If you don’t prep the site, the tree is dead in three years. We follow a strict engineering protocol for every install. The hole should be twice as wide as the root ball but no deeper. The bottom of the hole must be undisturbed soil to prevent settling. If the tree settles, the root flare sinks, and the tree suffocates. This is a non-negotiable step.
- Step 1: Locate Utilities. Call 811. Do not be the idiot who cuts a fiber optic line.
- Step 2: Excavation. Dig a wide, shallow bowl. Score the sides of the hole with a shovel to prevent ‘glazing’ in clay soils, which prevents roots from penetrating the side walls.
- Step 3: Root Ball Prep. Remove all burlap, twine, and wire cages. These do not rot fast enough and will eventually girdle the tree.
- Step 4: Positioning. Find the root flare. This is where the trunk widens at the base. It must be 1 to 2 inches above the surrounding grade.
- Step 5: Backfill. Use the native soil. Do not fill the hole with ‘garden soil’ from a bag. This creates a container effect where the roots won’t leave the soft soil for the hard native clay.
- Step 6: Mulching. Apply 2 to 3 inches of wood chips. No mulch volcanoes. Keep the mulch 3 inches away from the trunk.
“A retaining wall doesn’t fail because of the stone; it fails because of the water trapped behind it.” – Hardscape Engineering Axiom
This axiom applies to tree planting too. If you don’t manage the water, the structure fails. We often install French drains or adjust the hardscaping grading before planting a privacy screen. You need to direct water away from the root zones of these trees during heavy spring rains. If you see standing water for more than 24 hours, you have a drainage problem that needs a pipe, not a plant.
Maintenance and the First Growing Season
The first twelve months are the ‘establishment phase.’ This is when the tree transitions from nursery-fed irrigation to your local micro-climate. You must water deeply and infrequently. A five-gallon bucket with a small hole in the bottom, filled once a week per tree, is more effective than a sprinkler system that runs for ten minutes every day. You want to force the roots to grow downward to find moisture. Shallow watering creates shallow roots. Shallow roots lead to blow-overs during summer thunderstorms.
Fertilization should be minimal in year one. You want the plant to focus on root development, not pushing out new top growth that the damaged root system can’t support. Use a mycorrhizal inoculant during planting to help the roots absorb phosphorus. In year two, you can start a high-nitrogen program if the soil tests indicate a deficiency. Don’t guess. Test. A $20 soil test saves $2,000 in dead trees.