Stop 2026 Winter Kill with This 3-Step Shrub Wrap
Understanding the Mechanics of Winter Kill in Modern Landscapes
Winter kill is not a single event but a structural and physiological failure of a plant to maintain its cellular integrity during the dormant season. Winter kill occurs when environmental stressors like desiccation, frost heaving, or extreme temperature fluctuations exceed a shrub’s biological defenses, leading to vascular damage and death. To prevent this, professional landscapers use a combination of physical barriers, soil moisture management, and strategic insulation to protect high-value specimens like Boxwoods, Rhododendrons, and Japanese Maples. I always drill into my new crew members: if you don’t fix the soil grading and moisture levels first, every plant you wrap is just a delayed funeral. I’ve spent twenty years watching homeowners throw away thousands of dollars because they thought a thin piece of plastic was enough to fight a Midwestern freeze. It isn’t. You need to understand the physics of the wind and the chemistry of the soil to keep these plants alive until spring.
“A plant’s survival in winter is determined less by the absolute minimum temperature and more by the rate of temperature change and the available moisture within the root zone.” – Penn State Agricultural Extension
Why Your Shrubs Actually Die in January
Most people assume plants freeze to death. In reality, they usually die of thirst. This is known as desiccation. When the ground is frozen solid, the root system cannot uptake water. However, on a sunny or windy winter day, the foliage—especially on evergreens—continues to lose water through a process called transpiration. The plant is essentially sweating out moisture it cannot replace. By the time you notice the brown needles in March, the damage was done in January. You are looking at a vascular system that has been hollowed out. We also deal with frost heaving, where the freeze-thaw cycle physically ejects the root ball out of the soil, exposing sensitive tissue to the dry air. It is a mechanical failure of the ground itself. If your soil has high clay content, this risk doubles because clay holds more water and expands more violently than sandy loam. This is why we test soil density before we ever commit to a winterizing contract.
How much burlap do I need for shrub wrapping?
Determining the amount of burlap requires measuring the circumference of the shrub at its widest point and adding 12 inches for overlap. You must ensure the wrap extends from the soil line to at least 6 inches above the top of the plant to create a proper windbreak. Do not pull the burlap tight against the foliage; leave a 2-inch air gap to prevent moisture buildup and fungal pathogens from taking hold during mid-winter thaws.
| Material Type | Insulation Rating | Breathability | Longevity |
|---|---|---|---|
| Heavy Duty Burlap | Medium | High | 2-3 Seasons |
| Non-Woven Frost Blanket | High | Moderate | 1 Season |
| Plastic Sheeting | Zero | None (Dangerous) | N/A (Do Not Use) |
| Straw Wattle | High | High | 1 Season (Biodegradable) |
The 3-Step Shrub Wrap Protocol
The 3-step shrub wrap protocol is a professional-grade method designed to create a micro-climate buffer around sensitive woody ornamentals. This process involves deep-core hydration, the installation of a structural wooden frame, and the application of a breathable burlap screen to deflect prevailing winds. Don’t skip the frame. If the burlap touches the leaves, it can wick moisture away or cause ice to form directly on the foliage. It’s a rookie mistake that kills more plants than it saves. Use 2×2 cedar stakes or heavy-duty rebar for the frame. Avoid cheap bamboo; it will snap under a heavy snow load. You want a structure that can withstand at least 40 pounds of lateral pressure.
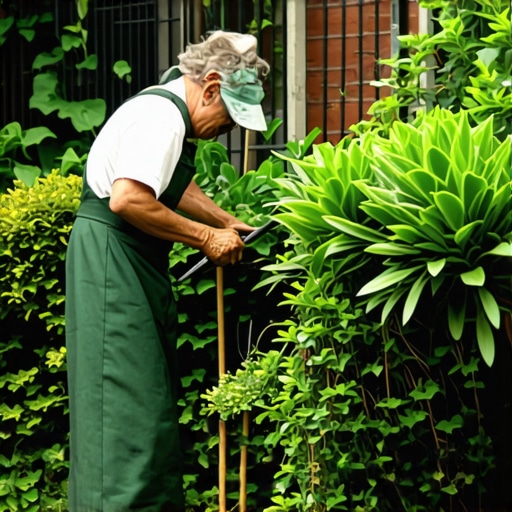
Step 1: Deep Core Hydration and Mulch Anchoring
Before the first hard freeze, you must saturate the root zone. I’m talking about a slow drip for 45 minutes per plant. This ensures the cell walls are turgid. Once hydrated, apply a 3-to-4-inch layer of double-shredded hardwood mulch. Do not use those dyed wood chips from big-box stores; they are often contaminated with construction debris and don’t break down fast enough to provide thermal benefit. Keep the mulch 2 inches away from the trunk. A mulch volcano will rot the bark and invite voles to chew on the cambium layer during the winter. You are creating a thermal blanket for the roots, not a nesting ground for pests.
Step 2: Structural Framing and Air Gapping
Drive four stakes into the ground around the shrub, forming a square. The stakes should be 4 to 6 inches away from the outermost branches. This air gap is critical. It acts as an insulator, similar to how double-pane windows work. If you wrap the plant like a burrito, you’re asking for trouble. When the sun hits that burlap, the temperature inside rises. If there’s no air gap, that heat transfers directly to the plant, potentially breaking dormancy. When the sun goes down and the temperature drops 40 degrees, the plant’s cells will rupture. Use a heavy sledge to ensure those stakes are at least 12 inches deep. The wind will try to turn your shrub wrap into a sail. Don’t let it.
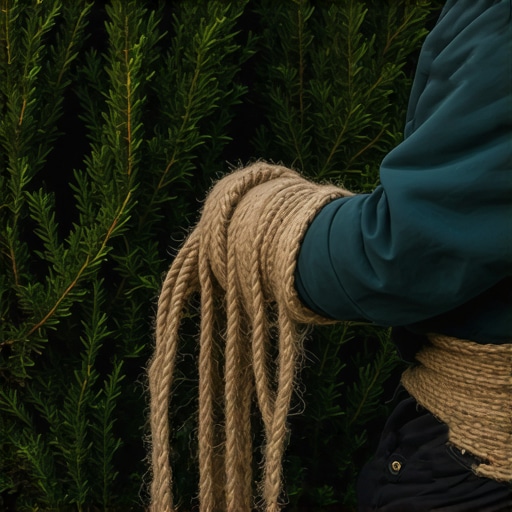
Step 3: The Breathable Burlap Shield
Wrap the burlap around the outside of the stakes, not the plant itself. Use heavy-duty staples or zip ties to secure the fabric to the wood. Start from the bottom and work your way up, overlapping each layer by 4 inches to shed water. Leave the top slightly open if you are in an area with heavy snow to allow some light penetration, or cover it if you’re protecting against extreme wind chill. Burlap is the gold standard because it allows for gas exchange. Plants are still breathing in winter. If you trap CO2 and moisture inside with plastic, you are creating a greenhouse that will cook the plant during the day and freeze it at night. It’s a death sentence.
“Desiccation occurs when the transpiration rate exceeds the water absorption rate; in frozen soils, this leads to permanent wilting and tissue necrosis.” – International Society of Arboriculture (ISA)
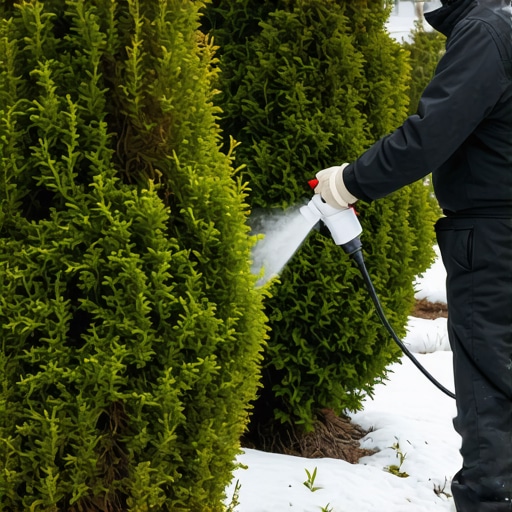
Can I use plastic to cover my plants?
No. Never use plastic to wrap shrubs for winter protection. Plastic is non-breathable and has zero insulative value. It creates a greenhouse effect during the day, heating up the plant and causing it to break dormancy prematurely. When the temperature drops at night, the resulting freeze-thaw cycle will rupture the plant’s cell walls, leading to guaranteed winter kill. Always use breathable materials like burlap or specialized frost blankets.
Monitoring and Spring Deconstruction
Your job isn’t over once the wrap is on. You need to monitor the weather. If you get a warm spell in February where temperatures hit 50 degrees for more than three days, check the moisture levels under the mulch. You might actually need to water your plants in the middle of winter. It sounds crazy, but dry soil freezes deeper than moist soil. Moist soil has a higher heat capacity. As soon as the ground thaws in spring and the threat of a hard freeze (below 25 degrees) has passed, get that burlap off. Leaving it on too long encourages fungal growth like Botrytis and can stunt the new spring growth. Professional landscaping is about timing. It’s about knowing when to protect and when to let the plant breathe. If you follow this 3-step process, your survival rate will jump from 60% to nearly 100%. Don’t be the homeowner who spends April digging up dead boxwoods. Do the work in November.
![How to Test Your 2026 Soil pH for $15 [Home Kit Test]](https://lawnmajesty.com/wp-content/uploads/2026/05/How-to-Test-Your-2026-Soil-pH-for-15-Home-Kit-Test.jpeg)