Stop 2026 Patio Weeds with This $25 Torch Method
The Autopsy of a Failing Hardscape
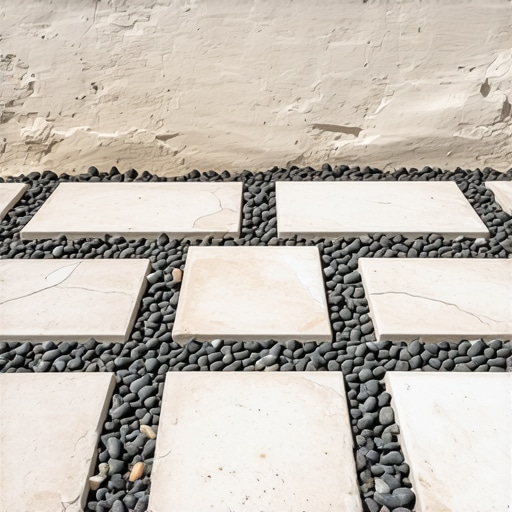
I recently got called out to tear up a $30,000 patio that was sinking because the previous contractor skipped the critical soil compaction and used a cheap, non-breathable weed barrier that trapped water instead of draining it. The homeowner was furious, not just about the settling, but because every joint in the expensive travertine was choked with broadleaf plantain and crabgrass. They thought they could spray their way out of it with gallon after gallon of glyphosate, but the problem wasn’t the surface; it was the biological soup brewing in the improperly installed base layers. If you do not understand the hydrostatic pressure and organic matter accumulation within your patio joints, you are just providing a high-end nursery bed for weeds.
How Does the $25 Torch Method Stop Weeds?
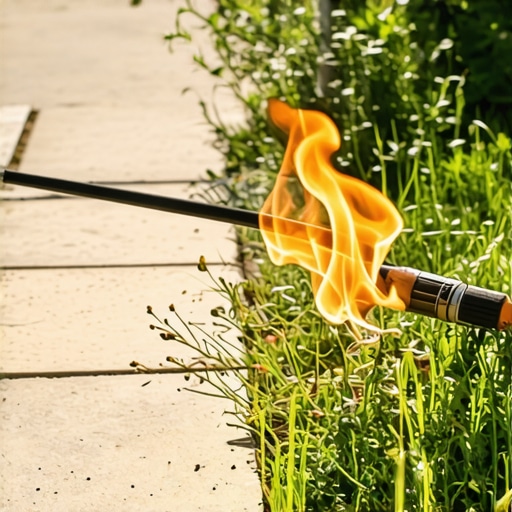
The $25 propane torch method works by applying intense thermal energy to disrupt the cellular structure of weeds, causing the water within the plant cells to expand and burst the cell walls. This thermal weeding technique does not require a full incineration of the plant; rather, a quick pass of 2,000 degrees Fahrenheit is enough to ensure protein denaturization and immediate plant death without using harmful residual chemicals.
“A retaining wall doesn’t fail because of the stone; it fails because of the water trapped behind it.” – Hardscape Engineering Axiom
The Science of Thermal Weed Control
Weeds are resilient because they evolved to survive mechanical trauma. When you pull a weed, you often leave the taproot or trigger dormant seeds in the soil bank. A propane torch, often called a pear burner or weed wand, delivers a localized blast of BTUs that boils the sap inside the plant. For a hardscape professional, this is the most efficient way to clear joints before applying polymeric sand. It is a surgical strike. It kills the weed and the immediate surface-level seed bank without disturbing the compacted sub-base. If you disturb the base, you invite more seeds. The torch keeps the base intact.
Why Cheap Chemicals Fail Your Hardscape
Most homeowners reach for a jug of weed and feed or a generic herbicide. These are often systemic, meaning they need to be absorbed by the leaf. If the plant is stressed or the weather is too cold, the chemical sits on top of your pavers, potentially staining the concrete substrate or leaching into the groundwater. Furthermore, chemicals do nothing to address the organic debris that has collected in the gaps. That debris is basically compost. The torch dries this matter out, making it easier to blow or sweep away before you perform a joint stabilization repair.
Comparing Weed Control Methods for Patios
| Method | Cost | Efficiency | Longevity | Impact on Soil Biology |
|---|---|---|---|---|
| Propane Torch | $25 – $50 | High | Moderate | Low (Surface Only) |
| Glyphosate Spray | $30 per gallon | Medium | Low | High (Residual) |
| Manual Pulling | $0 (Labor) | Low | Very Low | Moderate (Disturbs Soil) |
| Polymeric Sand | $40 per bag | High | High | N/A (Structural) |
How much modified gravel do I need for a patio base?
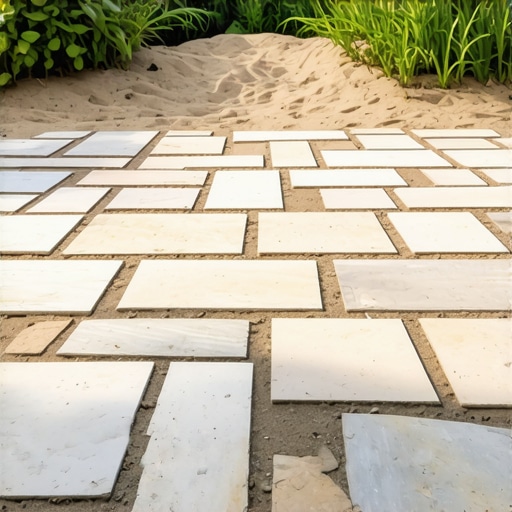
To calculate the volume of modified gravel (usually 21A or 3/4-inch minus), you must multiply the square footage of your patio by the depth of the base (minimum 4 inches for foot traffic, 8 inches for driveways) and divide by 27 to get cubic yards. Compaction is the variable that most DIYers miss. You need to account for a 20% compaction factor when ordering material to ensure the PSI rating of the finished surface holds up against freeze-thaw cycles.
Will a propane torch damage my pavers?
Using a propane torch on concrete pavers or natural stone is generally safe if you maintain motion. However, holding the flame in one spot for more than a few seconds can cause thermal spalling, where the moisture inside the stone expands and causes the surface to flake off. For clay bricks, the risk is lower, but you should always keep the wand moving in a sweeping motion like you are spray painting. Avoid contact with plastic edging or low-voltage lighting fixtures.
“Effective weed management in hardscapes requires an integrated approach that combines mechanical, thermal, and cultural practices to prevent the establishment of resistant species.” – Penn State Extension
The Master Landscaper Checklist for Torch Weeding
- Check for dry debris: Ensure there are no dried leaves or mulch near the patio that could ignite.
- Check 811: If you are doing any excavation alongside weeding, ensure utilities are marked, though torching is surface-only.
- Safety Gear: Wear leather boots and long pants. No synthetic fabrics that can melt to your skin.
- Sweeping: Always sweep the joints after torching to remove the carbonized organic matter.
- Moisture Check: The best time to torch is when weeds are slightly damp from dew; the water helps conduct the heat into the cells.
Step-by-Step Thermal Remediation
First, you need to hook your torch wand to a standard 20-lb propane tank. Open the valve slightly and ignite using a striker. Do not use a lighter; your hand is too close. Adjust the flow until you hear a low roar. This is your combustion zone. Sweep the flame over the weeds until they turn a dark, dull green. They do not need to be black ash. Within hours, they will wilt and die. Once the weeds are desiccated, use a stiff-bristle brush to clear the joints. This is the perfect time to inspect the polymeric sand. If the sand is washed out, you must re-sand. Without sand, the joints will just fill back up with wind-blown silt and seeds. It is a cycle. Stop the cycle with heat.
The Engineering of a Weed-Free Joint
Why do weeds come back even after torching? It is usually a drainage failure. If your patio does not have a 1% to 2% slope (the pitch), water sits in the joints. This water creates a micro-climate that is perfect for moss and liverwort. I tell my crew: “If the bubble on the level isn’t touching the line, you’re building a pond, not a patio.” You need ASTM C33 sand for your bedding layer to ensure water can move through the system and out to the sub-soil or a French drain. If the water has nowhere to go, it stays in the joints, rots the polymeric binders, and feeds the weed seeds. It will rot. Don’t skip the pitch.
Long-Term Maintenance Schedule
Your patio is a living engineering project. In early spring, perform your first thermal sweep to kill winter annuals. In mid-summer, check for hydrostatic heaving. By autumn, ensure no organic debris is left to decompose in the joints. If you follow this $25 method, you are focusing on the biological reality of your yard rather than just throwing money at a big-box store solution. You are acting like a horticulturist. You are managing the nitrogen cycle and the seed bank with physics. It is cleaner, faster, and cheaper. Just watch the edges of your turfgrass; the torch doesn’t know the difference between a weed and your Kentucky Bluegrass.