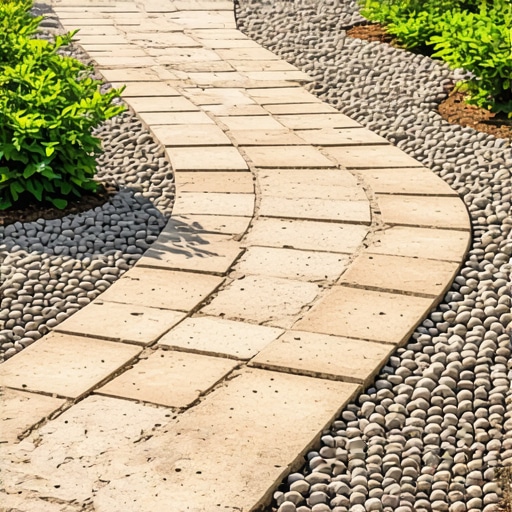
Build a $400 2026 Brick Walkway for Large Patios
Why Your DIY Walkway Fails Before It Starts
To build a $400 brick walkway in 2026, you must prioritize subgrade compaction and reclaimed materials. Success depends on a 4 inch compacted aggregate base, proper grading for drainage, and using polymeric sand to prevent shifting and weed growth in large patio transitions.
I recently got called out to tear up a $30,000 patio that was sinking because the previous contractor thought he could skip the geotextile fabric over a heavy clay subgrade. The entire surface had undulated like a roller coaster within two seasons. Water had nowhere to go, so it sat under the pavers, turned the base to mush, and let the frost heave do the rest. If you are trying to build a walkway for $400, you do not have money to do it twice. You have to get the engineering right the first time. This is not about aesthetics; it is about physics and managing hydrostatic pressure. We are looking at a 20 foot by 3 foot path. That is 60 square feet. At $400, your budget is $6.66 per square foot. That is tight, but doable if you source smart and sweat hard.
The Engineering of a Solid Footing
A walkway is a bridge that sits on the earth. If the earth moves, the bridge breaks. Most homeowners think they can just throw bricks on dirt. They are wrong. You need to excavate deep enough to accommodate 4 inches of modified crushed stone and 1 inch of bedding sand, plus the thickness of the brick itself. For a standard 2.25 inch brick, that is an 8 inch deep trench. Don’t eyeball it. Use a string line and a line level. If you don’t have a 2 percent slope away from your house, you are just building a long, skinny pond that will rot your foundation.
“A retaining wall doesn’t fail because of the stone; it fails because of the water trapped behind it.” – Hardscape Engineering Axiom
How much modified gravel do I need for a patio base?
For a 60 square foot walkway with a 4 inch base, you need approximately 0.75 cubic yards of modified crushed stone (21A or 3/4 minus). Always order 10 percent extra to account for compaction loss during the tamping process. If you don’t compact in 2 inch lifts, the base will settle unevenly.
The $400 Material Strategy for 2026
To stay under budget in 2026, you cannot buy premium pavers from a landscape supply yard. You need to hunt. Look for reclaimed ‘street’ bricks or overstock on local marketplaces. Often, people over-order for large patio projects and sell the leftovers for pennies. Below is the cost breakdown for a high durability 60 square foot path.
| Material Item | Quantity Required | Target Cost |
|---|---|---|
| Reclaimed Clay Bricks | 270 Units | $150.00 |
| Crushed Stone Base (21A) | 1 Ton | $65.00 |
| Concrete Sand (Bedding) | 0.5 Tons | $40.00 |
| Polymeric Sand (Joints) | 2 Bags | $70.00 |
| Paver Edging & Spikes | 40 Linear Ft | $50.00 |
| Geotextile Fabric | 65 Sq Ft | $25.00 |
| Total Estimated Cost | – | $400.00 |
Notice that I allocated $70 for polymeric sand. Do not swap this for cheap play sand. Polymeric sand contains additives that harden when wet, locking the bricks together and preventing ants and weeds from destroying your hard work. It is the only thing keeping your $400 investment from looking like a gravel pit in three years.
The Step-by-Step Installation Protocol
First, call 811. I have seen too many ‘simple’ DIY paths end with a sliced gas line and a fire truck in the driveway. Once cleared, mark your path with marking paint. Use a square spade to cut clean edges. Excavation is the hardest part. You will move about two tons of dirt for a small walkway. Don’t skip the geotextile fabric. It acts as a separator between the raw soil and your clean gravel. Without it, the rocks will eventually sink into the mud. This is called soil migration, and it is the silent killer of hardscapes.
How deep should a brick walkway base be?
A professional brick walkway requires a minimum 4-inch base of compacted aggregate for pedestrian traffic. In regions with heavy freeze-thaw cycles, extending the base to 6 inches prevents the bricks from heaving and cracking during winter months. Always use a plate compactor for maximum density.
- Excavate 8 inches deep and 4 inches wider than the path on both sides.
- Lay geotextile fabric flat, overlapping any seams by 12 inches.
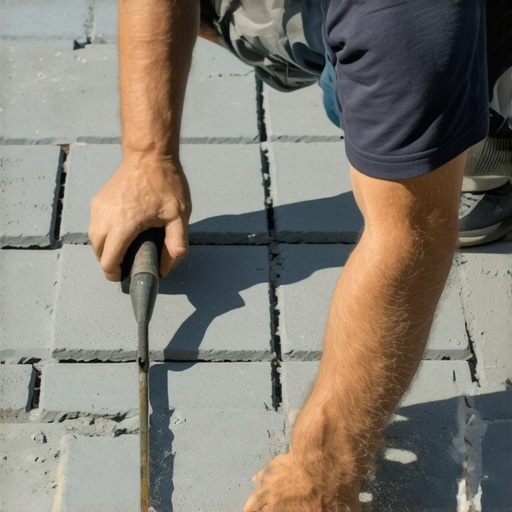
- Add 2 inches of modified stone and run a power tamper over it until it rings.
- Add the next 2 inches of stone and repeat. The base should feel like concrete.
- Set your 1 inch screed pipes and spread concrete sand.
- Slide a straight 2×4 board across the pipes to create a perfectly flat bedding layer.
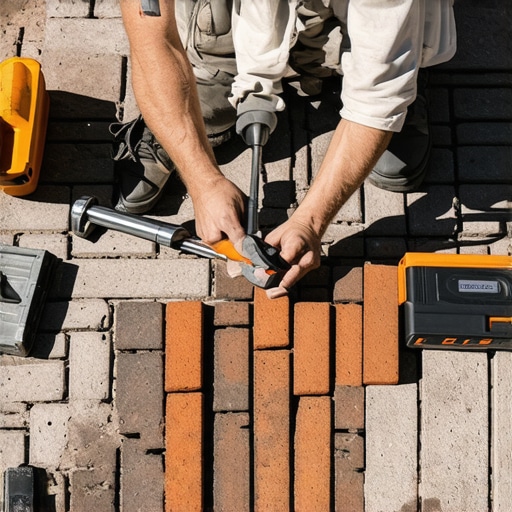
- Lay your bricks in a running bond or herringbone pattern. Do not walk on the sand.
- Install plastic edge restraints and hammer in 10 inch spikes every 12 inches.
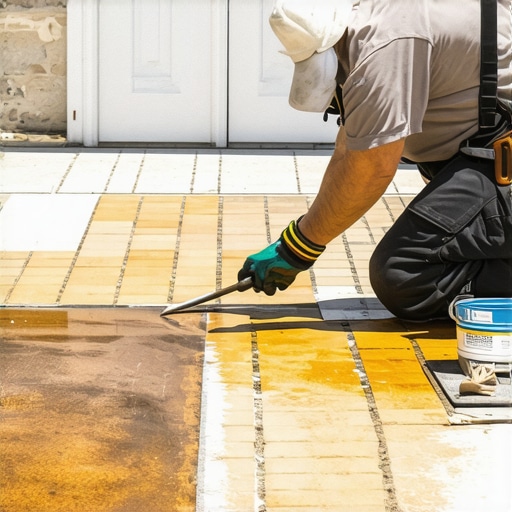
- Sweep in polymeric sand, vibrate the bricks to settle the sand, and mist with water.
“Proper compaction reaching 98 percent Proctor density is the difference between a lifetime installation and a seasonal failure.” – ICPI Hardscape Manual
The Maintenance Reality
Your walkway will settle slightly in the first year. This is normal. What is not normal is ‘pumping,’ where water squirts up through the joints when you step on a brick. If that happens, your drainage failed. Keep the joints filled. If you see a gap, add more sand. Clean it with a stiff broom, not a pressure washer. A pressure washer will blast out your expensive polymeric sand and ruin the bond. In 2026, labor costs are high, so doing this yourself saves you roughly $1,200 in professional fees. Spend that saved money on high quality base materials. The dirt is the most important part of the yard. Don’t treat it like an afterthought.