Stop 2026 Mulch Fading with This $20 Color Refresh
The Science of Surface Degradation: Why Your Mulch Looks Grey
To stop 2026 mulch fading, you must apply a concentrated iron oxide or carbon black organic pigment refresh instead of adding new layers. This $20 solution prevents mulch volcanoes, maintains proper soil respiration, and restores the deep aesthetic of triple-shredded hardwood without the cost of bulk delivery.
Most homeowners treat mulch like a carpet. When it gets dirty or faded, they just throw another layer on top. This is a fundamental failure of horticultural logic. Mulch is a biological tool, not a decorative rug. I have spent twenty years fixing the mistakes of ‘mow-and-blow’ crews who think a six-inch layer of cedar shavings is the solution to everything. It is not. It is a death sentence for your root systems. I once walked onto a property where a homeowner had spent three years piling ‘designer’ red mulch around a stand of Japanese Maples. The mulch was two feet deep against the trunks. I pulled back the top layer and the smell of anaerobic rot was overwhelming. The inner bark was sloughing off in wet chunks. That is what happens when you prioritize color over biology. They torched their soil chemistry and basically turned their front yard into a slow-motion compost fire. The cost of replacing those maples was ten times what they ‘saved’ by doing their own yard work.
The $20 Color Refresh vs. The Mulch Volcano
A mulch color refresh uses concentrated non-toxic dyes to restore the appearance of existing organic material without increasing the depth of the mulch bed. This prevents the formation of hydrophobic layers and ensures that water can still reach the root zone of your plantings.
If you keep adding new mulch every year to fix the fading, you create a mulch volcano. This is a primary cause of secondary root growth and trunk girdling. When mulch is too deep, the roots of your trees grow upward into the mulch layer seeking oxygen. When a drought hits, that mulch dries out faster than the soil, and those secondary roots die, stressed the entire plant. Instead, we use a professional-grade pigment. For about $20, you can buy a bottle of concentrate that covers 1,000 square feet. You mix it in a standard backpack sprayer and treat the top half-inch of your existing beds. It is iron oxide-based, the same stuff used in cosmetics. It is safe for the soil and it stops the UV degradation in its tracks. It is physics, not magic. UV rays break down the lignin in the wood fibers, turning them grey. The pigment provides a sacrificial layer that absorbs that radiation.
“Over-mulching is a leading cause of ornamental plant decline in the landscape. A depth of two to three inches is sufficient for moisture retention and weed suppression without compromising soil aeration.” – Penn State Department of Plant Science
How long does mulch colorant last?
A professional application of mulch dye typically lasts for a full season, often maintaining its color for 9 to 12 months depending on UV exposure and rainfall. Unlike cheap pre-dyed mulch from big-box stores, a manual refresh allows you to control the saturation and ensure even coverage across the entire bed.
Is mulch dye safe for pets and plants?
High-quality mulch colorants are composed of iron oxides or carbon black, which are naturally occurring minerals. These pigments are non-toxic to dogs, cats, and beneficial soil microbes. However, you must allow the dye to dry for 6 to 12 hours before irrigation or rain to prevent tracking or staining of adjacent hardscapes.
The Professional Mulch Maintenance Blueprint
Before you even touch a sprayer, you have to assess the state of the bed. If the mulch is matted or has a grey crust, it has become hydrophobic. Water will just bead off and run into the lawn. Use a hard rake to break up that crust. This is the ‘Forensic Autopsy’ phase. If you see white, thread-like structures, that is mycelium. That is good. It means decomposition is happening. If you see a yellow, slimy mass, that is slime mold. It is harmless, but it indicates too much moisture and not enough airflow. Flip it over and let it dry out.
| Triple-Shredded Hardwood | High | High | Low | Best for soil health, needs refresh. | Pine Bark Nuggets | Low | Moderate | Moderate | Good for acidity, prone to floating. | Cedar Shavings | Very Low | High | High | Insect repellent, but stays grey. | Dyed Wood Chips | Low | Variable | High | Avoid; often contains pallet scraps. |
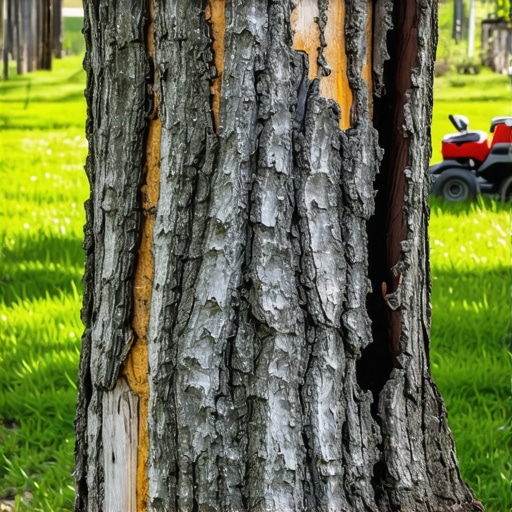
Next, check your root flares. I cannot stress this enough. The flare—where the trunk widens as it enters the soil—must be visible. If your mulch is touching the bark, you are inviting fungal cankers and boring insects. Use your hands to pull the mulch back at least three inches from the base of every woody plant. Once the beds are prepped and the grade is corrected to ensure drainage away from the foundation, you are ready for the pigment application. Mix the concentrate according to the label. Do not eyeball it. If you want a deep charcoal, use the maximum recommended ratio. If you want a natural brown, back it off. Spray at a 45-degree angle to ensure the pigment hits the sides of the wood chips, not just the tops. This creates a more natural, three-dimensional look.
“Soil temperature regulation is a primary benefit of organic mulching, with properly mulched beds showing up to a 10-degree Fahrenheit reduction in peak summer temperatures compared to bare soil.” – Texas A&M AgriLife Extension
Step-by-Step Mulch Color Restoration Checklist
- Mechanical De-crusting: Use a garden rake to break up the top 1-inch of old mulch to restore permeability.
- Edging Reconstruction: Redefine your bed edges with a vertical spade cut to a depth of 3 inches to prevent grass encroachment.
- Root Flare Clearance: Ensure at least 3 inches of bare soil around the base of all trees and shrubs.
- Pigment Mixing: Use a clean backpack sprayer and filtered water to prevent nozzle clogs.
- Perimeter Protection: Wet down all adjacent concrete, pavers, or stone before spraying to prevent staining.
- Application: Spray in a sweeping motion, overlapping passes by 20% for uniform color.
- Curing: Avoid watering the beds for at least 24 hours to allow the pigment to bond to the wood fibers.
It is worth noting that some ‘experts’ will tell you to just use a leaf blower to stir up the mulch and reveal the colored layers underneath. This is a temporary fix for hacks. It does not address the UV-damaged fibers that are already brittle. By applying the color refresh, you are adding a protective coating that slows the actual physical breakdown of the wood. This keeps the carbon in the mulch longer, which is better for the nitrogen cycle in your soil. When mulch breaks down too fast, the bacteria doing the work pull nitrogen out of the soil to fuel the process, leaving your plants hungry. A refresh extends the life of the mulch and stabilizes the nitrogen balance. It is cheaper. It is faster. It is better for the plants. Stop buying bags of wood every April. Start managing your soil like a professional. It is not about the look; it is about the biology underneath.
![Fixing 2026 Broken Drip Irrigation Lines [Easy]](https://lawnmajesty.com/wp-content/uploads/2026/06/Fixing-2026-Broken-Drip-Irrigation-Lines-Easy.jpeg)