Build a $150 River Rock Drain for 2026 Yards
Standing water is the silent killer of structural integrity and horticultural health. In my twenty years of fixing failed landscapes, I have seen five-figure patios crumble and century-old oaks succumb to root rot simply because a contractor or homeowner ignored basic fluid dynamics. Building a river rock drain for under $150 is not about buying the cheapest materials; it is about applying engineering principles to gravity and soil porosity. We are going to build a system that manages hydrostatic pressure and redirects surface runoff before it can compromise your property.
“A retaining wall doesn’t fail because of the stone; it fails because of the water trapped behind it.” – Hardscape Engineering Axiom
The Forensic Autopsy of a Drainage Failure
To build a successful **river rock drain**, you must first understand why most DIY drainage projects fail within two seasons. I recently got called out to tear up a $30,000 patio that was sinking because the previous contractor used cheap, woven weed barrier instead of non-woven geotextile fabric and neglected the exit point for the water. The fabric clogged with silt, the water backed up, and the hydrostatic pressure literally pushed the pavers out of alignment. If you do not account for soil migration, your expensive river rock will simply sink into the mud, becoming an underground mess within twenty-four months.
The Physics of the One Percent Slope
To ensure **effective yard drainage**, your trench must maintain a minimum **one percent slope**, which equates to a one-inch drop for every eight feet of horizontal run. This gradient uses **gravitational potential energy** to move water at a velocity that prevents sediment from settling inside the pipe while avoiding erosion at the discharge point. Without this precise calculation, water will stagnate, creating an anaerobic environment that rots turf roots and attracts mosquitoes.
How deep should a river rock drain be?
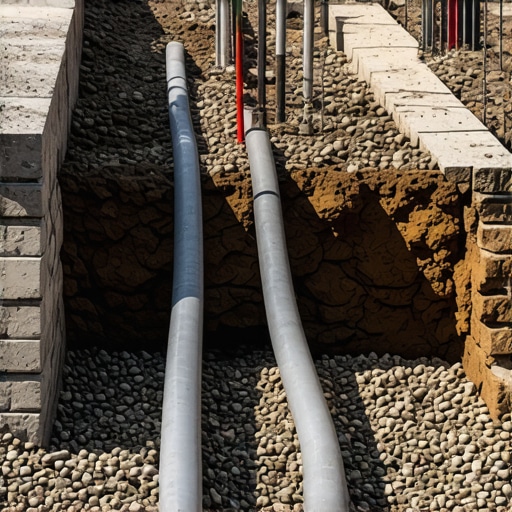
A professional **river rock drain** should be excavated to a depth of 12 to 18 inches to ensure it sits below the **root zone** of surrounding turf grass. This depth allows for a 2-inch base of **washed angular stone**, a 4-inch perforated pipe, and at least 6 inches of decorative river rock on top to facilitate rapid **surface infiltration**.
Required Materials and Budget Breakdown
Achieving a professional result for $150 requires sourcing materials from local landscape supply yards rather than big-box retailers where prices are marked up 300 percent for convenience. You need four core components: 4-inch perforated SDR-35 or heavy-duty corrugated pipe, 140-weight non-woven geotextile fabric, clean 3/4-inch drainage stone, and your decorative river rock. Do not skip the fabric. It is the only thing standing between a functional drain and a clogged trench. Below is the cost breakdown for a standard 20-foot run.
| Material | Quantity | Estimated Cost | Purpose |
|---|---|---|---|
| 4-inch Perforated Pipe | 20 Feet | $25.00 | Conveyance of water |
| Non-Woven Geotextile | 3′ x 50′ Roll | $35.00 | Soil separation / Filtration |
| #57 Washed Stone | 0.5 Cubic Yard | $30.00 | Structural pipe bedding |
| Decorative River Rock | 0.5 Cubic Yard | $60.00 | Surface infiltration / Aesthetics |
Total Project Cost: $150.00 (Note: Prices vary by region and delivery fees).
The Installation Process: A Ground-Up Build
Start by marking the utility lines. Call 811. Do not skip this. Once clear, excavate your trench. The width should be three times the diameter of your pipe. For a 4-inch pipe, you need a 12-inch wide trench. This provides enough space for the “envelope” of drainage stone that protects the pipe.
“Excessive soil moisture in the root zone leads to oxygen depletion, which triggers the production of toxic compounds in the soil and suffocates the plant’s vascular system.” – Texas A&M AgriLife Extension
What is the best stone for yard drainage?
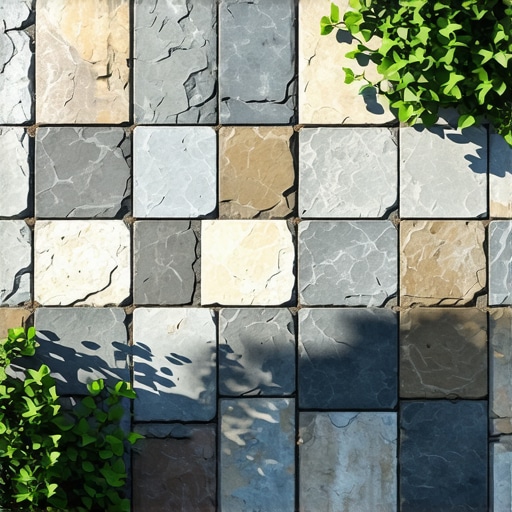
The best stone for **sub-surface drainage** is **washed angular gravel**, specifically #57 stone, because the irregular shapes lock together to provide structural stability while leaving 40 percent void space for water flow. For the visible top layer, **rounded river rock** is preferred as it slows down rushing water and prevents the displacement of the underlying filtration layers.
Step-By-Step Construction Checklist
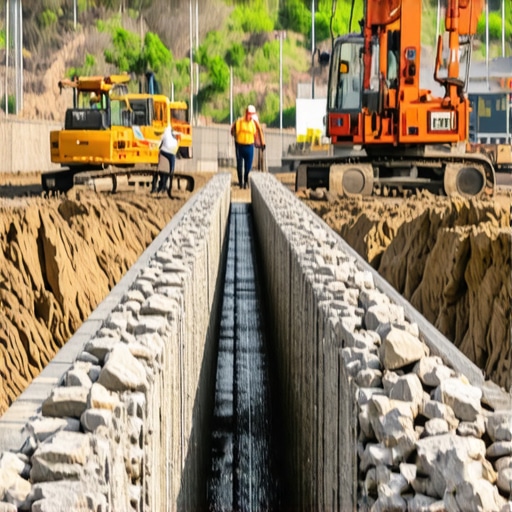
- **Trenching:** Excavate a 12-inch wide trench with a consistent 1% downward slope toward a safe discharge area or dry well.
- **Fabric Lining:** Lay non-woven geotextile fabric into the trench, leaving at least 12 inches of overlap on each side to “burrito wrap” the stone later.
- **Bedding:** Pour 2 inches of washed angular stone into the bottom to provide a stable base for the pipe.
- **Pipe Placement:** Install the 4-inch perforated pipe with the holes facing DOWN. This allows water to rise into the pipe from the bottom of the trench, maximizing efficiency.
- **The Envelope:** Fill the sides and top of the pipe with more angular stone until the pipe is covered by at least 2 inches.
- **The Wrap:** Fold the excess fabric over the top of the stone. This prevents fine soil particles from migrating into your drainage channel.
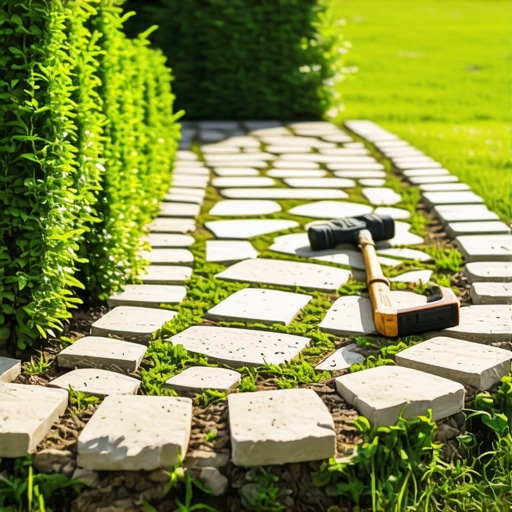
- **The Finish:** Top the remaining 4 to 6 inches with decorative river rock. Pack it tightly.
Maintaining Hydraulic Conductivity
Your drain is a piece of infrastructure. It requires maintenance. Every autumn, clear debris and leaf litter from the surface of the river rock. If the rock becomes choked with organic matter, it will begin to grow weeds, and the roots will eventually penetrate the fabric. Use a leaf blower on a low setting to clear the surface. Every three years, inspect the discharge pipe for signs of rodent nests or silt buildup. A quick flush with a garden hose is usually enough to keep the line clear. If you live in a region with heavy clay soil, like the red clays of Georgia or the Piedmont, you may need to increase the volume of drainage stone to compensate for the slow percolation rate of the surrounding earth.
Engineering the Discharge Point
Where the water goes is as important as how it gets there. Never discharge your drain onto a neighbor’s property or directly toward a public roadway, as this often violates municipal codes and can lead to legal liability. Use a pop-up emitter in the middle of a lawn or a flared end section with a small riprap apron to dissipate the energy of the exiting water. This prevents the very erosion you are trying to solve. In 2026 yards, where space might be at a premium or local HOAs have strict rules, a small underground dry well filled with leftover stone can act as a terminal for the water, allowing it to slowly infiltrate back into the water table without causing surface issues.
![Build a $250 Gravel Shed Base [2026 No-Slab Fix]](https://lawnmajesty.com/wp-content/uploads/2026/05/Build-a-250-Gravel-Shed-Base-2026-No-Slab-Fix.jpeg)