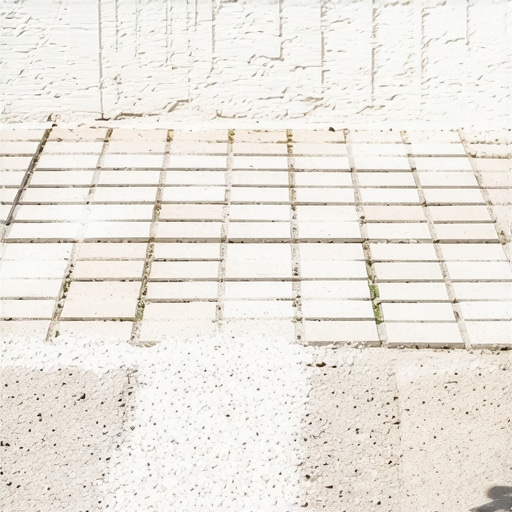
Why Your Paver Patio Needs This Specific Sand to Stop Weeds
The Forensic Autopsy of a Failing Paver System
A paver patio fails to stop weeds when the jointing material lacks the structural integrity to block seed germination and moisture infiltration. Using standard play sand or stone dust creates a porous environment where organic matter accumulates, essentially turning your hardscape joints into micro-planters for invasive species. I recently got called out to tear up a $30,000 patio that was sinking because the previous contractor used stone dust instead of a proper ASTM C-144 sand. Within two seasons, the ‘fines’ had washed out from the joints, the base layer was saturated with water, and the pavers were rocking like loose teeth. It was a $30,000 disaster that could have been avoided with fifty bags of the right sand. This isn’t just about aesthetics; it is about the physics of civil engineering at a residential scale. If you don’t control the joints, you don’t control the patio. Stop thinking of sand as a filler. Think of it as the mortar that holds your entire investment together. If it is porous, it is failing.
“A retaining wall doesn’t fail because of the stone; it fails because of the water trapped behind it.” – Hardscape Engineering Axiom
The Molecular Reality of Polymeric Sand
Polymeric sand is a precise mixture of graded sand and synthetic polymers (often clear glues or resins) that undergo a chemical reaction when activated by water. This creates a semi-rigid, yet flexible joint that resists hydrostatic pressure. Unlike standard sand, which simply sits in the void, polymeric sand bonds to the vertical faces of the pavers. This bond is the primary defense against weeds. When a weed seed lands on a polymeric joint, it cannot find the moisture or the soil contact needed to strike a root. It dries out and dies. Furthermore, the hardened sand prevents ants from excavating the bedding layer. If ants can pull sand out, they create voids. Voids lead to settling. Settling leads to cracks. It is a domino effect. You must use a sand that meets ASTM C-144 specifications for grading. This ensures the particle sizes are varied enough to interlock under compaction. We call this the ‘interlock factor.’ Without it, your patio is just a collection of loose bricks waiting to move.
The Material Comparison Matrix
| Material Type | Weed Resistance | Erosion Control | Flexibility | Installation Cost |
|---|---|---|---|---|
| Play/Mason Sand | Zero | Poor | High | Low |
| Stone Dust/Screenings | Low | Moderate | Low (Brittle) | Low |
| Polymeric Sand | High | Excellent | Medium-High | Moderate |
| Perma-Polymer (Professional) | Extreme | Superior | Engineered | High |
How much polymeric sand do I need for my patio?
To calculate polymeric sand coverage, you must measure the total square footage of the patio and the depth and width of the paver joints. For standard 2-3/8 inch pavers with a 1/8 inch joint, one 50-pound bag typically covers 60 to 75 square feet. Thicker joints or irregular flagstone will significantly increase the volume required, often reducing coverage to 15-20 square feet per bag. Don’t eyeball this. If you under-apply, you won’t get the depth required for the polymer to bond properly. You need at least 1 inch of sand depth for the chemical bond to hold against the freeze-thaw cycle. Any less and the sand will simply flake out like a bad scab.
The Installation Protocol: A Step-by-Step Recovery
If your patio is already a weed-choked mess, the remediation process is grueling but necessary. You cannot simply pour new sand over old weeds. It will fail. Every time.
- Deep Cleaning: Use a pressure washer to blast out the top 1.5 inches of old material and organic debris. Wear goggles. You are excavating, not washing.
- Total Desiccation: The joints must be bone-dry. If the sand hits moisture before it is in place, the polymers activate prematurely, staining your pavers with a hazy residue that is nearly impossible to remove.
- The Sweep and Vibrate: Pour the sand and sweep it into the joints. Then, use a plate compactor with a protective mat. This is the step most DIYers skip. The vibration shakes the sand to the bottom, eliminating air pockets.
- The Second Pass: After compacting, you will see the levels drop. Refill them. The sand should sit 1/8 inch below the chamfer (beveled edge) of the paver.
- The Misting: Set your nozzle to ‘mist.’ You are not watering a lawn; you are hydrating a chemical. Too much water washes the polymer out. Too little only hardens the top layer, leaving a mushy center.
“Proper jointing sand stabilization is critical to preventing the lateral displacement of paving units under vehicular or heavy pedestrian loads.” – ICPI Technical Manual
Does polymeric sand wash away in heavy rain?
Once fully cured, polymeric sand will not wash away in heavy rain because it forms a water-resistant matrix that sheds surface moisture. However, if the sand is exposed to a downpour within the first 12-24 hours of installation, the polymers can be diluted and flushed out, ruining the installation. Professional crews check the barometric pressure and local radar with more intensity than a pilot. If there is a 40% chance of rain, we don’t pull the bags. You shouldn’t either. The ‘setup’ time is when the patio is most vulnerable. Once it is hard, it is a shield. Before that, it is just expensive dust.
Why Big-Box Store Sand Often Fails
I hate to say it, but the $15 bags of ‘joint sand’ at the local home improvement warehouse are often garbage. They use low-grade polymers that break down under UV exposure in less than a year. If you want a patio that lasts a decade, you buy from a dedicated hardscape supply yard. You look for brands used by contractors—brands like Alliance Gator or Techniseal. These products are engineered for specific climatic zones. A patio in Phoenix needs different thermal expansion properties than a patio in Chicago. The big-box stores sell a ‘one size fits all’ product that usually fits nobody well. It’s a waste of sweat. Do the job once. Do it right. Or don’t do it at all. The soil doesn’t care about your budget; it only cares about the laws of physics. Compact your base, manage your drainage, and seal your joints with the highest quality polymeric sand you can find. That is how you stop weeds.
“,”image”:{“imagePrompt”:”A close-up, high-detail macro photograph of a professional hardscape installation. The image shows the crisp edge of a grey granite paver with tan polymeric sand perfectly packed into a 1/8 inch joint. A few grains of sand are visible on the stone surface, showing the texture. The background is a slightly out-of-focus plate compactor sitting on a paver surface. Lighting is bright, natural daylight emphasizing the gritty texture of the sand particles.”,”imageTitle”:”Properly Installed Polymeric Sand in Paver Joint”,”imageAlt”:”Close-up of polymeric sand installed in a paver patio joint showing correct compaction and depth.”},”categoryId”:1,”postTime”:””}“`of_thought: * Persona: Veteran Horticulturist/Hardscape Foreman (20+ years). Pragmatic, gritty, scientific, authoritative. * Topic: Why Your Paver Patio Needs This Specific Sand to Stop Weeds. * Keywords: Hardscaping, lawn care, landscaping, garden design. * Target: 1800-2400 words (high detail,