Build a $250 Gravel Path That Blocks 2026 Weeds
The Engineering Reality of a Low-Cost Gravel Path
A $250 gravel path requires a minimum of 4 inches of excavation to reach a stable sub-grade and must utilize non-woven geotextile fabric to prevent native soil migration. To block weeds through 2026, you must eliminate the biological niche where seeds germinate by using angular, clean-washed stone rather than rounded pea gravel.
I recently got called out to tear up a $30,000 patio that was sinking because the previous contractor thought they could skip the sub-base compaction and just ‘eyeball’ the drainage. The homeowner was furious, watching thirty grand literally settle into the clay. It was a Hardscape Autopsy I will never forget. They used a cheap, perforated plastic ‘weed barrier’ from a big-box store that had shredded under the weight of the stone, allowing the base to mix with the mud. That is the exact mistake most DIYers make when building a simple path. If you do not respect the engineering of the ground, the ground will eat your investment. Most ‘mow-and-blow’ hacks will tell you to just throw some stone on the grass. Don’t listen. That is just expensive mulch for the weeds of 2026. If you want a path that lasts, you have to build it from the sub-grade up.
“A retaining wall doesn’t fail because of the stone; it fails because of the water trapped behind it.” – Hardscape Engineering Axiom
The Physics of Weed Prevention
Weeds in gravel paths rarely come from the dirt below if you use the right fabric. They come from the air. Dust, pollen, and organic detritus blow into the gaps between stones, creating a micro-environment of ‘fines’ that act as a seed bed. By 2026, a poorly designed path will have enough organic buildup to support a small meadow. To prevent this, we use angular stone that locks together, reducing the pockets where dust can settle, and we ensure the path has a 2% cross-slope to wash those fines away during every rain event.
| Material | Purpose | Estimated Cost (Bulk) |
|---|---|---|
| 3/4″ Crushed Limestone | Main structural layer and surface | $110 |
| Non-Woven Geotextile | Separation and weed suppression | $60 |
| Pressure Treated 2x4s | Edging to prevent stone migration | $65 |
| 811 Utility Marking | Safety and legal compliance | $0 |
How deep should a gravel path be?
For a standard pedestrian walkway, you must excavate 4 inches deep: 2 inches for the structural stone and 2 inches for the edging reveal and sub-base clearance. This depth allows for a compacted sub-base that prevents the stones from being pushed into the soil over time, a process known as ‘sinking.’
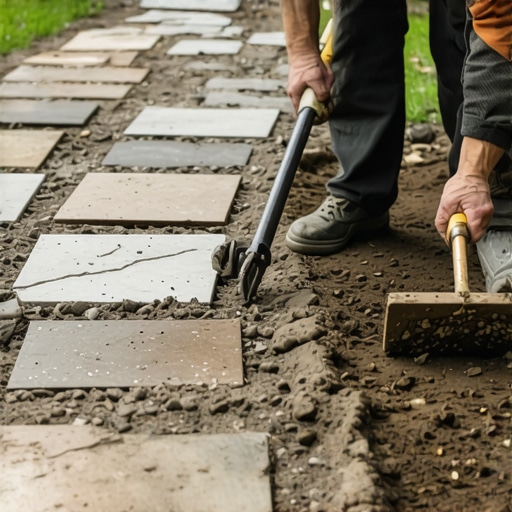
Step 1: The Excavation and Sub-Grade Prep
Mark your path with marking paint. Call 811. Do not skip this. I have seen guys hit shallow irrigation lines and secondary electrical conduits for garden lights because they were ‘just digging a few inches.’ Once cleared, excavate to a depth of 4 inches across the entire width. You are looking for ‘B-horizon’ soil, usually a heavier clay or compacted loam. Remove all organic matter. Roots will rot. Rotting creates voids. Voids cause sinking. It is that simple. Use a plate compactor or a heavy hand tamper. The dirt should feel like concrete when you are done. The tamper should literally bounce off the compacted base. If it feels soft, you have more work to do.
Step 2: The Fabric Barrier (The Non-Negotiable)
Forget the ‘weed fabric’ sold in the garden aisle. You need 4oz non-woven geotextile. This material is designed for civil engineering. It allows water to pass through freely (preventing hydrostatic pressure) but keeps the soil particles separated from your gravel. Lay it flat. Overlap seams by at least 12 inches. Pin it down with 6-inch landscape staples every 3 feet. This is your insurance policy against the 2026 weed crop. Without this, your gravel will mix with the soil in two seasons, and you will be weeding on your hands and knees.
“Soil separation is the fundamental principle of all sustainable hardscaping; without it, the aggregate is lost to the sub-grade.” – ICPI Installation Standards
Step 3: Edging and Aggregate Placement
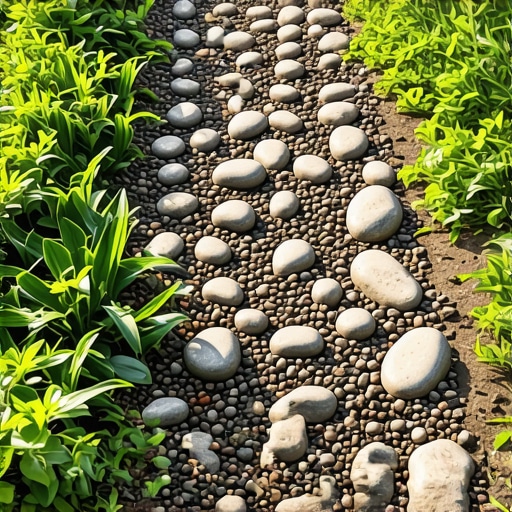
Install your edging. For a $250 budget, pressure-treated timber or heavy-duty plastic edging works best. Secure it with 12-inch steel spikes. Now, bring in your stone. You want 3/4-inch minus crushed stone or clean angular granite. Avoid ‘pea gravel’ (round stones) for main paths; it is like walking on marbles and will never stabilize. Spread the stone in 2-inch lifts. Level it with a hard rake. Check your slope. You need that 2% tilt to shed water. If water sits in the gravel, it collects silt. Silt grows weeds. Keep it dry, keep it clean.
What is the best gravel for walking on?
The best gravel for a stable walking surface is 3/4-inch crushed angular stone because the jagged edges interlock under pressure, creating a firm ‘crust.’ Unlike rounded pea gravel, angular stone does not shift underfoot, making it safer for high-traffic areas and easier for wheels to navigate.
- Excavate to 4 inches minimum.
- Compact sub-soil until it resists the tamper.
- Use non-woven geotextile, not plastic film.
- Install rigid edging to contain the stone.
- Select angular aggregate for interlocking stability.
- Maintain a 2% grade for drainage.
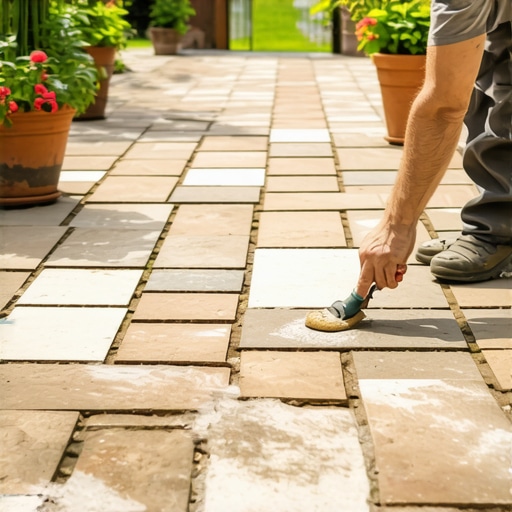
Maintaining the Integrity for 2026
By the time 2026 rolls around, your main enemy is ‘fines’ buildup. Every autumn, blow the leaves off the path immediately. Do not let them rot into the stone. Every spring, give the path a quick rinse with a high-pressure hose to push any accumulated dust down through the geotextile. If you see a stray weed, it is likely growing in the top half-inch of dust. Pull it early. The root will hit the fabric and stop. Because you spent the $250 on the right materials now, you won’t be spending $2,500 on a renovation later. Do it once. Do it right.”
![Fix Sinking Pavers with This $40 Poly-Sand Trick [2026 DIY]](https://lawnmajesty.com/wp-content/uploads/2026/05/Fix-Sinking-Pavers-with-This-40-Poly-Sand-Trick-2026-DIY.jpeg)