Build a $300 Cedar Pergola for 2026 Patio Shade
The Engineering of Backyard Shade Structures
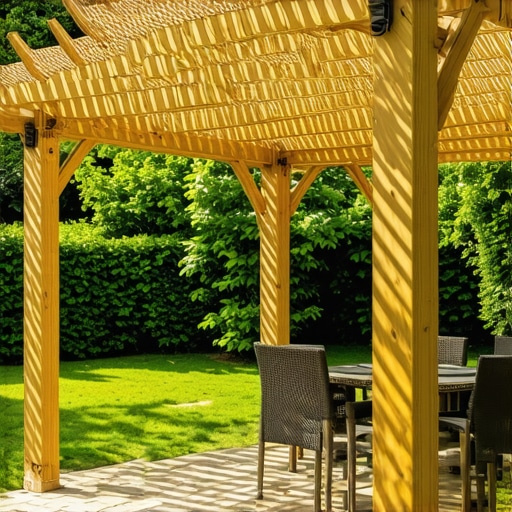
A $300 cedar pergola project relies on structural engineering principles and the use of Western Red Cedar to create a durable hardscape element. By focusing on moment-resisting connections and frost-line footings, you ensure the structure provides 100% canopy coverage and resists lateral wind loads for the 2026 season and beyond.
I always drill into my new crew members: if you don’t fix the soil grading first, every plant you put in the ground is just expensive compost. The same applies to a pergola. I have seen guys throw 4×4 posts directly into the dirt and call it a day. They are not contractors; they are vandals. Within two years, those posts suck up moisture through capillary action and rot from the inside out. If you want a pergola that is still standing when the 2026 summer heat hits, you start with the dirt. You check the slope. You ensure water moves away from your post footings. If you skip the 2% grade, you are just building a very expensive pile of kindling. Most DIYers think the wood is the hardest part. It is not. It is the physics of the site. You are fighting gravity and hydrostatic pressure. Respect the soil or it will consume your investment.
“Post footings must extend 6 inches below the local frost line to prevent upheaval from freeze-thaw cycles.” – International Building Code (IBC) Standards
Sourcing Materials for the $300 Budget Limit
Building a budget-friendly pergola requires sourcing rough-sawn cedar from local mills and using structural-grade fasteners to minimize costs without sacrificing structural integrity. Focus on 8×8 footprints or 10×10 designs to reduce the total board footage of lumber and keep the project under the $300 price point.
To hit a $300 price point with cedar, you cannot walk into a big-box retailer and buy premium clear grade wood. You have to be smarter. Look for #2 structural grade cedar or better yet, find a local sawmill. Cedar is naturally rot-resistant because of the thujaplicins in its heartwood. It does not need the toxic chemicals found in pressure-treated pine. When you are buying your lumber, look at the end grain. You want tight growth rings. This indicates a denser, stronger piece of timber. For a small 8×10 pergola, you will need four 4×4 posts, two 2×6 headers, and a handful of 2×4 rafters. By spacing your rafters at 16 inches on center, you get the most shade for every dollar spent. Do not waste money on fancy decorative end-cuts yet. Put that money into stainless steel screws. Standard galvanized nails will react with the tannins in the cedar and leave ugly black streaks down your posts. It looks amateur. Use 305 or 316-grade stainless steel. It is a non-negotiable requirement for cedar builds.
How deep should pergola footings be?
Pergola footings should be excavated to a depth of 24 to 36 inches depending on your local frost line to ensure the foundation remains stable. Using sonotubes and 4000 PSI concrete provides a solid structural base that prevents the cedar posts from shifting or sinking over time due to soil compaction issues.
| Material Type | Estimated Cost | Longevity | Maintenance Needs |
|---|---|---|---|
| Western Red Cedar | $250 to $350 | 15 to 20 Years | Oil-based stain every 2 years |
| Pressure Treated Pine | $150 to $200 | 10 to 12 Years | High risk of warping/cracking |
| Aluminum Kits | $800 to $2,000 | 25+ Years | Zero maintenance |
The Step-by-Step Construction Process
Executing a pergola installation involves setting posts in concrete, leveling headers with a magnesium level, and notching rafters for a secure fit. This hardscaping workflow ensures the overhead structure can withstand wind shear and support the weight of climbing vines like Wisteria or Clematis by the 2026 growing season.
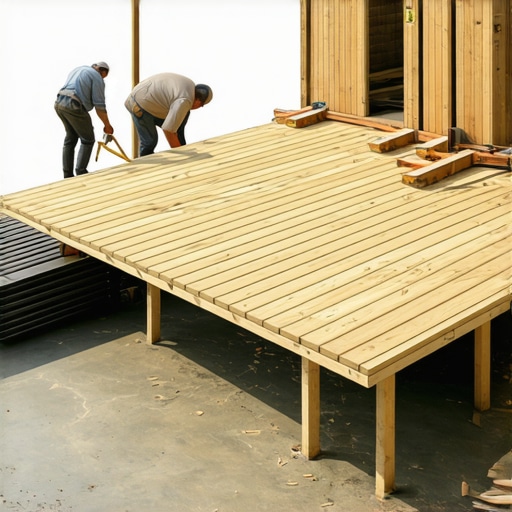
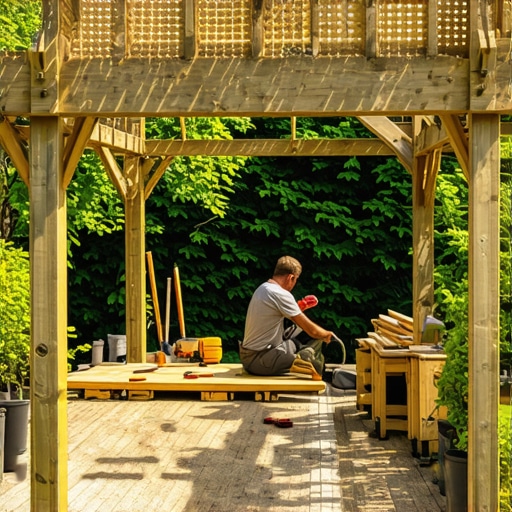
Start by marking your holes. Call 811 before you dig. I have seen too many guys hit a secondary power line because they thought they knew where the grid was. Once you are cleared, dig your holes. The bottom of the hole should be wider than the top, creating a bell shape. This prevents the concrete plug from being pushed out by frozen soil. Use a post base bracket. Do not bury the wood. Set the bracket into the wet concrete and let it cure for 48 hours. When you bolt the 4×4 posts, use a plumb bob. A level is good, but a plumb bob does not lie. Once your posts are vertical, cut your headers. I recommend a 2×6 header for an 8-foot span. It provides plenty of strength without the bulk. Use 5-inch headlok screws to pull the wood together. The torque should be enough to countersink the head slightly. If the wood splits, you did not pre-drill. Pre-drill everything. Cedar is brittle. It will crack if you force it. Once the headers are up, layout your rafters. A 12-inch overhang on each side looks professional and adds extra shade. Space them evenly. If your math is off by even half an inch, the human eye will catch it instantly. It looks sloppy. Use a framing square and double-check every mark.
Is cedar better than pressure-treated wood for a pergola?
Cedar is superior to pressure-treated wood because it contains natural oils that resist insect infestation and fungal decay without the need for arsenic-based chemicals. Additionally, cedar lumber remains straighter and experiences less warping or twisting, making it the preferred choice for high-end landscaping and outdoor carpentry.
“Heartwood of Western Red Cedar contains natural thujaplicins, making it resistant to decay and insect attack without chemical treatment.” – USDA Forest Products Laboratory
The 2026 Shade Strategy: Biological Integration
Maximizing patio shade for 2026 requires integrating deciduous vines into your pergola design to create natural cooling through evapotranspiration. By selecting fast-growing perennials and managing the root zone with organic mulch, you can achieve a vegetative canopy that drops the temperature by 10 degrees during peak summer months.
A pergola alone is just a skeleton. For real shade in 2026, you need biology. I suggest planting at two opposite corners. Do not plant right against the post; give the root ball 12 inches of space. You do not want the roots competing with your concrete footing. Use a mix of compost and native soil. If you have heavy clay, add some expanded shale for aeration. For the 2026 goal, look at Hops or Trumpet Vine. They are aggressive growers. By next year, they will have reached the top. By 2026, they will be thick enough to block the sun. Just remember to prune them. If you let them go wild, the weight of the wet foliage can put 500 pounds of stress on your rafters. Check your fasteners every spring. Wood moves. Screws loosen. A quick turn with an impact driver keeps everything tight. Don’t skip this. A loose pergola is a dangerous pergola. Maintenance is the difference between a structure that lasts 20 years and one that ends up at the dump in five.
- Call 811 for utility marking before digging.
- Purchase 304 or 316 stainless steel fasteners.
- Use a 48-inch level to verify post plumb.
- Apply a high-quality oil-based UV sealant.
- Notch rafters for increased lateral stability.
- Install 4×4 post caps to prevent end-grain rot.