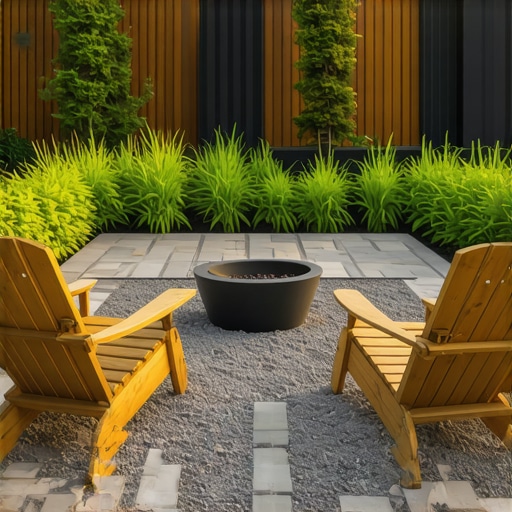
Build a $400 2026 Outdoor Kitchen Island [Budget DIY]
The Engineering Reality of Budget Outdoor Kitchens
Building a functional 2026 outdoor kitchen island for under $400 is not about buying cheap kits; it is about structural engineering and material sourcing. To succeed at this price point, you must focus on the sub-base and the skeletal frame rather than aesthetic veneers. Most DIY projects fail because the builder treats the island like indoor furniture. In the field, we treat it like a bridge. It must withstand hydrostatic pressure, thermal expansion, and the sheer weight of masonry. If your base is not compacted to at least 95% Proctory density, the entire $400 investment will be a pile of cracked debris within two seasons. Do not skip the prep.
The Hardscape Autopsy: Why Cheap Builds Fail
I recently got called out to tear up a $30,000 patio that was sinking because the previous contractor ignored the sub-grade. The homeowner had tried to build a DIY island on top of 2 inches of uncompacted sand. The island weighed approximately 800 pounds. As the ground saturated during the spring thaw, the sand liquefied and the island tilted four degrees, snapping the gas lines. This is why I drill into my crew: drainage is the only law. If you are building for $400, you are likely using CMU (Concrete Masonry Units) or a pressure-treated timber frame. Both require a footprint that extends 6 inches beyond the island’s edge to distribute the load effectively.
“A retaining wall doesn’t fail because of the stone; it fails because of the water trapped behind it.” – Hardscape Engineering Axiom
Step 1: The Foundation and Excavation
To ensure a $400 outdoor kitchen island remains level, you must excavate 8 inches deep, backfill with **4 inches of compacted 21A modified gravel**, and top it with a **reinforced concrete pad** or high-density pavers. This prevents the unit from heaving during freeze-thaw cycles and ensures the structural integrity of your masonry joints. You need a solid interface between the soil and the structure. Stop thinking about the grill; start thinking about the dirt.
How much modified gravel do I need for a patio base?
You calculate the volume by multiplying the length by the width and the depth in feet, then dividing by 27 to find cubic yards. For a standard 6-foot by 3-foot island base, you will need approximately **0.3 cubic yards of aggregate** to create a stable 4-inch lift. Use a plate compactor. A hand tamper is for amateurs. If the tamper does not bounce off the stone, it is not tight enough.
| Material Item | Estimated 2026 Cost | Function |
|---|---|---|
| CMU Blocks (8x8x16) | $110 | Main structural frame |
| #57 Crushed Stone | $45 | Drainage layer and base |
| Masonry Adhesive (Polyurethane) | $60 | Binding agents for blocks |
| Cement Board (1/2 inch) | $80 | Sheathing for finish work |
| Rebar (#4 Grade 60) | $35 | Internal structural pinning |
| Total | $330 | Remaining $70 for hardware |
Step 2: Structural Framing with CMU
Using Concrete Masonry Units (CMU) is the most cost-effective way to hit a $400 budget while maintaining a 20-year lifespan. Unlike wood, CMU will not rot when exposed to ground moisture or high heat from the grill insert. You must dry-stack these blocks first to ensure your layout is square. Use a 3-4-5 triangle method to check your corners. Once square, use a high-strength polyurethane masonry adhesive between courses. This provides a PSI rating far superior to standard mortar for small-scale DIY builds. It is faster. It is stronger.
How do I level the first course of blocks?
The first course of your outdoor kitchen island must be set in a **1-inch bed of sand and portland cement mix** (dry pack) to allow for micro-adjustments with a rubber mallet. Ensuring this base layer is perfectly level in both axes is the only way to prevent vertical lean as you build upward. If the first block is off by 1/16th of an inch, the top of the island will be off by nearly an inch. Accuracy is non-negotiable.
“Soil compaction is the most critical and most neglected phase of any hardscape installation.” – ICPI Tech Spec No. 2
- Checklist for Base Preparation:
- Verify utility lines via 811 before digging.
- Excavate to undisturbed subsoil.
- Install a woven geotextile fabric to prevent soil migration.
- Compact gravel in 2-inch lifts.
- Use a 4-foot level at minimum for all checks.
Step 3: Thermal Management and Countertops
In a budget build, the countertop is where people overspend. For a $400 project, you should use **large-format porcelain pavers** or a DIY concrete pour. Porcelain is ideal for 2026 because it is non-porous and has a high thermal mass, meaning it won’t crack under the heat of a drop-in sear station. You must leave a 1/8-inch expansion gap between the countertop and the grill frame. Metal expands faster than masonry. If you tight-fit the grill, the expansion will crack your cement board sheathing. It will happen.
The Maintenance Protocol
Your work does not end when the last block is set. You must manage the hydrostatic pressure around the base. Ensure the surrounding garden design includes a 2% slope away from the island. If water pools at the base, it will undermine the compaction. In the fall, blow out any voids in the block core to prevent water from freezing and expanding. This is biology and physics, not decoration. Take care of the base, and the island will take care of the cooking.
![7 2026 Pergola Designs for Under $600 [Modern]](https://lawnmajesty.com/wp-content/uploads/2026/06/7-2026-Pergola-Designs-for-Under-600-Modern.jpeg)
![Build a $300 2026 Stone Fire Pit Area [Fast]](https://lawnmajesty.com/wp-content/uploads/2026/07/Build-a-300-2026-Stone-Fire-Pit-Area-Fast.jpeg)