How to Install a Low-Voltage Lighting System in One Afternoon
Why Professional Low-Voltage Lighting Installation Starts Long Before the Sun Sets
To install a low-voltage lighting system effectively in one afternoon, you must first design a layout that accounts for voltage drop, total wattage load, and fixture placement to ensure consistent light output across your entire hardscaping project without overloading the transformer. I recently got called out to a property where a homeowner had spent three days and nearly $4,000 on high-end fixtures only to have them look like dim candles. The previous contractor had daisy-chained fifteen lights on a 150-foot run using 16-gauge wire. It was a classic autopsy of failure. The copper was already oxidizing at the cheap pierce-point connectors. I had to rip out the whole run and start from scratch because you cannot fix a foundation built on bad physics. Proper lighting isn’t about buying a box from a retail store; it is about managing electricity in a wet environment. Every connection is a potential failure point. If you don’t treat the wire with the same respect you treat a gas line, you are just burying trash in your yard.
The Core Components: Selecting Commercial-Grade Hardware
Selecting commercial-grade hardware for your landscape lighting ensures longevity by utilizing cast brass or copper housings, toroidal transformers, and waterproof silicone-filled connectors that resist corrosion and soil moisture better than aluminum or plastic alternatives. Don’t buy those plastic kits. They will fail within two seasons. A professional-grade transformer is the heart of your system. You want a multi-tap transformer that allows you to adjust the output (12V, 13V, 14V) to compensate for distance. For the wire, use nothing less than 12/2 direct-burial cable. Anything thinner is for toys, not homes.
“Voltage drop is the decrease of electrical potential along the path of a current flowing in an electrical circuit. In low-voltage systems, this drop is significant and must be calculated to prevent uneven illumination.” – Hardscape Engineering Axiom
How much modified gravel do I need for a patio base?
While this article focuses on lighting, remember that if you are running wires under a patio, your base compaction is critical. You typically need 6 inches of compacted 21A or 3/4-inch minus gravel. If you are digging trenches near this base, do not undermine the compaction. Dig your lighting trenches at least 8 inches away from the edge of the paver restraint to prevent the sand setting bed from migrating into your trench.
The Mathematics of Light: Calculating Your Load
Calculating your electrical load requires totaling the wattage of all LED fixtures and ensuring the sum does not exceed 80% of the transformer’s rated capacity to prevent overheating and premature component failure. If you have a 300-watt transformer, do not put 300 watts of lights on it. Stop at 240. This is the 80% rule, and it is non-negotiable for system longevity. LEDs have made this easier, as a standard path light might only pull 3 to 5 watts, but you still have to account for the resistance in the wire itself.
| Wire Gauge | Max Amperage | Suggested Max Run (at 100W Load) |
|---|---|---|
| 14-Gauge | 15 Amps | 50 Feet |
| 12-Gauge | 20 Amps | 100 Feet |
| 10-Gauge | 30 Amps | 150 Feet |
The Step-by-Step Installation Protocol
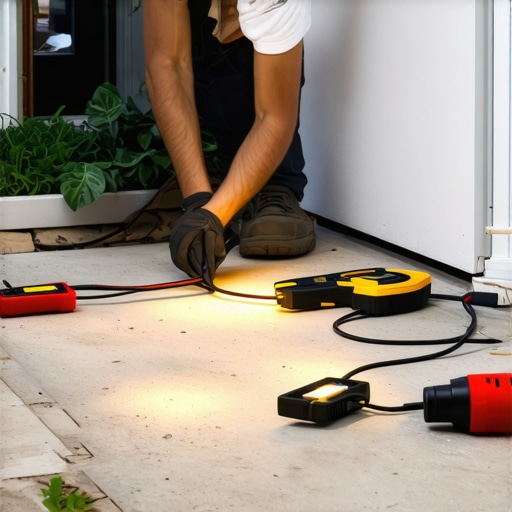
The installation process involves trenching a 6-inch deep path, daisy-chaining or hubbing your wires using direct-burial connectors, and mounting the transformer near a GFCI outlet to establish a safe, 12-volt power distribution network. Start at the transformer. Mount it at least 12 inches above the ground. Use a dedicated circuit. If you are sharing a circuit with a pool pump, you are going to have interference issues. Lay your wire out on top of the grass first. Plug it in. Test it at dusk before you dig a single inch. This is the ‘Golden Rule’ of lighting. You don’t want to find a bad fixture after it is buried under six inches of clay.
“All outdoor electrical connections must be rated for wet locations and protected against the ingress of moisture, which can cause electrolysis and rapid degradation of copper conductors.” – Agricultural Extension Office Soil Conductivity Standards
- Layout: Flag fixture locations and check for sightlines from inside the house.
- Trenching: Use a flat-head spade to create a narrow slit 6 inches deep.
- Wiring: Leave an extra 3 feet of ‘slack’ at each fixture for future adjustments.
- Connections: Use DBRY-6 or equivalent grease-filled connectors only.
- Backfilling: Ensure no sharp rocks are pressing against the wire insulation.
What is the best way to bury landscape lighting wire?
The best way to bury wire is to use a vibratory plow for large areas or a manual trenching spade for gardens, ensuring the cable is seated at a 6-inch minimum depth to avoid damage from aerators or edgers during routine lawn care. I have seen countless systems destroyed by a simple spring aeration because the wire was only two inches deep. Don’t be lazy. Go deep. Use a PVC conduit for any wire runs that cross under a driveway or a main walkway. It is cheap insurance.
The “Information Gain”: A Pro Trick for Better Light
Most DIY guides tell you to point lights at the trees. They are half-right. If you want a professional look, focus on the negative space. Use ‘grazing’ techniques to highlight the texture of a stone wall or ‘shadowing’ to project the silhouette of a Japanese Maple onto a flat surface. Also, never use ‘cool white’ LEDs. They look like a hospital parking lot. Stick to 2700K or 3000K warm white to complement the natural tones of your garden design. This mimics the color temperature of traditional halogen bulbs without the massive energy draw. It will last. It will look expensive. It will work every time the sun goes down.