Stop Your Retaining Wall from Leaning with This Simple Drainage Move
The Forensic Autopsy of a Failing Retaining Wall
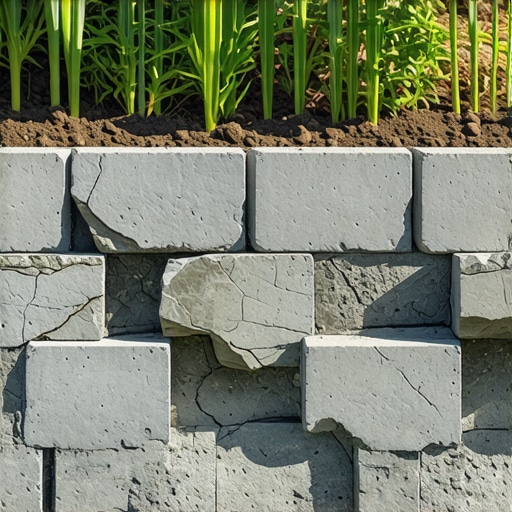
I recently got called out to tear up a $30,000 patio and wall system that was sinking and bowing because the previous contractor thought he could save $800 on drainage stone. The visual was pathetic. A modular block wall that should have lasted fifty years was leaning at a fifteen-degree angle after just two winter cycles. You could see the water weeping through the cracks in the masonry, carrying fine silt with it. This is a classic case of structural ignorance. When I see a leaning wall, I don’t see a material failure; I see a hydraulic failure. The weight of the soil isn’t what pushed that wall over. It was the hydrostatic pressure of the water trapped behind it. Soil grading is not a suggestion; it is the fundamental law of civil engineering in hardscaping.
The Critical Drainage Move: Implementing a 12-Inch Clean Stone Backfill
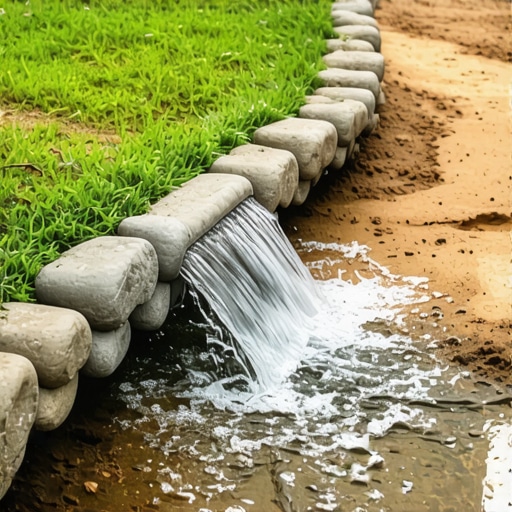
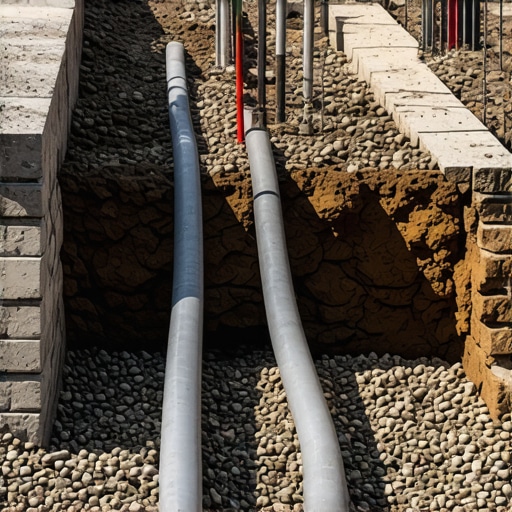
To stop a retaining wall from leaning, you must install a 4-inch perforated drainage pipe at the base and backfill the entire area behind the wall with at least 12 inches of clean, angular #57 stone wrapped in a non-woven geotextile fabric. This specific move eliminates hydrostatic pressure by allowing water to reach the drain line immediately rather than saturating the soil and pushing against the wall structure. It is the most vital step in any garden design involving elevation changes.
“A retaining wall doesn’t fail because of the stone; it fails because of the water trapped behind it.” – Hardscape Engineering Axiom
The Science of Hydrostatic Pressure and Soil Weight
Water is heavy. Really heavy. A cubic foot of water weighs approximately 62.4 pounds. When your backfill consists of native clay or topsoil, that material acts like a sponge. During a heavy rain, that soil saturates, and the pressure against the back of your wall increases exponentially. We call this hydrostatic pressure. In landscaping, we must account for the surcharge load of the soil plus the weight of the water. If you don’t provide a path of least resistance for that water, it will find its own way out by pushing your wall forward. The friction between the soil particles disappears as they become lubricated by moisture, leading to what engineers call the ‘active wedge’ of soil sliding against your blocks. I tell my crew every day: we are not building walls; we are building drainage systems that happen to have stones in front of them. Don’t skip the aggregate. It will rot.
Comparing Drainage Materials for Hardscaping
| Material Type | Drainage Rating | Compaction Stability | Recommended Use |
|---|---|---|---|
| #57 Clean Stone | Excellent | High (Angular Lock) | Primary Wall Backfill |
| Pea Gravel | Good | Low (Rolls like marbles) | Decorative surface only |
| Modified 2A Gravel | Poor | Very High | Base Layer Only |
| Native Clay Soil | Terrible | Unpredictable | Never use for backfill |
How much modified gravel do I need for a wall?
For a standard residential retaining wall, you need enough modified 2A gravel to create a base that is 6 inches deep and at least 12 inches wider than the block itself. This creates a stable ‘footing’ that distributes the weight of the wall and prevents settling. You must compact this in 2-inch lifts. If the plate compactor doesn’t literally bounce off the surface, it isn’t tight enough yet. Proper lawn care also starts here, as poor drainage from a wall will quickly drown your turf grass at the bottom of the slope.
Why is my retaining wall leaning?
Your retaining wall is leaning because water has saturated the soil behind the units, causing the soil to expand and exert more force than the wall was designed to hold. This is often exacerbated by a lack of a ‘weep hole’ or a clogged drainage pipe. If you see white powdery stains—efflorescence—on the face of the wall, that is the salt being carried through the blocks by water. It is the first warning sign of total failure. You must excavate and replace the soil with clean stone immediately.
“Subsurface drainage systems must be designed to handle the peak flow of a 10-year storm event to prevent soil liquefaction behind the vertical face.” – ICPI Technical Manual
The Step-by-Step Remediation Checklist
- Excavate the Failure Zone: Dig out at least 18 inches behind the wall down to the footer.
- Install the Perforated Pipe: Lay a 4-inch SDR-35 or corrugated pipe with the holes facing DOWN, not up.
- Daylighting the Drain: Ensure the pipe exits to a lower grade or a French drain system.
- Apply Geotextile Fabric: Line the trench with non-woven fabric to prevent soil from clogging your clean stone.
- Backfill with #57 Stone: Fill the 12-inch gap behind the wall with clean angular aggregate.
- Cap with Soil: Place a final 4-inch layer of topsoil over a fabric barrier at the very top to allow for lawn care and planting.
Stop listening to the ‘mow-and-blow’ guys who say you can just stack blocks on dirt. They won’t be there in three years when your wall is a pile of rubble. Use the right stone. Use the right pipe. Fix the grade. Landscaping is civil engineering for the home, and physics doesn’t care about your budget. Do it right the first time or don’t do it at all.