Build a $450 Flagstone Patio on a Sand Base
The $30,000 Autopsy: Why Most Patios Fail Before the First Rain
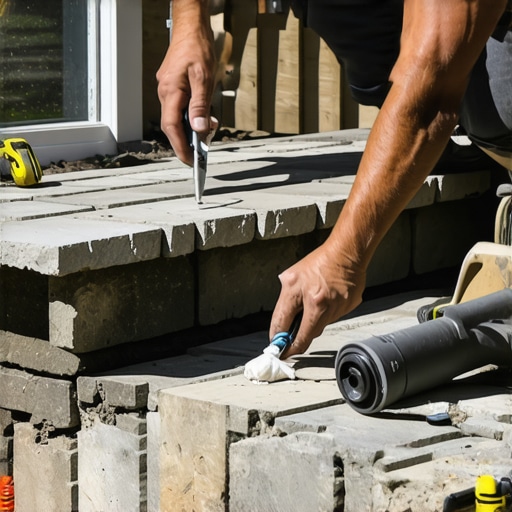
I recently got called out to tear up a $30,000 patio that was sinking because the previous contractor thought he could cheat the subgrade. The homeowner was devastated. The pavers were top tier, the layout was artistic, but the foundation was garbage. Water had nowhere to go, so it pooled under the stones, turned the bedding layer into a slurry, and the whole thing became a hazard within two winters. This is the reality of hardscaping. Whether you are spending thirty grand or trying to build a flagstone patio on a sand base for $450, the physics of soil and stone do not care about your budget. If you skip the structural engineering of the base, you are just throwing money into a hole in the ground. You have to think about hydrostatic pressure, soil compaction, and the microscopic reality of the dirt under your fingernails. I do not care how nice the stones look if the base is not solid enough to bounce a tamper off of.
Why Site Preparation is 80 Percent of Your Patio Success
To build a stable flagstone patio, you must focus on soil excavation and subgrade compaction to prevent future settlement. By removing the organic layer (the turf and topsoil) and reaching the mineral soil, you ensure that the weight of the stone is supported by a non-compressible medium. Most DIY failures happen because homeowners try to lay stone directly on top of lawn or loose dirt.
“A retaining wall or patio doesn’t fail because of the stone; it fails because of the water trapped behind or beneath it.” Hardscape Engineering Axiom
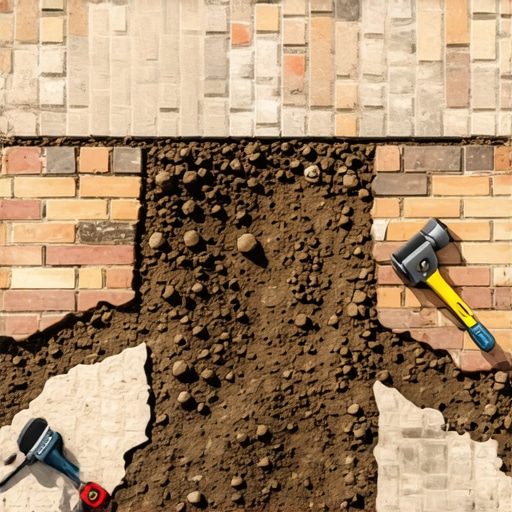
This is the fundamental law of the job site. If you do not manage the water, the water will manage you. We start by excavating at least 6 to 8 inches down. We are looking for the ‘B’ horizon of the soil, where the clay and mineral content is higher. Organic matter like grass and roots will rot, creating voids that lead to sinkholes. You need a clean, flat, and hard surface before the first grain of sand ever touches the project area.
The Materials Breakdown: Budgeting Your $450 Build
Building a flagstone patio for under $450 requires a lean materials list and local sourcing of irregular stone. To hit this price point, you should target a footprint of approximately 80 to 100 square feet, using palletized irregular flagstone which is significantly cheaper than sawn-edge dimensional stone.
| Material | Quantity | Estimated Cost |
|---|---|---|
| Irregular Flagstone (Pallet) | 1 Ton | $275 |
| Crushed Stone Base (2A Modified) | 1.5 Tons | $60 |
| Concrete Sand (Leveling Layer) | 0.5 Tons | $40 |
| Polymeric Sand (Joints) | 2 Bags | $50 |
| Plate Tamper Rental | 4 Hours | $25 |
This table assumes you are picking up the materials yourself. Delivery fees are the silent killer of a small hardscape budget. When you select your flagstone, look for stones that are at least 1.5 to 2 inches thick. Thinner stones, often called ‘steppers,’ are prone to cracking under point-load pressure if your base has even a microscopic void.
How much modified gravel do I need for a patio base?
For a standard flagstone patio, you need a minimum of 4 inches of compacted 2A modified stone to create a structural foundation. To calculate the volume, multiply your square footage by 0.33 (for 4 inches) and divide by 27 to get the cubic yardage needed. Always add 10 percent for compaction loss, as the gravel will shrink in volume once you hit it with the tamper. If you skip the modified stone and go straight to sand, your patio will shift every time the ground freezes and thaws. You need that ‘capillary break’ provided by the larger aggregate to allow moisture to move through the system without lifting your stones.
The Engineering of the Sand Bedding Layer
The bedding layer acts as the hydraulic cushion between your rigid base and your irregular stone. In a sand-base patio, the sand is not there for structural support; it is there for leveling and drainage. We use sharp, angular concrete sand, not play sand or mason sand. Mason sand is too fine and round. It acts like tiny ball bearings, allowing the stones to slide and rotate. You want 1 inch of sand, screeded perfectly flat.
“Proper drainage in residential hardscapes requires a minimum slope of 1/8 inch per foot to ensure water shedding from the foundation.” Penn State Agricultural Extension
If your patio is dead level, it is wrong. It must slope away from the house or any existing structures. I use 1-inch PVC pipes as screed rails to get that perfectly uniform thickness. Do not walk on the sand once it is laid. It is a sacred surface.
How do I stop weeds from growing in my flagstone patio?
The only way to prevent weed growth in flagstone joints is to use high-quality polymeric sand and ensure your base is properly drained. Weeds do not usually grow from the bottom up through the base; they grow from seeds that land in the joints and find moisture. Polymeric sand contains chemical binders that harden when misted with water, creating a flexible but impenetrable seal that prevents seed germination. It also stops ants from mining the sand out from under your stones, which is a major cause of stone ‘wobble.’ If you use regular stone dust or dirt in the cracks, you are just planting a garden in your patio. Don’t do it.
Setting the Stone: The Puzzle of Hardscaping
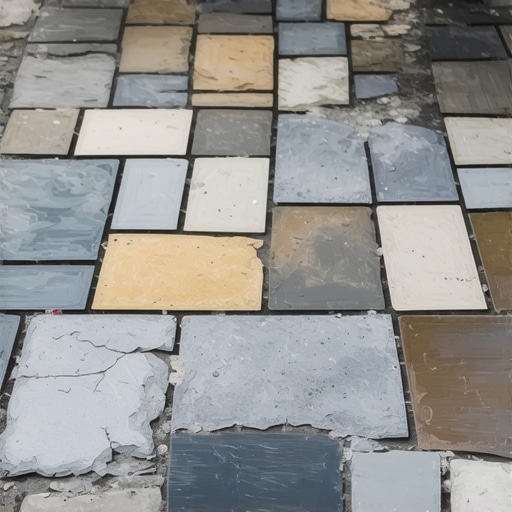
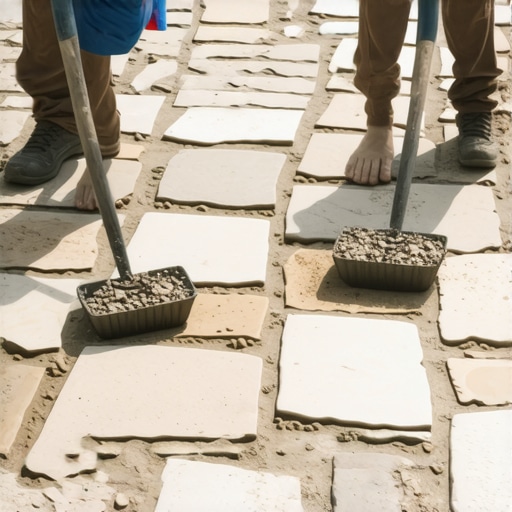
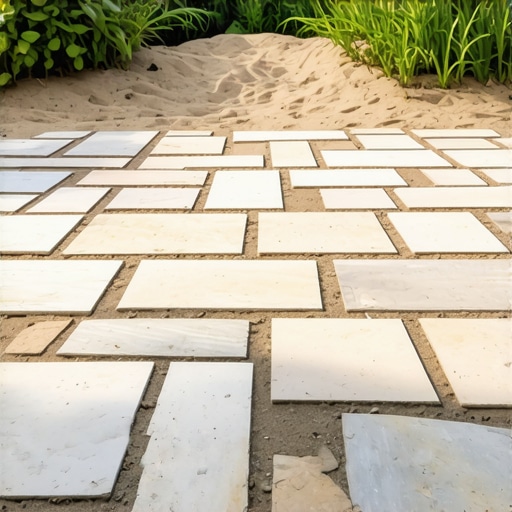
When laying irregular flagstone, you are playing a high-stakes game of Tetris. Start with your largest, heaviest stones at the corners and the perimeter. These are your anchor stones. They provide the structural framework for the rest of the layout. Every stone should have a consistent joint width of 1 to 2 inches. If the gap is too wide, the polymeric sand might fail. If it is too tight, you cannot get enough sand in to lock the stones together. Use a rubber mallet to ‘set’ each stone into the sand. You should hear a dull thud, not a hollow ring. If it rings, there is a void. Lift it, add more sand, and try again. This is where the callouses on your hands come from. It is tedious, but it is the difference between a patio that lasts 20 years and one that lasts two months.
The Final Compaction and Locking
Once the stones are set and level, you need to lock them in. This is the part where most DIYers get lazy. You need to sweep the polymeric sand into the joints until they are filled to within 1/8 inch of the stone surface. Then, run a plate compactor with a protective mat over the top of the stone. This vibration forces the sand to settle deep into the cracks and ‘seats’ the flagstone into the bedding sand. Sweep more sand in to fill the voids. Finally, use a leaf blower to remove 100 percent of the dust from the surface of the stones before misting with water. If you leave dust on the stones and then get them wet, you will have a permanent, hazy film that is a nightmare to clean. Follow the manufacturer’s directions on the bag for the water application. Too much water washes the binders out; too little water only hardens the top layer.