How to Install a Smart Drip Irrigation System in Your Flower Beds
The Foundation of Precision Hydration
I always drill into my new crew members: if you don’t fix the soil grading first, every plant you put in the ground is just expensive compost. I’ve seen $50,000 landscapes rot in six months because a tech got lazy with the drainage and irrigation layout. Installing a smart drip system isn’t about running hoses; it is about managing the capillary action of the soil and the hydrostatic pressure of your main line. You are building a life-support system, not a lawn ornament. If you don’t respect the physics of water delivery, the plants will pay the price.
Planning Your Precision Irrigation Infrastructure
To install a smart drip irrigation system effectively, you must calculate the specific water requirements of your flower beds based on plant species, soil percolation rates, and local evapotranspiration data. This process involves mapping out zones that separate high-water-demand perennials from drought-tolerant shrubs to ensure uniform moisture distribution across your entire landscaping project. Precision starts with a site map and a pressure gauge.
Calculating Flow Rates and Hydrostatic Pressure
Before you buy a single foot of poly tubing, you need to know your static and dynamic pressure. Most residential taps push 40 to 60 PSI. A drip system hates that. It needs a steady 25 PSI. If you skip the pressure regulator, you will blow your emitters off the line. It happens every time. You also need to calculate your Gallons Per Hour (GPH) budget. If your source only provides 300 GPH and you install 400 GPH worth of emitters, the ones at the end of the line will just drip uselessly while the first few plants drown. Do the math. It is non-negotiable.
“Effective drip irrigation requires precise filtration and pressure regulation to prevent emitter clogging and ensure uniform water distribution across the root zone.” – Texas A&M AgriLife Extension
How much water do my flower beds actually need?
Your plants need enough water to reach the full depth of the root ball, typically 6 to 12 inches for flowers. Most homeowners water too frequently and too shallowly. This creates weak, surface-level roots that fry in the July sun. Aim for deep, infrequent cycles that keep the soil at field capacity without saturating the macro-pores. You want the roots to chase the water down into the profile.
Hardware Selection: Professional Grade vs. Big-Box Waste
Don’t buy the cheap, thin-walled tubing from the local hardware store. It will crack in two seasons. Professionals use 1/2-inch UV-resistant polyethylene tubing with a minimum wall thickness of .045 inches. For the emitters, stick to pressure-compensating (PC) models. These ensure that the plant at the top of the hill gets the exact same 1.0 GPH as the plant at the bottom. Non-PC emitters are for hacks.
| Component | Material Specification | Purpose |
|---|---|---|
| Main Line | 1/2″ Polyethylene (UV Rated) | Bulk water transport |
| Emitters | Pressure Compensating (PC) | Regulated flow rate |
| Smart Controller | EPA WaterSense Certified | Weather-based scheduling |
| Filtration | 150 Mesh Screen Filter | Prevents emitter clogging |
What is the best smart controller for drip irrigation?
The best smart controller is one that uses local weather station data to calculate Evapotranspiration (ET) rates. Look for units that include a rain sensor and a soil moisture probe. These systems adjust your watering schedule in real-time. If it rained half an inch last night, the controller should stay off. It saves money and prevents root rot. Simple.
The Ground-Up Installation Process
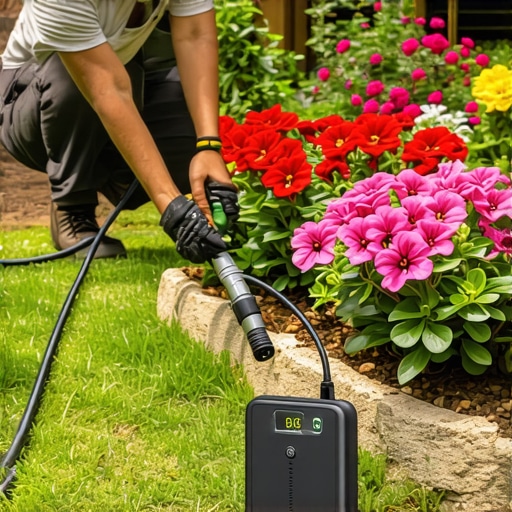
Start at the point of connection. You need a backflow preventer—check your local codes, as most municipalities require a vacuum breaker to keep irrigation water out of your drinking supply. From there, install your filter and your 25 PSI regulator. When laying out your 1/2-inch main line, don’t just throw it on top of the mulch. Trench it 2 to 4 inches deep. This protects the line from shovels and UV degradation. Use galvanized landscape staples every 3 feet to keep the line from shifting during soil expansion and contraction.
- Flush the main line for 5 minutes before installing emitters.
- Use a dedicated punch tool for 1/4-inch distribution lines.
- Place emitters at the ‘drip line’ of the plant, not against the trunk.
- Install end-caps with a flush valve for easy winterization.
- Test the system for 30 minutes to check for leaks.
“The longevity of a hardscape or planting plan is directly proportional to the moisture management strategy implemented at the time of installation.” – ICPI Tech Manual
Advanced Soil Logic and Capillary Action
If you have heavy clay, your emitters will create a wide, shallow ‘pancake’ of water. In sandy soil, the water drops straight down like a chimney. You must space your emitters according to your soil texture. In clay, space them 18 inches apart. In sand, you might need them every 12 inches. I see guys ignore this and then wonder why half their garden design is wilting while the other half is a swamp. Use a soil probe. Look at the moisture profile. Don’t guess. The plants don’t care about your feelings; they care about oxygen levels in the rhizosphere.
Maintenance and Winterization Protocols
A smart system isn’t a ‘set it and forget it’ solution. You need to clean the filter every spring. Check the emitters for salt buildup or calcium deposits. If you live in a freeze zone, you must blow out the lines with compressed air. Even a small amount of trapped water will shatter a plastic valve when the ground freezes. It is a 20-minute job that saves you a $400 repair bill in April. Keep the system clean. Keep it regulated. Your lawn care and hardscaping efforts deserve a hydration system that actually works.