How to Fix a Broken Sprinkler Head in Under 10 Minutes
The Anatomy of a Yard Geyser
To fix a broken sprinkler head in under 10 minutes, you must identify the head model, clear the surrounding soil to prevent line contamination, unscrew the damaged internal assembly, and replace it with a unit of the same GPM rating to maintain matched precipitation across the zone. A geyser in your front yard isn’t just a waste of water; it is a localized hydraulic disaster that compromises the structural integrity of your lawn care and garden design. Every minute that water gushes from a sheared riser, you are losing 12 to 20 gallons, eroding the soil profile and creating an anaerobic death trap for your turf grass roots.
I always drill into my new crew members: if you don’t fix the soil grading first, every plant you put in the ground is just expensive compost. Irrigation is no different. Last month, I took on a rookie who thought he could just ‘pop a new head in’ without flushing the line. Three days later, the entire zone was dead because grit had migrated downstream, clogging every high-efficiency nozzle in the backyard. You don’t just swap parts; you manage a pressurized system. If you ignore the physics of flow and the reality of soil movement, you are just a ‘mow-and-blow’ hack with a shovel. We don’t do hack work here.
Why Irrigation Precision Matters for Your Landscaping
Irrigation isn’t about ‘watering the grass.’ It is about maintaining a Matched Precipitation Rate (MPR). When one head breaks, the pressure in the entire lateral line drops. This means the other heads in the zone won’t reach their intended radius, leaving ‘dry spots’ while the broken head site turns into a swamp. This swampy area becomes a breeding ground for Pythium and other fungal pathogens that will melt your turf in 48 hours. Proper lawn care requires surgical precision, not a garden hose and a prayer.
[image placeholder]
“Irrigation uniformity is the cornerstone of turfgrass health. A single malfunctioning head can reduce the distribution uniformity (DU) of a system by 40 percent, leading to significant localized dry spots and nutrient leaching.” – Agronomy Extension Manual, Section 4: Hydraulic Systems
The Forensic Diagnosis: Why Did It Break?
Before you dig, understand the failure. Most heads break because of ‘scalping’ or ‘mower strikes.’ If the head was installed too high, the mower blade eventually catches the cap. If it is a hardscaping edge failure, the soil may have settled, tilting the head into the path of traffic. Other times, it’s a failure of the wiper seal. Over time, UV rays and grit wear down the rubber seal that allows the riser to pop up and down. When that seal fails, water leaks out the base of the riser, and the head loses the 15 to 30 PSI needed to fully deploy the nozzle.
Step-by-Step: The 10-Minute Remediation Process
- Excavate with Care: Use a hand trowel or a soil knife to cut a 6-inch diameter circle around the head. Do not use a full-sized shovel; you’ll likely slice the lateral PVC line or the flexible ‘funny pipe.’ Remove the turf as a single plug.
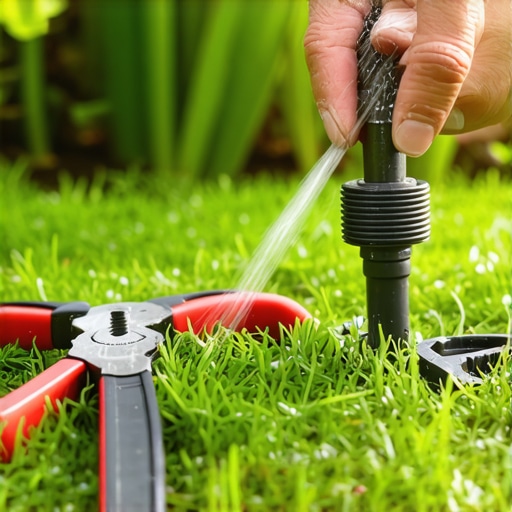
- Unscrew the Cap: Grip the body of the sprinkler firmly. If the whole body spins, you’re unscrewing it from the riser. If only the top spins, you’re removing the ‘guts.’ In most cases, it is faster to replace the entire internal assembly while leaving the outer shell in the ground.
- Clear the Debris: This is where most DIYers fail. Once the head is open, dirt will try to fall into the line. Use a clean rag to wipe the rim before you pull the internals out.
- The Flush: Before installing the new head, have someone turn the zone on for 5 seconds. This ‘blows out’ any sand or rocks that fell into the riser during excavation. Without this, your new nozzle will clog instantly.
- Install the New Assembly: Drop in the new spring and riser. Ensure the GPM (Gallons Per Minute) on the new nozzle matches the old one. If you put a 3 GPM nozzle on a line designed for 1.5 GPM, you will starve the rest of the zone.
- Reset and Test: Hand-tighten the cap. Do not use a wrench; you will crack the plastic housing. Reinstall the turf plug and check the head height. It should be flush with the soil surface, not the grass height.
Comparison of Residential Sprinkler Heads
| Head Type | Ideal PSI | Radius Range | Common Use Case |
|---|---|---|---|
| Fixed Spray | 30 PSI | 5 to 15 feet | Narrow garden beds and small lawn strips. |
| Rotary Nozzle | 45 PSI | 15 to 30 feet | Large turf areas where water efficiency is key. |
| Impact Rotor | 50+ PSI | 25 to 50 feet | Large estates or areas with heavy mineral water. |
How do I know what sprinkler head to buy?
Look at the top of the broken head. Most manufacturers like Hunter, Rain Bird, or Toro stamp the model number and the nozzle size right on the cap. For example, a ’15H’ means a 15-foot radius, half-circle pattern. Never mix brands on the same zone if you can help it, as their precipitation rates differ. If you cannot find the markings, bring the broken head to a dedicated irrigation supply house, not a big-box store. The guys behind the counter at a real supply shop know the difference between a pressure-regulated head and a standard pop-up.
Why is my new sprinkler head not popping up?
If you’ve replaced the head and it still won’t pop, you have a pressure problem or a ‘blow-by’ issue. Check the base of the head for leaks. If water is bubbling up from the ground, you likely cracked the nipple or the funny pipe connection during the swap. If there are no leaks, you may have too many heads on one zone, or the valve diaphragm is failing, preventing the system from reaching the 20 to 25 PSI required to overcome the internal retraction spring.
“Hydrostatic pressure must exceed the mechanical resistance of the retraction spring and the friction of the wiper seal for effective deployment. Any leak in the lateral line results in a linear drop in PSI across the entire circuit.” – ICPI Hardscape & Irrigation Engineering Standards
The Science of Soil and Moisture
When you fix a head, you must consider the soil pH and compaction. In areas with heavy clay, a broken head saturates the soil to the point of ‘liquefaction.’ This destroys the soil structure you’ve worked so hard to build. Once the repair is done, you may need to core-aerate the surrounding two square feet to re-introduce oxygen to the root zone. If the water was running for days, the nitrogen in the soil has likely leached out, and you may see a yellowing of the grass even after the repair is complete. A light application of a slow-release nitrogen fertilizer can help the turf recover from the stress.
Checklist for Irrigation Maintenance
- Inspect heads weekly for ‘clogged orifices’ or skewed spray patterns.
- Verify that heads retract fully after the cycle ends to avoid mower damage.
- Check the ‘swing joints’ or ‘funny pipe’ for flexibility; rigid connections break.
- Audit your controller settings every season to match the local evapotranspiration rate.
- Ensure no mulch volcanoes are burying your garden design spray heads.
Landscaping is a game of inches and engineering. Fixing a head in 10 minutes is a skill, but maintaining a system so it doesn’t break is a craft. Don’t be the guy who ignores a leak until the water bill arrives or the lawn turns into a bog. Real pros monitor their PSI and their plant health with the same intensity. Your yard is a living, breathing organism. Keep its circulatory system in check, or watch your investment rot in the sun.

![Why Your 2026 Fescue is Still Yellow After Fertilizing [Soil Fix]](https://lawnmajesty.com/wp-content/uploads/2026/05/Why-Your-2026-Fescue-is-Still-Yellow-After-Fertilizing-Soil-Fix.jpeg)