Build a $300 2026 Flagstone Bench [Heavy Duty]
The Structural Engineering of a $300 Flagstone Bench
A heavy-duty flagstone bench requires a minimum 4-inch compacted gravel base and high-density natural stone to withstand freeze-thaw cycles. By focusing on structural integrity and mechanical compaction, you can construct a permanent garden fixture that outperforms pre-cast concrete alternatives for under $300. Most DIY projects fail because they ignore the soil mechanics underneath. I recently got called out to tear up a $30,000 patio that was sinking because the previous contractor thought he could skip the mechanical compaction of the sub-base. The entire surface looked like a topographical map of the Swiss Alps within two seasons. This bench build follows the same industrial standards as that failed patio should have. We are talking about 2A modified gravel, high-tensile landscape adhesive, and thermal-cleft flagstone. Do not buy your stone from a big-box retailer. Their ‘flagstone’ is often just thin, sedimentary trash that will delaminate after one hard freeze. Go to a dedicated stone yard. You want stone that has a high PSI rating and a low absorption rate. If the stone absorbs water, it will crack when that water turns to ice. That is physics, not an opinion. Success in hardscaping is 80 percent prep and 20 percent stacking stone. If you don’t fix the soil grading and compaction first, every stone you put in the ground is just expensive compost in the making.
“A retaining wall doesn’t fail because of the stone; it fails because of the water trapped behind it.” – Hardscape Engineering Axiom
How much modified gravel do I need for a patio base?
To calculate your base material, multiply the square footage by the depth in feet to get cubic feet, then divide by 27 for cubic yards. For a heavy-duty bench footprint of 4 feet by 2 feet with a 6-inch excavation, you will need approximately 0.15 cubic yards of 2A modified gravel. Always add 10 percent for compaction loss.
| Material Item | Specifications | Quantity Required | Estimated Cost |
|---|---|---|---|
| Pennsylvania Bluestone | 2-inch thick slabs | 500 lbs | $140 |
| 2A Modified Gravel | Crushed limestone with fines | 0.25 Cubic Yards | $35 |
| Landscape Adhesive | High-temp polyurethane | 3 Cartridges | $30 |
| Geotextile Fabric | Non-woven 4oz | 10 Square Feet | $15 |
| Stone Dust | Leveling layer | 2 Bags | $20 |
| Tools/Misc | Tamper, Level, Mallet | Rental/Existing | $60 |
Phase One: Site Preparation and Soil Mechanics
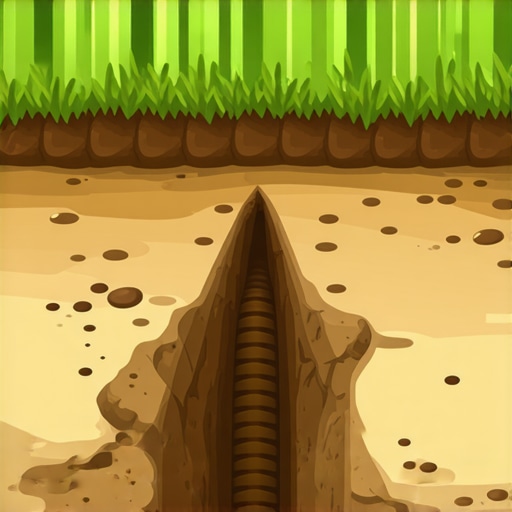
Site preparation for a hardscape installation involves more than just clearing the grass. You must reach the B-horizon soil or at least provide a capillary break to prevent frost heave from shifting the bench. If you are building on heavy clay, you need to excavate deeper. Clay holds water. Water expands by 9 percent when it freezes. That expansion exerts thousands of pounds of pressure on your stone. You must replace that expansive soil with a non-frost-susceptible material like crushed stone. Don’t use pea gravel. Pea gravel is round and acts like ball bearings. It will never compact. You need angular aggregate that interlocks under pressure. When you hit that gravel with a manual or plate tamper, it should eventually sound like you are hitting concrete. That is the sound of 95 percent Proctor density. It is the gold standard for engineering.
How deep should footings be for a stone bench?
For a non-structural garden bench, a 6-inch deep footing consisting of 4 inches of compacted gravel and 2 inches of stone dust or leveling sand is sufficient for most climates. In regions with severe freeze-thaw cycles, extending the gravel base to 8 inches provides superior drainage and stability.
- Call 811 to mark underground utility lines before any excavation begins.
- Excavate a footprint 6 inches wider than the bench on all sides to allow for base stability.
- Install non-woven geotextile fabric to keep the soil from migrating into your clean gravel.
- Add 2A modified gravel in 2-inch lifts, compacting each layer thoroughly.
- Use a 4-foot level to ensure the base is perfectly flat.
- Apply a thin 1-inch layer of screenings or stone dust for the final leveling of the first course.
Phase Two: Selecting and Stacking the Flagstone
When selecting flagstone for a bench, focus on the capstone first. This is the seat. It must be at least 1.5 to 2 inches thick to support the weight of two adults without shearing. Look for thermal-finished bluestone if you want a smooth surface, or natural cleft for a more rugged texture. The vertical supports, or legs, should be built from thicker, blockier pieces of stone. You are building two pillars. Each pillar should be at least 12 inches square for stability. Avoid using ‘shimming’ with small pebbles. Small pebbles will wash out or crush over time. If a stone is wobbly, you must grind the high point or use a larger piece of stone. I tell my crew: if you can’t jump on the first layer without it moving, you aren’t ready for the second layer. Using a high-quality polyurethane adhesive is mandatory for a bench. Traditional mortar is brittle. It will crack as the ground moves. Polyurethane adhesive stays slightly flexible, allowing the stone to breathe without losing its bond.
“Standard compaction for non-load-bearing pedestrian structures requires a minimum of 95% Standard Proctor Density to prevent differential settlement.” – ICPI Technical Manual
The Physics of the Capstone and Final Assembly
The capstone is the most expensive part of the build, typically costing around $80 to $120 for a 48-inch slab. When you set the capstone, you must ensure a slight pitch. A 1 percent slope toward the front of the bench will prevent water from pooling on the seat. Standing water leads to efflorescence, which is the white, chalky salt residue that leaches out of stone and mortar. It also leads to algae growth, making the bench slippery and dangerous. Once the pillars are cured, apply three beads of heavy-duty adhesive to each pillar and lower the capstone into place. Do not sit on it for 48 hours. Let the chemical bond reach full PSI strength. The final product should be a 500-pound monolith that won’t budge even if a lawnmower bumps into it. This is not a decorative piece of furniture; it is a structural element of the landscape design. It will outlast the house if you built the base correctly.