Build a $300 2026 Stone Bench for Garden Paths [DIY]
Why Planning Beats Purchasing for 2026 Garden Hardscaping
Building a permanent stone bench for $300 requires a strategic allocation of funds toward sub-surface preparation and high-density materials rather than decorative finishes. By 2026, material costs necessitate sourcing raw quarry stone or reclaimed masonry to maintain structural integrity without exceeding a modest budget. I recently got called out to tear up a $30,000 patio that was sinking because the previous contractor ignored the subgrade. He thought he could skip the compaction phase on a small seating area. He used clean stone where he needed modified gravel with fines. The result? A series of voids that swallowed the custom benches whole. This is why I demand my crew understands the physics of the base before they touch a trowel. Do not be the homeowner who puts a heavy stone slab on top of topsoil. It will sink. It will tilt. It will fail. [IMAGE_PLACEHOLDER]
“Proper compaction of the aggregate base is the single most critical factor in preventing the structural failure of small-scale hardscape features.” – ICPI Tech Spec No. 2
The $300 Material Logic for 2026
To stay within a $300 budget in a 2026 economy, you must bypass the big-box retailers. Their stone is marked up 400 percent for convenience. Instead, visit a local stone yard and look for remnants or ‘seconds.’ Focus on sandstone, limestone, or granite caps. These materials offer the compressive strength needed for outdoor furniture. Use the following table to track your expenses and material roles.
| Material Item | Technical Specification | Estimated 2026 Cost |
|---|---|---|
| Modified Gravel | 3/4 inch with fines (CR6) | $45 |
| Structural Stone Units | Split-face wall block or fieldstone | $110 |
| Stone Bench Cap | 2-inch thick natural stone slab | $115 |
| Geotextile Fabric | Non-woven 4oz weight | $15 |
| Masonry Adhesive | Polyurethane based exterior grade | $15 |
The Excavation: Depth and Compaction Engineering
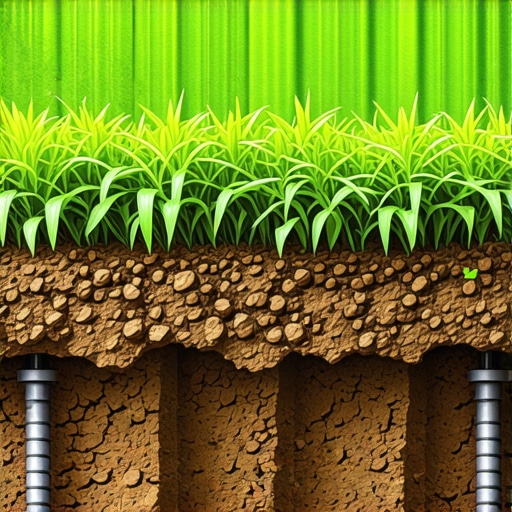
Effective excavation for a stone bench requires removing all organic matter to reach a competent subgrade capable of resisting frost heave. You must dig a minimum of 8 inches below your finished grade to account for the aggregate foundation and levelling sand. Most DIYers fail here. They think four inches is enough. It is not. Soil has a high degree of elasticity when wet. If you do not replace that elastic soil with a non-plastic aggregate like modified gravel, your bench will move every time the ground freezes. Don’t skip this. Use a hand tamper until the ground feels like concrete. The tamper should literally bounce off the compacted base. If it thuds, keep hitting it. You are aiming for 95 percent Proctor density.
- Mark the Footprint: Use layout strings and stakes to mark an area 6 inches wider than the bench on all sides.
- Excavate: Remove 8 to 10 inches of soil. Test the bottom for soft spots.
- Install Geotextile: Lay non-woven fabric to prevent the gravel from migrating into the clay or loam.
- Layer Gravel: Add 3/4-inch modified gravel in 2-inch lifts, compacting each layer thoroughly.
- Level the Base: Use a 4-foot level to ensure the final gravel layer is perfectly flat in all directions.
How deep should a stone bench base be?
A stone bench base should be at least 6 inches of compacted aggregate topped with 1 inch of bedding sand. In regions with deep frost lines, increasing the structural gravel layer to 8 or 10 inches provides essential vertical drainage to prevent stone displacement. This depth ensures that hydrostatic pressure does not build up directly beneath the masonry units, which would otherwise cause the bench to tilt or crack during the winter months.
The Assembly: Engineering the Seat for Longevity
The assembly of the bench involves stacking the support piers using either a dry-stack method or structural masonry adhesive. For a $300 budget, dry-stacking fieldstone is the most cost-effective, but it requires careful stone selection to ensure the weight is transferred vertically. If you are using manufactured wall blocks, the polyurethane adhesive is your best friend. It provides the shear strength necessary to keep the bench together if someone bumps it with a lawnmower. Place your piers approximately 36 to 42 inches apart depending on the thickness of your cap stone. If the span is too wide, the stone slab may suffer from tensile failure under heavy loads.
“Soil pH and moisture retention significantly affect the longevity of stone masonry when in direct contact with the ground, necessitating a clean stone break.” – Penn State Agricultural Extension
What is the best stone for an outdoor bench?
The best stone for an outdoor bench is high-density granite or dolomitic limestone due to their low porosity and resistance to spalling. These stones do not absorb significant amounts of water, which prevents them from cracking during freeze-thaw cycles common in temperate climates. Flagstone is a popular aesthetic choice but can be prone to delamination if the layers are not properly oriented or if the stone is of a lower grade with high clay content.
Finishing and Drainage Logic
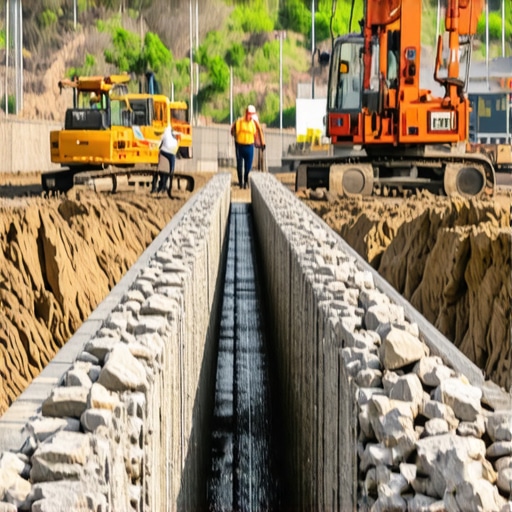
The final step is managing the surface runoff around the bench. Water is the enemy of all hardscapes. If water pools at the base of your bench, it will eventually undermine the gravel foundation. Grade the surrounding soil at a 2 percent slope away from the bench. This is about a quarter-inch drop for every foot of distance. If your garden path is on a hill, install a French drain or a swale uphill from the bench to redirect the sheet flow of water. For the finish, apply a penetrating sealer to the stone cap to prevent salt damage and organic staining from fallen leaves or bird droppings. This maintains the mineral color without creating a slippery film. Maintenance is minimal but vital. Once a year, check the levelling. If one side has dropped, you may need to shim the cap or add more polymeric sand to the joints to prevent weed growth and insect nesting.
![Building a 2026 Simple Stone Bench [DIY]](https://lawnmajesty.com/wp-content/uploads/2026/09/Building-a-2026-Simple-Stone-Bench-DIY.jpeg)