How to Stop Your Mulch from Washing Away on Steep Slopes
How to Stop Your Mulch from Washing Away on Steep Slopes
Planning a landscape on a grade is 80% engineering and 20% aesthetics. If you treat a 30-degree slope the same way you treat a flat garden bed, you are throwing money into the storm drain. Gravity and hydrostatic pressure are relentless. I recently got called out to tear up a $30,000 patio and garden install that was literally sliding into a client’s basement because the previous contractor used smooth river stone and pine nuggets on a 40-degree incline without a single ounce of structural reinforcement. It was a mess. The mulch had washed away in the first spring rain, exposing the soil, which then saturated and turned into a heavy slurry that pushed right through the silt fence. I had to excavate 40 yards of mud just to find the original grade. Do not be that homeowner. Stop thinking about mulch as a decoration and start thinking about it as a protective skin for the earth.
The Physics of Hillside Mulch Failure
Mulch washes away because of a lack of friction and the velocity of surface runoff. On steep slopes, the angle of repose for most loose materials is exceeded during heavy rain, causing particles to float and travel downhill. To fix this, you must utilize shredded, interlocking fibers and mechanical stabilization.
When rain hits a slope, it doesn’t just soak in. It builds kinetic energy. If your mulch is composed of light, rounded particles like pine nuggets or cocoa shells, they act like little boats. They have a high buoyancy and a low coefficient of friction. They will float and move. You need material that ‘knits’ together. Think of it like Velcro. Double-ground shredded hardwood or cedar mulch has long, jagged fibers that grab onto each other and the soil. When they get wet, they settle into a dense, heavy mat that resists movement. It is simple physics: increased surface area leads to increased friction.
Selecting the Right Material for the Grade
The best mulch for steep slopes is double or triple-shredded hardwood mulch or long-needle pine straw. These materials feature fibrous structures that interlock, creating a cohesive blanket that stays put under hydraulic pressure, unlike wood chips or nuggets which lack interlocking capabilities.
| Mulch Type | Particle Shape | Slope Stability | Longevity | Interlocking Ability |
|---|---|---|---|---|
| Shredded Hardwood | Fibrous/Jagged | High | 1-2 Years | Superior | Pine Straw | Needle-like | Medium-High | 6-12 Months | Excellent | Wood Chips | Blocky/Square | Low | 2-3 Years | Poor | Pine Nuggets | Round/Smooth | Zero | 3-4 Years | None |
How do you keep mulch from washing away in heavy rain?
To keep mulch from washing away, you must install a ‘toe’ or a trench at the bottom of the slope to catch moving material, use shredded organic matter that mats together, and apply a non-toxic tackifier or liquid mulch lock. Additionally, planting deep-rooted groundcovers will eventually provide a natural web to hold the mulch in place.
What is the best mulch for a 45 degree slope?
For a 45-degree slope, shredded redwood or cedar mulch is the gold standard. These materials are highly fibrous and resistant to decay. On such an extreme grade, you should also consider using a jute or coir erosion control blanket pinned over the mulch to ensure it stays in place during the first two growing seasons.
“A retaining wall doesn’t fail because of the stone; it fails because of the water trapped behind it.” – Hardscape Engineering Axiom
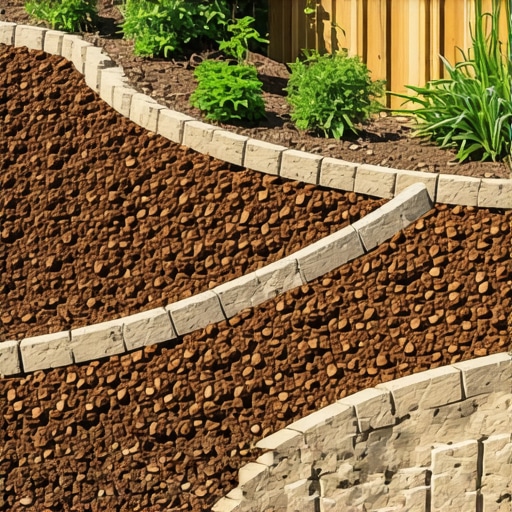
The same principle applies to mulch. If water builds up under the mulch layer because the soil is compacted clay, the mulch will eventually ‘surf’ off the hillside on a layer of water. You must address drainage. [image-1]
The Ground-Up Build: Step-by-Step Installation
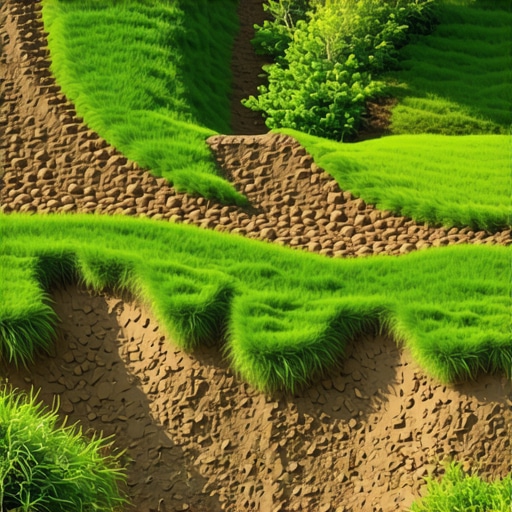
Installing mulch on a slope requires specific site preparation including ‘bench cutting’ the soil and creating a deep V-trench at the top and bottom of the bed. This prevents water from getting under the mulch and provides a physical stop for any material that begins to migrate.
- Step 1: Grade and Bench. Don’t leave the slope as a smooth slide. Use a hard rake to create small horizontal ridges or ‘benches.’ These act as speed bumps for water.
- Step 2: The Toe Trench. Dig a 4-inch deep V-trench at the base of the slope. If mulch moves, it falls into the trench instead of onto your sidewalk or lawn.
- Step 3: Moisture Check. Never put dry mulch on bone-dry soil. Lightly mist the soil first. Dry mulch is lighter and more prone to floating.
- Step 4: Application Depth. Apply exactly 3 inches. Any less and it won’t mat. Any more and you risk ‘mulch volcanoes’ that trap too much heat and kill plant roots.
- Step 5: The Tamp. This is where the hacks fail. Use a flat shovel or a lawn roller to lightly compress the mulch. You aren’t trying to make concrete, but you need to force those fibers to lock together.
The Role of Mechanical Stabilizers
On slopes steeper than 3:1, organic mulch often needs help from jute netting or coir logs. These biodegradable stabilizers provide a grid that holds the mulch particles in place while plants establish their root systems, which are the ultimate long-term solution for erosion control.
I tell my crew every day: if you don’t fix the soil grading first, every plant you put in the ground is just expensive compost. If the hill is too steep, we use a product called a ‘tackifier.’ It is a naturally derived glue, often made from guar gum or psyllium, that you spray over the mulch. It binds the top 1/2 inch of mulch into a crust. It still breathes. It still lets water through. But it won’t move in a thunderstorm. Don’t skip this on high-visibility hillsides. It is the difference between a professional finish and a muddy disaster.
“The stability of organic ground covers on inclined planes is directly proportional to the length and interlocking capacity of the individual fibers.” – USDA Forest Service Research Note
Soil Biology and the Nitrogen Cycle
You have to understand the chemistry of what you are putting down. When you use a heavy layer of wood-based mulch, the microbes that break down the wood require nitrogen to do their job. They will ‘steal’ that nitrogen from the top inch of soil. On a slope, your plants are already stressed. I always supplement with a slow-release, high-nitrogen fertilizer before mulching a hillside to ensure the plants don’t turn yellow from nitrogen deficiency. Use a 10-0-0 or similar organic fertilizer. It will save your shrubs.
Maintenance and the ‘Settling In’ Period
Year one is the most critical. You need to check the slope after every major rain event. If you see a ‘rill’ or a small channel forming in the mulch, it means water is concentrating in one spot. You need to break that up and perhaps add a small stone ‘check dam’ to dissipate the energy of the water. By year two, the mulch will have partially decomposed and knit with the soil surface, making it much more stable. But remember: mulch is not a ‘set it and forget it’ solution. It will rot. That is the point. It adds organic matter back to the dirt. You will need to top-dress with a fresh 1-inch layer every spring to maintain the protective barrier.
![Why Your 2026 Boxwoods are Turning Yellow [3 Soil Rules]](https://lawnmajesty.com/wp-content/uploads/2026/05/Why-Your-2026-Boxwoods-are-Turning-Yellow-3-Soil-Rules.jpeg)