Why Your Backyard Needs a Dry Creek Bed for Drainage
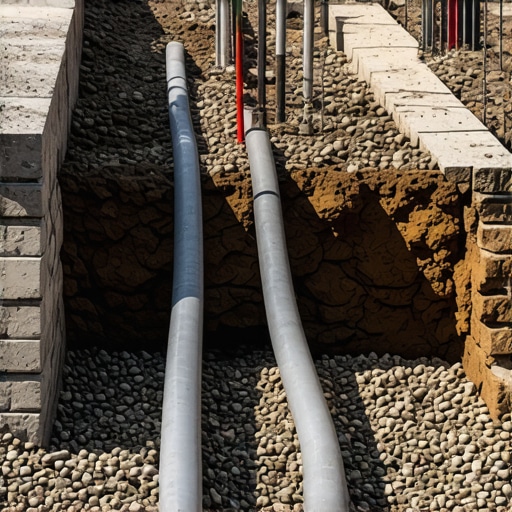
If you walk across your turf after a heavy rain and hear a rhythmic squelch, you are not just dealing with a wet lawn. You are witnessing a failure of civil engineering on a micro-scale. Most homeowners view their backyard as a static space for aesthetics, but a veteran hardscaper knows a yard is a dynamic watershed. When water has nowhere to go, it sits, it stagnates, and eventually, it destroys. I recently got called out to tear up a $30,000 patio that was sinking because the previous contractor failed to account for hydrostatic pressure. The water was trapped behind a timber retaining wall with no weep holes and no drainage path. The wall bowed, the pavers shifted, and the entire investment became a liability. This is why a dry creek bed is not just a ‘feature’—it is a critical drainage solution.
What is a Dry Creek Bed?
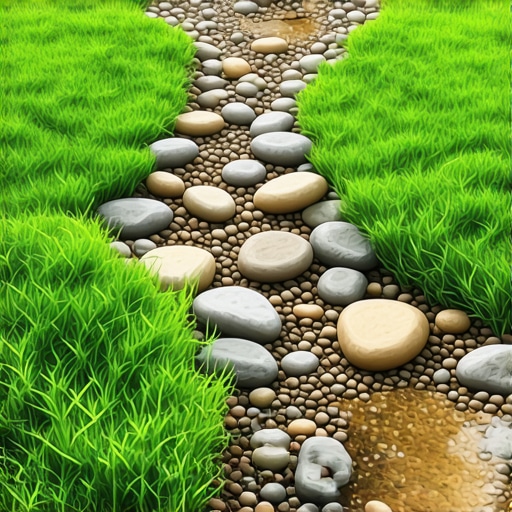
A dry creek bed is a structural drainage channel composed of various stone sizes designed to manage surface runoff and prevent erosion during heavy precipitation. By mimicking the natural flow of a stream, these installations direct water away from foundations and low spots toward a safe discharge point or rain garden. It is a functional landscape element that solves hardscaping drainage issues without the mechanical failure risks of underground pipes. It works. Always.
“A retaining wall doesn’t fail because of the stone; it fails because of the water trapped behind it.” – Hardscape Engineering Axiom
The Forensic Anatomy of Backyard Flooding
Before you dig, you have to understand why your yard is failing. Most drainage issues stem from poor soil grading or heavy clay content that prevents infiltration. When the soil reaches its saturation point, water begins to move as sheet flow. If your yard lacks a 2% minimum grade away from the home, that water pools. This is where the dry creek bed comes in. It acts as a high-flow bypass. It catches the runoff before it can saturate the lawn care root zones or undermine your patio’s modified gravel base. You are essentially creating a path of least resistance. Water is lazy. It wants to go downhill. You are just giving it the best route.
How much modified gravel do I need for a patio base?
To calculate your base material, you need a minimum of 6 inches of compacted 21A or 3/4-inch modified gravel for a standard patio. For a 10×10 area, that is roughly 2.5 to 3 tons of stone. Do not skimp. Without a solid, well-drained base, your pavers will heave during the first freeze-thaw cycle of winter.
| Drainage Method | Primary Benefit | Typical Life Span | Maintenance Level |
|---|---|---|---|
| French Drain | Sub-surface water removal | 10-15 Years | High (Clogging issues) |
| Dry Creek Bed | Surface runoff management | 30+ Years | Low (Debris removal) |
| Swale | Natural water diversion | Permanent | Medium (Mowing/Grading) |
What is the best stone for a dry creek bed?
The best stone for a garden design focused on drainage is a mix of smooth river rock for the channel and larger ‘riprap’ or boulders for the banks. Use 2-inch to 6-inch river stones for the bed. This size is heavy enough to stay put during a 2-inch-per-hour downpour but small enough to look natural. Avoid pea gravel. It washes away. Fast.
“Proper drainage design must account for the watershed area’s peak flow rate to ensure the channel capacity prevents overflow during heavy precipitation events.” – University of Minnesota Extension
The Step-by-Step Engineering Process
Installing a dry creek bed is 80% excavation and 20% rock placement. First, you must mark your utilities. Call 811. Don’t be the guy who cuts a fiber optic line. Next, calculate your slope. Use a laser level or a string level. You need a drop of at least 1 inch for every 10 feet of length. Once you dig your trench—usually 12 to 18 inches deep and 3 feet wide—you must line it with non-woven geotextile fabric. This is non-negotiable. This fabric allows water to pass through but keeps the soil from migrating up into your stone. Without it, your creek bed will be a mud pit in three years.
- Excavation: Dig a shallow, meandering trench with sloped sides.
- Fabric Lining: Use 4oz non-woven geotextile. Overlap seams by 12 inches.
- Stone Layering: Place larger boulders on the curves to break water velocity.
- In-filling: Fill the center with 2-6 inch river rock.
- Planting: Use deep-rooted native grasses on the banks to stabilize the soil.
- Final Grade: Ensure the surrounding turf is graded toward the creek.
Avoiding the ‘Mow-and-Blow’ Mistakes
I see hacks make the same mistakes every week. They dig a hole, throw in some cheap round stones from a big-box store, and call it a day. That is not landscaping; that is a mess. You need varied stone sizes. Nature doesn’t use one size of rock. You need ‘chinking’—smaller stones that fill the gaps between larger ones to prevent the fabric from being visible. Also, avoid mulch volcanoes near your creek bed. Mulch floats. The first big rain will wash that mulch right into your rock channel, clogging the system. Stick to river rock and hardy perennials like sedges or switchgrass. They handle the wet-dry cycle perfectly. If you follow these specs, your drainage issues vanish. Your foundation stays dry. Your patio stays level. It’s science, not luck.
![Build a $300 Cedar Privacy Fence [2026 DIY]](https://lawnmajesty.com/wp-content/uploads/2026/06/Build-a-300-Cedar-Privacy-Fence-2026-DIY.jpeg)