
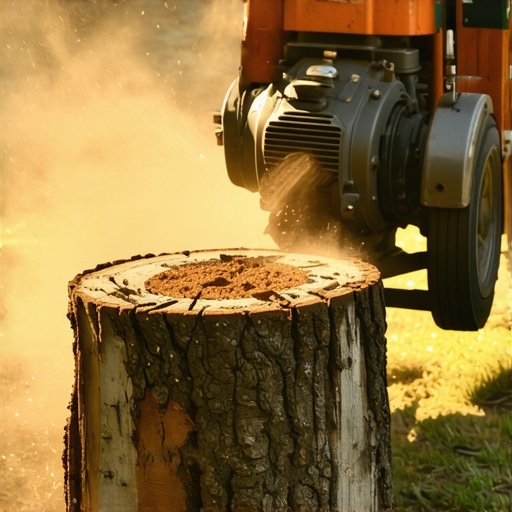
The best way to remove old tree stumps
Removing a tree stump is not merely about clearing a physical obstruction; it is a complex operation involving soil biology, mechanical physics, and long-term site engineering. I always drill into my new crew members: if you don’t fix the soil grading and remove the subterranean biomass first, every plant you put in the ground later is just expensive compost. I have seen too many rookies try to hide a stump under a few inches of topsoil, only to have the homeowner call me three years later because their new $15,000 paver walkway has a massive sinkhole. When that wood finally rots, the earth collapses. That is the reality of poor site prep.
The Core Methodologies of Professional Stump Extraction
The best way to remove old tree stumps depends on your intended land use, available machinery, and soil microbiology. For most residential projects, mechanical stump grinding to a depth of 12 to 18 inches is the industry standard, while full excavation remains necessary for sites where future heavy construction or hardscaping is planned to prevent soil subsidence and nitrogen depletion.
“A tree stump left in the ground is not a static object; it is a massive carbon deposit that will drastically alter the local Carbon-to-Nitrogen (C:N) ratio as it decomposes, potentially starving surrounding turf of vital nutrients.” – Agricultural Extension Agronomy Manual
How deep should you grind a tree stump for a lawn?
For a standard lawn care application, you must grind the stump at least 8 to 12 inches below the surface grade. This allows for a sufficient root zone for turfgrass. If you only skim the surface, the grass will suffer from drought stress because the shallow soil layer cannot hold enough moisture over the dense wood remains. You also risk mushroom fairy rings as fungi move in to break down the remaining cellulose. Don’t skip the depth. It will rot and cause a dip in your lawn later.
Can I build a patio over a ground-out stump?
Never build a permanent hardscaping structure over a stump that has only been ground down. Hydrostatic pressure and the inevitable decay of the deep lateral roots will cause the modified gravel base to shift and settle. For patios, you must perform a full excavation. This involves using a backhoe or excavator to pull the entire root ball out of the ground. It is the only way to ensure a stable, non-yielding sub-grade. It’s expensive but necessary. Anything else is a shortcut that will fail.
The Mechanical Approach: Power and Precision
When we bring a 45-HP stump grinder onto a site, we aren’t just chewing wood. We are managing organic matter. The cutter wheel, equipped with carbide-tipped teeth, must oscillate across the stump to create a fine mulch. This mulch, if left in a concentrated pile, will go anaerobic. You must mix it with existing soil or haul it away to maintain a healthy soil pH. If the stump was a species like Black Walnut, the juglone toxins in the wood can actually inhibit the growth of your next garden design if not properly remediated.
| Method | Estimated Cost | Timeframe | Best Use Case |
|---|---|---|---|
| Mechanical Grinding | $200 – $600 | 1-3 Hours | Lawn replanting, flower beds |
| Full Excavation | $500 – $1,500 | 4-8 Hours | Patios, retaining walls, driveways |
| Chemical Acceleration | $50 – $100 | 6-12 Months | Low-priority back-acreage |
| Manual Digging | Labor Only | 12-20 Hours | Small stumps (< 6" diameter) |
The Chemical and Biological Decay Path
If time is not a factor, you can use the nitrogen-boost method. This isn’t the “magic liquid” you see at big-box stores. It is chemistry. By drilling 1-inch diameter holes into the stump and filling them with a high-nitrogen source like potassium nitrate, you provide the fuel that lignin-degrading fungi need to consume the wood. This lowers the C:N ratio faster. However, this process still takes months. It is not a solution for a client who wants a new garden design by the weekend. Do not use salt. Salt will sterilize the surrounding landscaping for years. It is a hack move.
“Failure in hardscape longevity is rarely a result of the finishing material; it is a direct consequence of failing to address the organic decomposition and moisture retention of the sub-base.” – ICPI Hardscape Engineering Axiom
Post-Removal Soil Restoration Checklist
Once the wood is out, the work isn’t done. The site is now a biological vacuum. Follow this protocol to ensure the area recovers:
- Remove Excess Mulch: If more than 20% of the backfill is wood chips, the area will sink. Aim for a mix of 80% clean fill dirt and 20% organic fines.
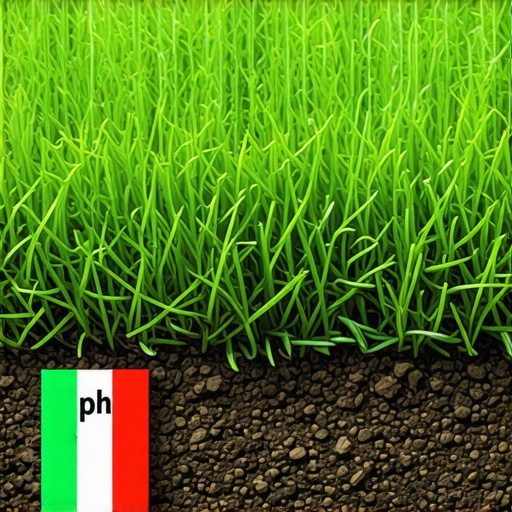
- Check Soil pH: Decaying wood often acidifies the soil. Apply pelletized lime if the pH drops below 6.0.
- Address Compaction: Use a vibratory plate compactor in 4-inch lifts if the area is meant for a walkway. For lawns, hand-tamping is sufficient to avoid aeration issues.
- Nitrogen Supplementation: Apply a starter fertilizer with a high first number (Nitrogen) to offset the carbon loading from remaining root fragments.
The Environmental Impact of Leftover Roots
When you leave a massive root system in the ground, you are inviting Armillaria mellea, also known as honey fungus. This pathogen thrives on dead wood but can jump to the healthy landscaping you just installed. I’ve seen $50,000 garden designs wiped out because a buried stump acted as a reservoir for disease. If you are planting new trees nearby, you must be surgical. Remove as many of the lateral roots as possible. It is labor-intensive, but it protects your investment. High-end work requires this level of detail. Don’t be the contractor who leaves a ticking time bomb in the dirt.

![Stop Overwatering 2026 Fescue Lawns [Soil Fix]](https://lawnmajesty.com/wp-content/uploads/2026/06/Stop-Overwatering-2026-Fescue-Lawns-Soil-Fix.jpeg)