3 Mistakes to Avoid When Building a Backyard Kitchen
The Hardscape Autopsy: Why Your Kitchen Might Fail Before It Cooks
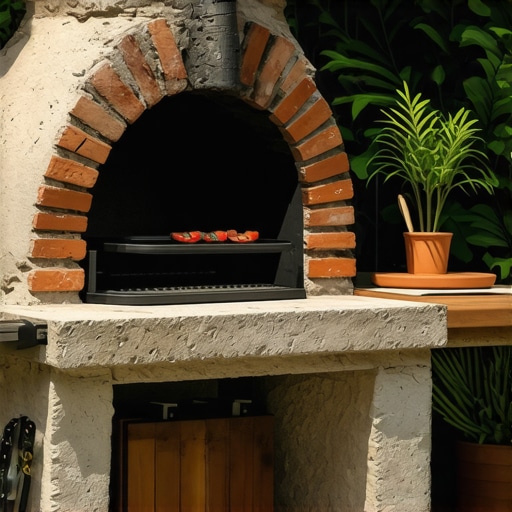
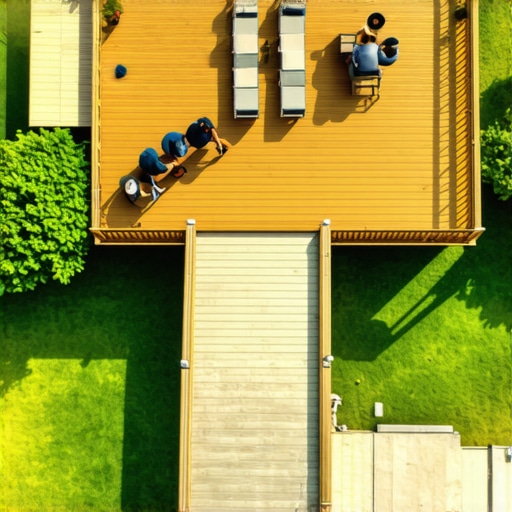
I recently got called out to tear up a $30,000 patio that was sinking because the previous contractor failed to account for the sheer tonnage of a masonry pizza oven. The pavers were heaving, the gas line had developed a slow leak due to ground shift, and the granite countertop had a hairline fracture running straight through the sink cutout. This was not a failure of the materials; it was a failure of the engineering. Most backyard projects fail because the builder treats the ground as a static surface rather than a dynamic, living system subject to hydrostatic pressure and soil compaction cycles. If you don’t fix the soil grading first, every plant or stone you put in the ground is just expensive compost or rubble. Ground prep is 80% of the job. The rest is just finishing work. Build it once. Build it right.
Mistake 1: Under-Engineering the Foundation and Base Layer
Building a backyard kitchen on a standard four-inch patio slab or uncompacted soil will result in structural settling and utility line rupture. A full masonry kitchen can weigh upwards of 4,000 pounds, requiring a reinforced concrete footer or a modified gravel base compacted to a minimum of 98% Proctor density to prevent vertical displacement. Most homeowners think a layer of sand is enough. It is not. You need a structural base of 2A modified stone, compacted in three-inch lifts using a plate compactor that literally bounces off the surface when finished. If the dirt is soft, your kitchen will move. It is that simple. Don’t skip the compaction.
“A retaining wall doesn’t fail because of the stone; it fails because of the water trapped behind it.” – Hardscape Engineering Axiom
How much modified gravel do I need for a patio base?
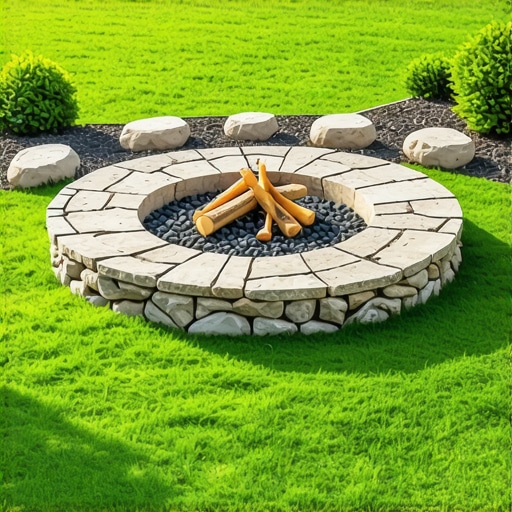
For a heavy outdoor kitchen, you generally need a 6 to 8-inch base of compacted crushed stone. Calculate your volume by multiplying the square footage by the depth in feet, then add a 20% factor for compaction loss. Use AASHTO #57 stone for drainage layers where water infiltration is high. This prevents the freeze-thaw cycle from lifting your stonework in the winter months. Poor drainage is the silent killer of high-end hardscaping.
Mistake 2: Ignoring Utility Zoning and Thermal Clearances
Neglecting utility burial depths and combustible clearances creates significant fire hazards and leads to expensive municipal code violations. Gas lines must be buried at least 18 inches deep in most jurisdictions, and electrical runs for outdoor refrigerators or lighting should be in Schedule 40 PVC conduit to prevent accidental spade punctures during future landscaping. Many DIYers build wooden frames for grills without using an insulated jacket. This is a recipe for a structure fire. You must maintain at least 6 inches of clearance from any combustible material. Use non-combustible steel studs or masonry blocks. Anything else is a liability. It will burn.
| Material Type | Heat Resistance | Durability Rating | Typical Maintenance |
|---|---|---|---|
| Stainless Steel | High | 9/10 | Occasional Polishing |
| Natural Granite | Excellent | 10/10 | Annual Sealing |
| Pressure Treated Wood | Low | 3/10 | Not Recommended |
| Masonry Block | Max | 10/10 | Zero Maintenance |
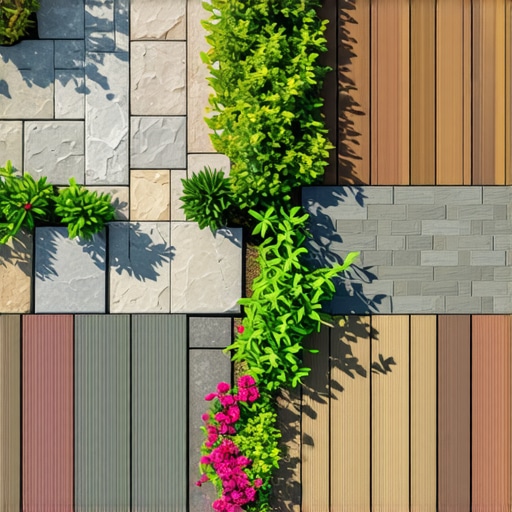
Mistake 3: Poor Site Grading and Surface Water Management
Failing to account for surface runoff and the 1-2% slope required for positive drainage ensures that water will pool against your kitchen island, rotting the base and undermining the soil. A backyard kitchen must be the highest point of the immediate hardscape, directing water away from the house foundation and into integrated French drains or NDS channel drains. We use a transit level on every job site. If you are eyeballing the grade, you are failing. Water is the most destructive force in the backyard. You must give it a path to leave.
“Surface drainage is the primary defense against subgrade saturation and subsequent structural failure of hardscape systems.” – ICPI Tech Manual
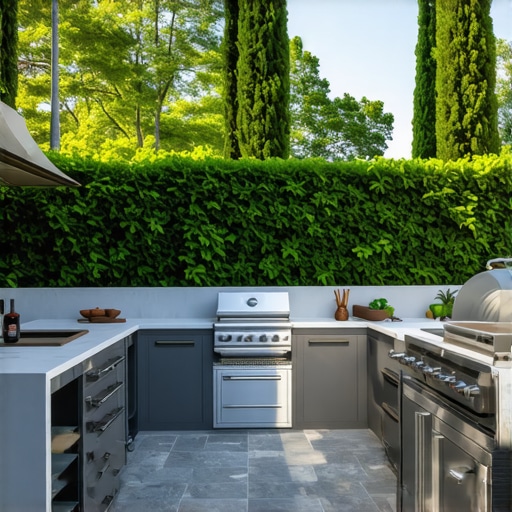
What is the best countertop for an outdoor kitchen?
Avoid marble and cheap tiles. Natural granite or concrete are the industry standards because they handle UV exposure and extreme temperature swings without cracking. Ensure the granite is at least 3cm thick. Thinner slabs will snap under the thermal expansion and contraction cycles of a hot grill. Choose a honed finish to avoid glare from the sun. Polished surfaces can be blinding in the afternoon heat. Don’t go cheap here.
Pre-Construction Checklist for Your Outdoor Kitchen
- Call 811 to mark all underground utility lines before excavating.
- Verify the frost line depth for your region to set footers correctly.
- Select appliances before building the frame to ensure precision cutouts.
- Install a dedicated shut-off valve for the gas line in an accessible location.
- Check local HOA regulations regarding outdoor structures and setbacks.
Expect a settling period of 6 to 12 months for any new hardscape. You might see minor hairline cracks in mortar joints; this is normal as the earth adjusts to the new load. However, if you followed the compaction protocols, these will be purely cosmetic. Keep your gutters clean and ensure your downspouts aren’t dumping water directly onto your base. Maintenance starts the day the crew leaves. Pay attention to the details now, or pay a contractor like me double to fix it later.