Build a $200 2026 Stone Flower Bed Border
The $200 Reality Check for Stone Flower Bed Borders
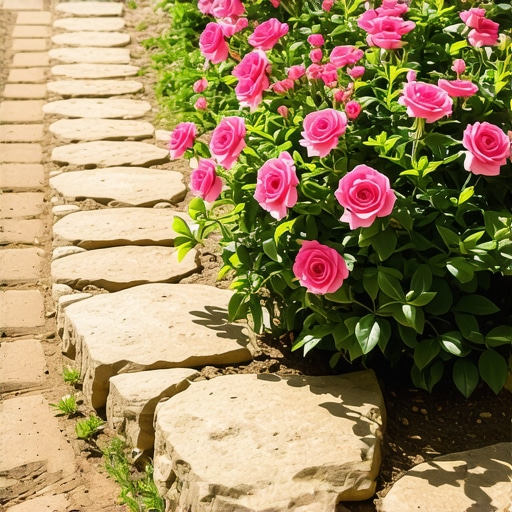
Building a stone flower bed border for under $200 in 2026 requires prioritizing structural integrity over cosmetic fluff by sourcing local fieldstone or reclaimed masonry and focusing on trench excavation, base compaction, and hydrostatic drainage to prevent stone shifting and weed encroachment. Don’t be fooled by big-box store plastic kits; a real border is a civil engineering project on a microscopic scale.
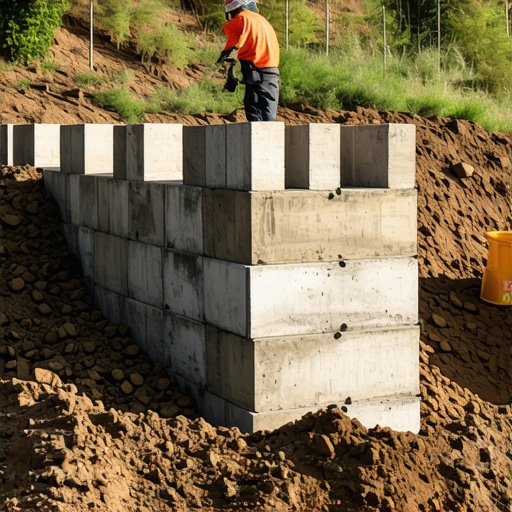
I recently got called out to tear up a $30,000 patio that was sinking because the previous contractor didn’t understand the fundamental physics of the 2A modified gravel base. He had basically built a massive stone raft on top of soft, uncompacted silt. Within two seasons, the freeze-thaw cycles turned his ‘luxury’ project into a series of jagged, dangerous tripping hazards. The same logic applies to your flower bed. If you throw stones on top of grass, you are just decorating a future maintenance nightmare. In my twenty years of hardscaping, I have seen thousands of dollars wasted because a homeowner skipped the four-inch trench. It will fail. It will heave. It will look like a row of broken teeth by next spring.
The Anatomy of a $200 Hardscape Budget
Maximizing a landscaping budget of $200 involves allocating 70% of funds to structural materials like crushed limestone and geotextile fabric while sourcing the decorative stone through quarry tailings or local stone yards. In 2026, the cost of raw materials has fluctuated, but labor is always the highest expense; doing the excavation yourself is the only way to hit this price point.
“A retaining wall doesn’t fail because of the stone; it fails because of the water trapped behind it.” – Hardscape Engineering Axiom
When we talk about stone borders, we are talking about managing the transition between the turfgrass rhizosphere and the garden soil profile. You aren’t just making it look pretty; you are creating a biological barrier. Grass roots, specifically rhizomatous species like Kentucky Bluegrass or Bermuda, are opportunistic. They see your garden bed as a high-nitrogen buffet. A proper stone border with a deep-set base acts as a subterranean wall that stops these runners in their tracks.
How deep should a stone border trench be?
To ensure long-term stability and prevent frost heaving, a stone border trench must be excavated to a minimum depth of four to six inches, allowing for two inches of compacted gravel base and at least one inch of stone to be buried below the finish grade. This prevents the stone from ‘skating’ across the surface when the soil saturates.
| Material | Unit Cost (Est. 2026) | Quantity for 20 Linear Ft | Total Cost |
|---|---|---|---|
| 2A Modified Crushed Stone | $4.50 / bag | 4 Bags | $18.00 |
| Non-Woven Geotextile Fabric | $1.20 / linear ft | 20 ft | $24.00 |
| Natural Fieldstone (Bulk) | $0.12 / lb | 1,000 lbs | $120.00 |
| Polymeric Jointing Sand | $28.00 / bag | 0.5 Bag | $14.00 |
| Total Estimated Cost | – | – | $176.00 |
The Engineering Phase: Base Compaction and Drainage
The secret to a professional landscape installation lies in mechanical compaction and the particle size distribution of the base material which creates interlocking friction to support the weight of the stone. If the base isn’t solid, the stone will sink into the subgrade. Use a hand tamper. The tamper should literally bounce off the compacted base. If it feels soft, you aren’t done. You are looking for 95% Proctor density, even for a simple garden border.
We also have to discuss hydrostatic pressure. When it rains, water moves through the soil. If your stone border acts as a dam, water will pool behind it, saturating the root zones of your perennials and eventually washing out the base of your wall. This is why we use open-graded stone or 2A modified (which includes ‘fines’ for compaction) but always over a layer of geotextile fabric. The fabric allows water to pass through but prevents the soil fines from migrating into your gravel base and clogging it. This process, known as ‘piping,’ is what causes most hardscapes to settle unevenly.
“Soil compaction is the most overlooked factor in residential horticulture, leading to 60% of plant failures in new landscape beds.” – USDA Agronomy Manual
Will a stone border stop grass from spreading?
A stone border will only stop turfgrass encroachment if it includes a mechanical barrier, such as a deep trench or a polymeric sand joint, that prevents roots from traveling through the gaps between the stones. Simply placing stones on the surface will not stop rhizomes from growing underneath.
The Step-by-Step Installation Protocol
Follow this hardscape installation checklist to ensure your border lasts for decades rather than months:
- Mark the Layout: Use a garden hose or marking paint to define the edge. Avoid tight 90-degree angles; they are a nightmare to mow around.
- Excavate the Trench: Dig 6 inches deep and 2 inches wider than your widest stone. Keep the walls vertical.
- Install Geotextile: Lay the fabric in the trench, extending it up the sides slightly. This is your insurance against sinking.
- Base Layer: Add 2 inches of 2A modified stone. Use a hand tamper until the surface is rock hard.
- Leveling: Use a torpedo level for each stone. Do not trust your eyes; the horizon is a liar.
- Backfilling: Fill the gaps between the stone and the grass with the soil you excavated, tamping it down firmly.
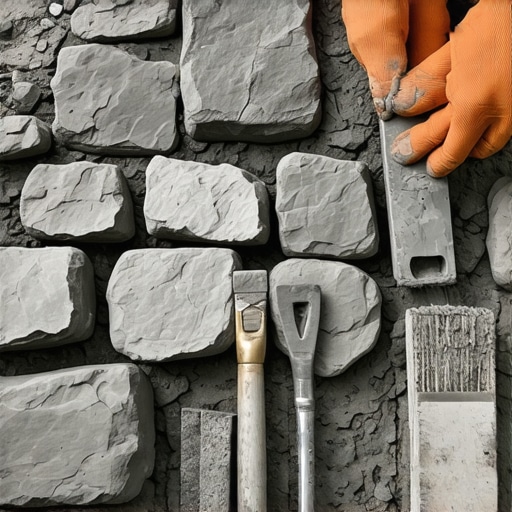
When selecting your stone, don’t go to the big-box garden center. Go to a masonry supply yard. Ask for ‘seconds’ or ‘pallet remnants.’ You can often find high-quality Pennsylvania Bluestone or Flagstone scraps for pennies on the dollar. These natural materials have a compressive strength that far exceeds the molded concrete blocks sold at retail chains. Plus, natural stone develops a patina of lichen and moss that adds biological character to your garden design.
Maintenance and Long-Term Integrity
Once the stones are set, the job isn’t over. You must manage the mechanical edge. Use a power edger or a manual spade once a year to cut the grass roots away from the outside of the stones. If you allow the grass to grow over the stone, the organic matter will break down into the gaps, creating a perfect seedbed for weeds. Don’t use chemical weed killers like glyphosate as a crutch; a clean mechanical edge is safer for your soil microbiology and more effective in the long run. Monitor the stones after the first heavy rain. If you see ‘weeping’ (mud coming through the cracks), your drainage is failing. Re-pack those areas with screenings or polymeric sand immediately. Do not wait for the stone to shift. Fix it now. The integrity of your landscape depends on the invisible work beneath the surface. It is not just a border; it is a foundation.

![Building a 2026 Modern Wood Fence [Budget DIY]](https://lawnmajesty.com/wp-content/uploads/2026/09/Building-a-2026-Modern-Wood-Fence-Budget-DIY.jpeg)