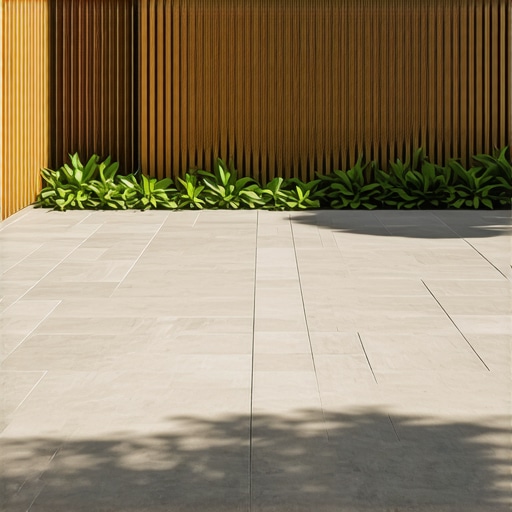
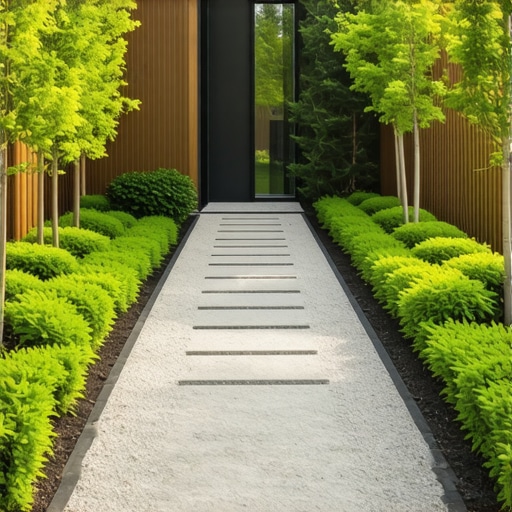
Build a $300 2026 Stone Path with Sand Joint Edges
The Critical Importance of Planning and Site Grading in Hardscaping
Soil grading and site preparation are the most overlooked aspects of garden design and hardscaping, dictating whether a stone path lasts twenty years or twenty days. Before a single stone is laid, you must evaluate the hydrostatic pressure and surface drainage to ensure water moves away from your home’s foundation at a minimum 2% slope. Don’t skip this.
I recently got called out to tear up a $30,000 patio that was sinking because the previous contractor failed to recognize the heavy clay content in the subgrade. They didn’t use a geotextile fabric and ignored the 95% Proctor density compaction requirement for the modified gravel base. The result was a wavy, dangerous mess of tripping hazards. In the world of high-end landscaping, we call this a ‘Hardscape Autopsy.’ When you are working with a $300 budget for a 2026 project, you cannot afford to waste money on materials that will fail due to poor engineering. Every square inch of your path must be calculated against the local freeze-thaw cycles and the shear strength of your soil. This is not just ‘laying rocks’; it is civil engineering on a micro-scale.
“A retaining wall doesn’t fail because of the stone; it fails because of the water trapped behind it.” – Hardscape Engineering Axiom
How much modified gravel do I need for a patio base?
Calculating your base material requires multiplying the total square footage by the intended depth (minimum 4 inches for foot traffic) and dividing by 27 to find the cubic yardage needed. For a 20-foot path that is 2 feet wide, you will need approximately 0.5 to 0.75 cubic yards of 21A or 3/4-inch minus modified gravel to account for a 20% compaction loss.
Selecting Materials for a Budget-Conscious 2026 Hardscape Project
Choosing the right natural stone and sand joint materials is essential for maintaining a $300 budget while ensuring the landscaping meets professional hardscaping standards. For a cost-effective path, prioritize locally sourced flagstone or irregular slate over imported dimensionally cut pavers to reduce shipping overhead and environmental impact. Look for thickness consistency. Stones thinner than 1.5 inches will likely crack under point-load pressure. We avoid big-box store ‘bagged’ stones; they are overpriced and undersized. Instead, visit a local quarry. For our joints, we use sharp concrete sand or a specific polymeric sand blend that allows for micro-movements while preventing weed seeds from reaching the nutrient-rich soil below.
| Material Item | Quantity (for 40 sq ft) | Estimated 2026 Cost |
|---|---|---|
| 21A Modified Gravel Base | 0.75 Cubic Yards | $45.00 |
| Natural Flagstone (Irregular) | 500 lbs | $180.00 |
| Concrete Sand (Bedding & Joints) | 4 Bags (50lb) | $32.00 |
| Geotextile Separation Fabric | 15 Linear Feet | $25.00 |
| Edge Restraints/Spikes | 1 Kit | $18.00 |
| Total Estimated Cost | — | $300.00 |
The Engineering of the Sub-Base and Compaction Layers
The sub-base of a hardscape installation serves as the skeletal system for the entire stone path, distributing weight and facilitating vertical drainage. You must excavate to a depth of 6-8 inches, removing all organic matter and ‘spongy’ topsoil which will rot and cause settling. Do not skip the plate compactor. For a path this size, a hand tamper is acceptable only if you have the stamina to hit the base until the tool literally bounces off the surface. If the ground yields, it is not compacted. We use 21A modified gravel because the varying sizes of stone—from dust to 3/4 inch—lock together through mechanical friction. This creates a semi-permeable but rigid structure that resists the heaving caused by ice crystals forming in the soil pores.
What is the best sand for stone path joints?
The best sand for stone path joints is angular, washed concrete sand or a high-performance polymeric sand that utilizes a chemical binder to prevent erosion. Unlike rounded play sand, angular grains interlock, providing superior friction that prevents stones from shifting laterally when walked upon. It stays put.
Step-by-Step Installation: The Professional Methodology
Installing a stone path requires a methodical approach that prioritizes structural integrity over aesthetics, though a well-built path naturally looks superior. Follow this checklist to ensure your 2026 project stands the test of time:
- Call 811: Always mark utility lines before any excavation to avoid hitting gas or fiber-optic cables.
- Excavate: Remove 7 inches of soil, following the pre-marked contours of your garden design.
- Fabric: Lay a non-woven geotextile fabric to keep the gravel base from migrating into the clay subsoil.
- Base: Add 4 inches of modified gravel in 2-inch ‘lifts,’ compacting each lift thoroughly.
- Bedding: Spread 1 inch of sharp sand as a leveling bed; do not compact this layer yet.
- Set Stones: Lay your flagstone, maintaining 1/2-inch to 1-inch gaps for sand joints.
- Lock: Sweep sand into the joints and use a rubber mallet to set the stones into the bedding sand.
“Soil is a living, breathing biological system that must be managed, not just covered with stone.” – Agronomy Field Manual v4.2
Maintenance and the Long-Term Health of Your Landscape
Maintaining a stone path involves managing the lawn care edges and ensuring the sand joints remain filled to prevent hydrostatic pressure from lifting the stones. Check your joints every spring. If you see gaps, top them off with fresh sand. This prevents water from pooling under the stones, which leads to ‘rocking’—a condition where the bedding sand turns to mud and loses its load-bearing capacity. Keep your mower deck height at 3.5 inches near the path edges to prevent scalping the turf, which exposes the soil to invasive weed species. A healthy lawn edge acts as a natural restraint for your hardscape, keeping everything in place through a dense root network. Avoid using harsh salts for ice melt on natural stone; use sand for traction instead to prevent chemical spalling.