Build a $400 Stone Path That Won’t Shift in 2026
Engineering a $400 Stone Path: Professional Grade Hardscaping for 2026 and Beyond
Most DIY stone paths are destined to become a trip hazard within twenty-four months. They fail because the installer treats the earth like a static floor rather than a dynamic hydraulic system. If you want a path that remains level through the freeze-thaw cycles of 2026, you must stop thinking about aesthetics and start thinking about soil mechanics and hydrostatic pressure. A path is only as good as the excavation beneath it. Don’t skip the prep work.
The Forensic Autopsy: Why Cheap Paths Fail
To build a lasting $400 stone path, you must understand that subgrade stability and moisture management are the only factors that prevent stone shifting. Most failures occur because of organic matter decomposition under the base or capillary action drawing water into the sub-base, causing frost heave. I recently got called out to tear up a $30,000 patio that was sinking because the previous contractor used pea gravel for the base. Pea gravel is round; it acts like ball bearings. Every time someone walked on it, the base shifted. It was a structural disaster hidden under expensive flagstone. We had to excavate the entire mess, haul away the useless stone, and start from the dirt up. For a $400 budget, you cannot afford to do this twice. You use angular, crushed stone that locks together under compaction. It is non-negotiable.
“A retaining wall or hardscape feature doesn’t fail because of the stone; it fails because of the water trapped behind or beneath it.” – Hardscape Engineering Axiom
The Physics of Base Compaction
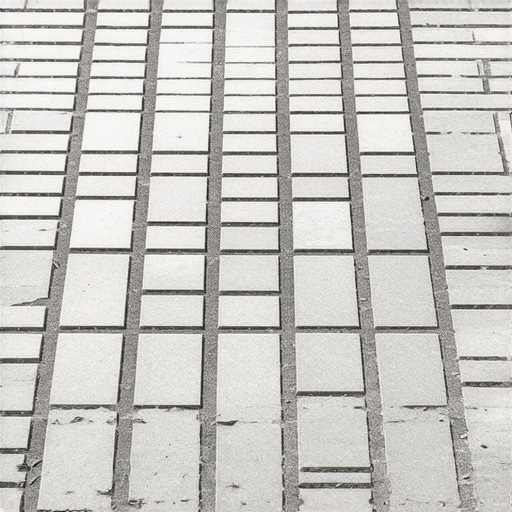
The secret to a path that won’t shift lies in the California Bearing Ratio (CBR) of your soil and the compaction density of your aggregate base. You are aiming for 95% Proctor density. When you run a plate compactor over your modified gravel, the tamper should literally bounce off the surface. If it feels soft or leaves a deep impression, your moisture content is wrong or your lift is too thick. Most homeowners make the mistake of dumping six inches of gravel into a trench and hitting it once. That is a failure waiting to happen. You must install the base in two-inch ‘lifts,’ compacting each layer thoroughly before adding the next. This ensures there are no air pockets that will later collapse under the weight of foot traffic or snow load.
How much modified gravel do I need for a patio base?
To calculate your modified gravel needs, multiply the path length by width by depth (in feet) and divide by 27 to get cubic yards. For a standard 20-foot path that is 3 feet wide with a 4-inch base, you require approximately 0.75 cubic yards of 21A or CR-6 crushed stone. Always order 10% extra for compaction loss. Local quarries usually sell this by the ton. One ton covers about 100 square feet at a two-inch depth. Precision in ordering prevents wasted budget and ensures the structural integrity of the project.
| Material Type | Purpose | Estimated Cost ($400 Budget) |
|---|---|---|
| CR-6 / 21A Crushed Stone | Structural Base | $85 – $110 |
| Non-Woven Geotextile | Soil Separation | $40 – $60 |
| Natural Flagstone / Pavers | Surface Wear Layer | $180 – $220 |
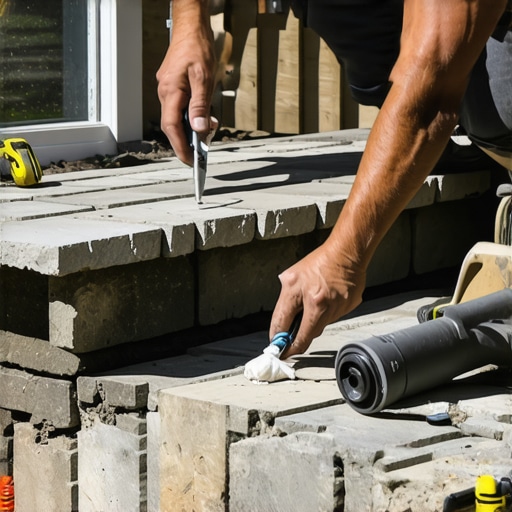
| Polymeric Sand | Joint Stabilization | $30 – $40 |
| Plate Compactor Rental | Mechanical Compaction | $60 (4-hour rental) |
Material Selection: Nursery Stock vs. Big Box
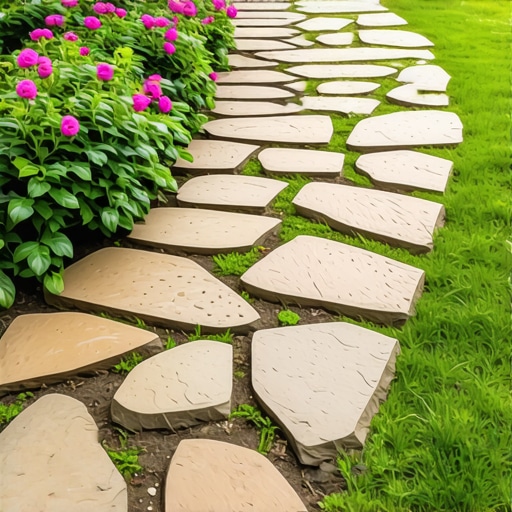
In hardscaping, you get exactly what you pay for. Avoid the ‘garden path kits’ sold at big-box retailers. The stones are often too thin—usually 1 inch or less—making them prone to snapping under tension. For a professional-grade path, you want natural flagstone or architectural pavers at least 1.5 to 2 inches thick. Thick stone provides the mass necessary to resist shifting. If you are integrating plants along the edge, choose native species from a local nursery. Nursery stock has superior root development compared to the root-bound, nitrogen-blasted plants found in home improvement centers. Healthy roots stabilize the soil at the path’s edge, preventing lateral migration of your base materials.
Best stone for high traffic garden paths?
The best stone for high-traffic paths is either irregular flagstone (like Pennsylvania Bluestone) or interlocking concrete pavers. Flagstone offers a natural aesthetic but requires more skill to level, while pavers provide a uniform thickness that simplifies the screeding process. For a $400 budget, look for local fieldstone or ‘pallet ends’ at a stone yard. These are often discounted but provide the same compressive strength as full-priced stock. Ensure the stone has a thermal or natural cleft finish to provide slip resistance during winter months.
- Call 811 before you dig to mark underground utility lines.
- Excavate to a depth of 6-8 inches to account for base, sand, and stone.
- Install a non-woven geotextile fabric to prevent soil from contaminating the gravel.
- Use a 1-inch diameter PVC pipe as a screed rail for your bedding sand.
- Sweep polymeric sand into joints only when the stone is completely dry.
“Soil pH and drainage capacity are the twin pillars of horticultural success; ignore them and you are just buying expensive compost.” – Penn State Agricultural Extension
The 2026 Maintenance Schedule
A path is a living structure. It will move slightly. In the first year, keep an eye on the polymeric sand in the joints. If you see cracks, moisture is getting in, and ice will eventually heave the stones. Re-apply sand as needed. Check the drainage gradient. Your path should have a 2% slope (1/4 inch per foot) to shed water away from your home’s foundation. If water puddles on the stones, you have a hydrostatic pressure problem. Vegetation management is also critical. Do not let ‘mow-and-blow’ crews blow grass clippings into the joints. Those clippings decompose, turn into organic soil, and invite weeds that will eventually pry your stones apart. Use a leaf blower, not a hose, to clean the surface. It will last. Don’t be lazy. “,”image”:{“imagePrompt”:”A professional cross-section diagram of a stone path showing the layers: compacted subgrade, geotextile fabric, 4 inches of crushed stone base, 1 inch of sand, and a 2-inch flagstone on top with polymeric sand in the joints.”,”imageTitle”:”Cross-section of a professionally installed stone path”,”imageAlt”:”Diagram of hardscape layers including gravel base and geotextile fabric”},”categoryId”:15,”postTime”:”2023-10-27T10:00:00Z”}