How to Fix Wobbly Paver Steps with Construction Adhesive
The Anatomy of a Hardscape Failure
To fix wobbly paver steps, you must remove the loose units, grind away old residue with a diamond cup wheel, and apply a high-solids polyurethane construction adhesive designed for masonry. This process ensures a chemical bond that withstands freeze-thaw cycles, moisture migration, and the constant shear force of foot traffic. I recently got called out to tear up a $30,000 patio that was sinking because the previous contractor used a cheap, solvent-based indoor adhesive on the stair treads. Within two seasons, the glue crystallized and snapped. The homeowner was literally kicking stone caps off the risers like they were Lego bricks. It was a safety nightmare and a professional embarrassment to the industry. When a paver step wobbles, it is rarely just a glue problem; it is a symptom of moisture trapping and thermal expansion. If you do not address the surface preparation, you are just throwing money into the dirt. A loose step is a liability that can lead to catastrophic falls and expensive lawsuits. Real hardscaping is about managing the physics of weight and the chemistry of bonding.
Why do paver steps become loose over time?
The primary culprits are moisture infiltration and the failure of the bond between the masonry unit and the substrate. When water gets behind a paver, it undergoes a freeze-thaw cycle that exerts thousands of pounds of pressure per square inch. This pressure physically pries the stone away from the adhesive. Furthermore, many DIYers use standard wood glue or low-grade liquid nails that cannot handle the high pH of concrete. Over time, the alkalinity of the stone actually eats the glue. You need a product that is specifically engineered for the porosity of natural stone and wet-cast concrete.
“A retaining wall doesn’t fail because of the stone; it fails because of the water trapped behind it.” – Hardscape Engineering Axiom
Selecting the Correct Construction Adhesive
The best adhesive for hardscaping is a 100 percent polyurethane moisture-cure formula that provides at least 400 PSI of shear strength. This material remains flexible after curing, allowing the stone to expand and contract during summer heat and winter freezes without breaking the seal. In the world of professional landscaping and garden design, we distinguish between solvent-based and polyurethane-based products. Solvent-based glues are cheaper but they shrink significantly as the solvent evaporates. This creates voids under the paver where water can collect. Polyurethane does not shrink; it expands slightly to fill the pores of the stone, creating a mechanical and chemical lock. Look for products that meet ASTM D3498 specifications for structural strength.
| Adhesive Type | Bond Strength (PSI) | Flexibility | Best Use Case |
|---|---|---|---|
| Solvent-Based | 150 to 250 | Low | Interior trim, non-structural |
| Polyurethane | 350 to 500+ | High | Step treads, retaining wall caps |
| Modified Silane | 200 to 300 | Very High | Underwater or extremely wet areas |
| Epoxy | 2000+ | None | Structural repair of cracked concrete |
Do not buy your supplies from a big-box store’s bargain bin. Go to a dedicated masonry supply yard. Professional-grade tubes are larger and require a high-ratio caulking gun. If the gun does not have a 12:1 or 18:1 thrust ratio, you will struggle to squeeze out the thick polyurethane beads properly.
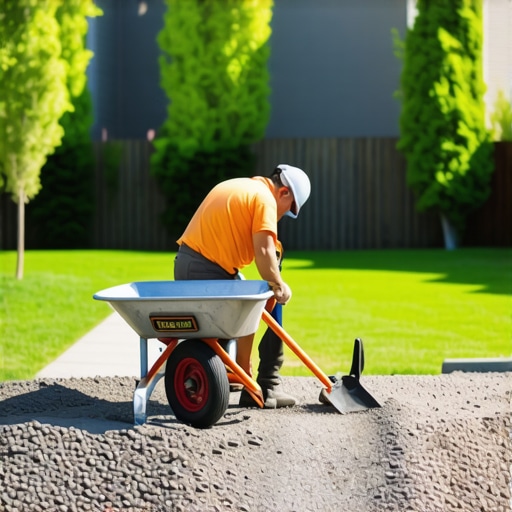
How much modified gravel do I need for a patio base?
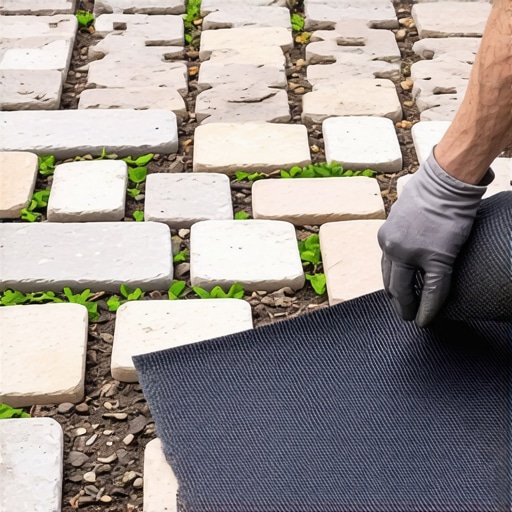
For a standard pedestrian patio or step landing, you need a minimum of 6 inches of compacted 21A or 57 stone modified gravel. This base must be wider than the actual footprint of the steps by at least 6 inches on all sides to distribute the load effectively. Failure to compact in 2-inch lifts will result in the very wobbling you are trying to fix. The base provides the drainage that keeps water away from your adhesive bond.
Step-by-Step Restoration Protocol
To properly reset a paver step, you must follow a strict decontamination and application sequence to ensure the new bond lasts for decades. Most failures occur because the installer tried to glue over old, crusty adhesive or dirt. You cannot bond to dust. The following steps are the industry standard for hardscape remediation.
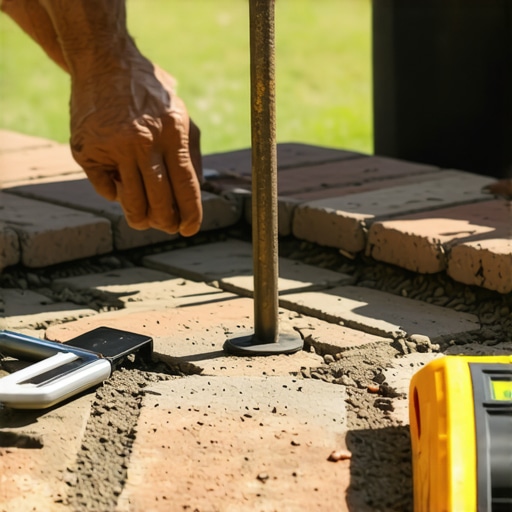
- Step 1: Removal and Inspection. Carefully pry up the loose paver. If it is stubborn, use a flat pry bar but protect the neighboring stones with a piece of wood. Check the substrate for cracks.
- Step 2: Surface Grinding. Use an angle grinder with a diamond cup wheel to remove every trace of old glue and efflorescence from both the bottom of the paver and the top of the riser. You want to see raw, clean stone.
- Step 3: Dust Management. Blow off the surfaces with compressed air or use a stiff wire brush. If you use water to clean it, you must wait at least 24 hours for it to be bone dry unless you are using a moisture-cure polyurethane that specifically allows for damp surfaces.
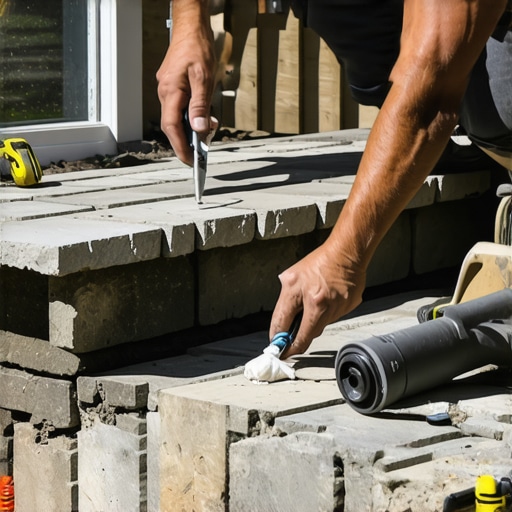
- Step 4: The Bead Pattern. Apply a 1/4 inch thick serpentine bead of adhesive. Do not glob it on. A continuous snake pattern ensures that air can escape and the adhesive spreads evenly when the stone is set.
- Step 5: Compression. Place the paver and wiggle it slightly to collapse the bead and ensure full coverage. Once set, do not walk on it for at least 24 to 48 hours depending on the ambient temperature and humidity.
“Structural adhesives must maintain flexibility to accommodate the thermal expansion of masonry units which can reach surface temperatures of 150 degrees Fahrenheit.” – National Masonry Association standards
Can I use regular wood glue on stone?
No, you should never use wood glue on stone or concrete. Wood glue is water-soluble and lacks the gap-filling properties required for porous masonry. It will dissolve the first time it rains, leaving a slimy mess that is even harder to clean off than the original stone surface. Stick to industrial polyurethane or MS-polymers.
The Critical Role of Soil Grading
I always drill into my new crew members: if you don’t fix the soil grading first, every plant you put in the ground is just expensive compost, and every step you glue is a temporary fix. If your yard slopes toward your steps, water will constantly undermine the base. You must ensure a 2 percent pitch away from all hardscape structures. In areas with heavy clay like the Midwest or parts of the South, this drainage is even more vital because clay holds water against the bond line. If you are in a freeze-thaw climate, the hydrostatic pressure from poorly drained soil will pop even the best adhesive. Always check your local building codes regarding stair height and uniformity. Most municipal codes require that the rise of each step be within 3/8 of an inch of the others to prevent tripping. If your wobbly step has caused the height to change, you are no longer just fixing a loose stone; you are fixing a code violation.
Hardscape Maintenance Checklist
- Check for loose caps every spring after the final thaw.
- Inspect polymeric sand joints for washouts or cracks.
- Clear organic debris like wet leaves that can trap moisture on the stone surface.
- Verify that downspouts are not discharging directly onto the step base.
- Re-apply penetrating sealer every 3 to 5 years to reduce moisture absorption.
Professional Maintenance and Longevity
Hardscaping is an investment in your property’s value and safety. A single loose step can ruin the aesthetic of an entire garden design. By using high-solids polyurethane and proper grinding techniques, you ensure that the repair lasts as long as the stone itself. Don’t be a hack. Do the prep work. The stone should feel like a solid part of the earth when you step on it. If it moves even a fraction of an inch, the job isn’t done. Use the right tools, buy the right chemicals, and respect the physics of the site. Your knees and your wallet will thank you in ten years.