Build a Modern Fire Pit Seating Area for Under $600
Why Most Budget Hardscapes Fail Before the First Fire
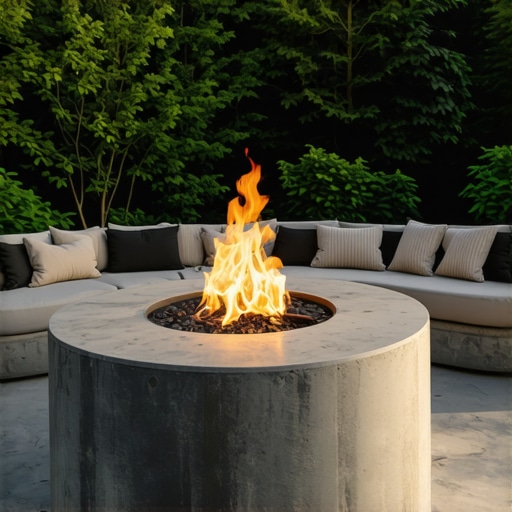
A modern fire pit seating area requires a stratified base of compacted crushed stone, a heat-resistant focal point, and proper drainage management to prevent frost heave and stone displacement. For under $600, you prioritize structural integrity over decorative veneers by using raw materials like #57 limestone and reclaimed masonry units. I recently got called out to tear up a $30,000 patio that was sinking because the previous contractor thought 2 inches of limestone screenings was a ‘sufficient base’ for heavy pavers. It wasn’t. It never is. Water pooled, the subgrade turned to mush, and the whole thing became a hazard within two seasons. If you want a fire pit that lasts longer than a single summer, you have to stop thinking about the surface and start thinking about the dirt. Most DIYers see a ‘weekend project.’ I see a civil engineering challenge on a microscopic scale. We are fighting hydrostatic pressure, soil expansion, and thermal stress. If you win the battle against water and gravity, the aesthetics take care of themselves. Don’t skip the prep. It will fail.
“A retaining wall doesn’t fail because of the stone; it fails because of the water trapped behind it.” – Hardscape Engineering Axiom
The Engineering of the Base: Beyond the Surface
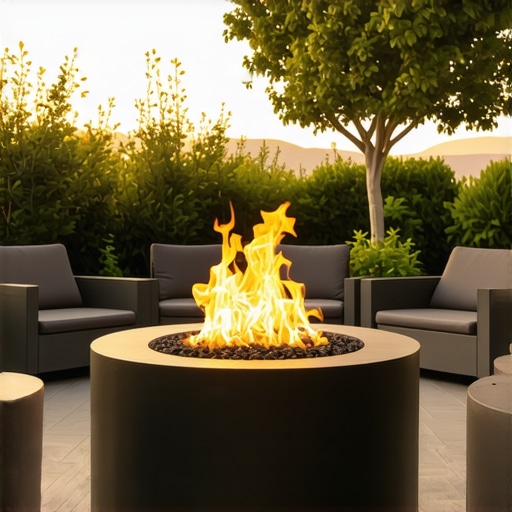
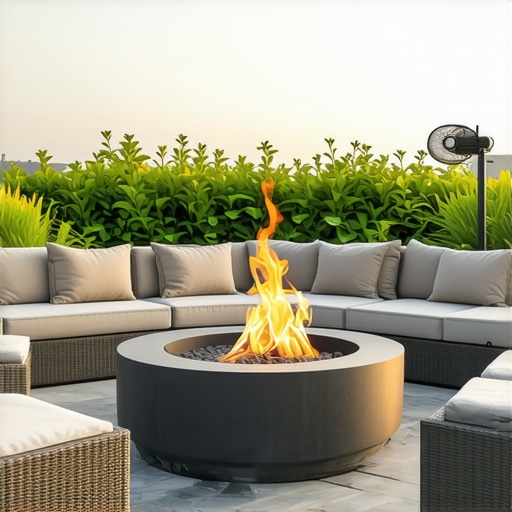
The longevity of your fire pit area is determined by the modified gravel base and the compaction density achieved before the first stone is laid. You need a minimum of 4 inches of compacted 2A modified stone to create a bridge over the subgrade. 80% of the work is done before you buy a single plant or paver. You aren’t just digging a hole; you are creating a drainage system. You must excavate down at least 8 inches. This allows for 4 inches of sub-base, 1 inch of bedding sand, and the thickness of your pavers. If you have heavy clay soil, you need to go deeper. Clay holds water. Water freezes. Ice expands with a force of roughly 30,000 PSI. That force will snap a concrete fire pit ring like a dry twig if the base isn’t decoupled from the soil. [image_placeholder_1] Use a plate compactor. A hand tamper is for garden paths, not seating areas. The tamper should literally bounce off the compacted base when you reach the correct density.
| Material | Purpose | Estimated Cost |
|---|---|---|
| 2A Modified Gravel | Structural Sub-base | $120 – $150 |
| #57 Drainage Stone | Fire Pit Interior/Drainage | $40 – $60 |
| Masonry Blocks | Fire Pit Wall Structure | $150 – $200 |
| Steel Fire Ring | Thermal Barrier | $60 – $100 |
| Geotextile Fabric | Soil Separation | $30 – $50 |
| Polymeric Sand | Joint Stabilization | $30 – $40 |
How much modified gravel do I need for a patio base?
Calculating your gravel needs involves multiplying the square footage by the desired depth in feet, then dividing by 27 to find cubic yards. For a 10-foot diameter circular seating area, you are looking at approximately 78 square feet. At a 4-inch depth (0.33 feet), that is roughly 26 cubic feet, or one full cubic yard. Always order 10% extra for compaction loss. When you run the compactor, the stone particles lock together, reducing the volume but increasing the load-bearing capacity. If you don’t have enough stone to reach that 4-inch minimum after compaction, you are inviting the earth to swallow your patio. Use a vibratory plate compactor. Run it in overlapping passes until the stone no longer moves under the weight of the machine. It should feel like walking on concrete. This is the only way to ensure your seating area doesn’t become a muddy pit after the first heavy rain.
The Thermal Physics of Fire Pit Construction
A fire pit must be designed to withstand extreme thermal expansion while protecting the surrounding masonry from direct flame contact. This is why a steel insert is non-negotiable for a $600 budget. Without a steel ring, the heat from the fire will cause the moisture trapped inside the masonry blocks to turn into steam. This creates internal pressure that leads to ‘spalling’ or, in extreme cases, the blocks exploding. You also need to consider the air-to-fuel ratio. A pit that is too deep will starve the fire of oxygen, leading to excessive smoke and a poor burn. Keep your fire pit height between 12 and 18 inches. This is the ergonomic ‘sweet spot’ for footrests and heat radiation. Leave small gaps in the first course of masonry for air intake. This is basic thermodynamics. If the fire can’t breathe, it won’t burn hot enough to keep you warm.
“Interlocking concrete pavements must have a minimum of 4 inches of compacted aggregate base for pedestrian applications to distribute loads effectively.” – ICPI Tech Spec No. 2
How do I prevent my fire pit from sinking?
Preventing settlement requires a combination of soil stabilization using geotextile fabrics and the application of polymeric sand in the joints to lock the units together. The fabric acts as a filter, allowing water to pass through while keeping the heavy gravel from migrating into the soft subsoil. If you skip the fabric, the mud will eventually pump up through the gravel, and your fire pit will tilt. This is common in regions with high freeze-thaw cycles. You must also ensure the seating area is graded away from the center or any nearby structures. A 1% to 2% slope is mandatory. That means for every 10 feet of distance, the height should drop by about 1 to 2 inches. It’s a subtle change, but it’s the difference between a dry patio and a swamp. Use a transit level or a simple string line and line level to verify this. Don’t eyeball it. You will fail.
The Step-by-Step Installation Checklist
- Locate Utilities: Call 811 before you dig. Severing a gas line will cost more than $600.
- Excavation: Dig out the area to a depth of 8-10 inches, clearing all organic material and roots.
- Subgrade Compaction: Tamp the raw earth. If the soil is soft, remove it and backfill with more stone.
- Geotextile Layer: Lay down a non-woven drainage fabric over the entire excavated area.
- Gravel Base: Add 2A modified stone in 2-inch ‘lifts,’ compacting each layer fully before adding the next.
- Bedding Layer: Spread 1 inch of coarse sand. Use 1-inch PVC pipes as screed rails to get it perfectly flat.
- Set the Fire Pit: Level your first course of blocks perfectly. If the first row is off, the whole pit will look crooked.
- Paver Installation: Lay your seating area stones from the fire pit outward. Maintain tight joints.
- Steel Insert: Drop in the steel ring. Fill the gap between the ring and the stone with #57 stone for drainage.
- Polymeric Sand: Sweep the sand into the joints, vibrate it down, and mist it with water to lock everything in place.
Maintaining the Structural Integrity
Your fire pit area is a living structure that requires annual inspections for joint erosion and drainage clogs. Check the polymeric sand every spring. If it has washed out, you are inviting weeds and ants to move in, which will eventually destabilize the pavers. Clean out the ash from the pit regularly. Ash is acidic and, when mixed with rainwater, can etch certain types of stone and concrete. Ensure the drainage holes in your steel ring aren’t clogged. If water sits in the bottom of the pit, it will accelerate the rusting of the steel and the degradation of the base stone. Landscaping isn’t a ‘set it and forget it’ endeavor. It’s a relationship with the elements. Treat it with the respect that physics demands, and you’ll have a spot for a beer and a fire for the next twenty years. Ignore the rules, and you’ll be hiring me to tear it out in three. Don’t be that homeowner.
![Build a $80 Gravel Fire Pit Area [2026 Budget]](https://lawnmajesty.com/wp-content/uploads/2026/07/Build-a-80-Gravel-Fire-Pit-Area-2026-Budget.jpeg)