Fix 2026 Yellowing Evergreens: 3 Acidic Soil Hacks
Why Your Evergreens Are Turning Yellow (The Forensic Autopsy)
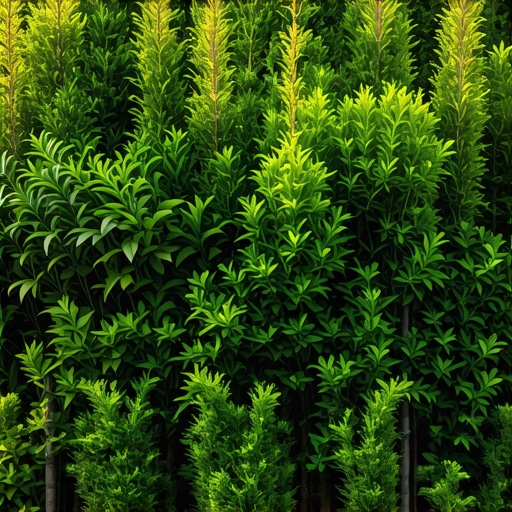
Evergreens turn yellow primarily due to iron chlorosis or nutrient lockout caused by alkaline soil conditions that prevent the root system from absorbing essential minerals. When the soil pH rises above 6.5 or 7.0, micronutrients like iron and manganese become chemically bonded to soil particles, making them inaccessible to species like Blue Spruce, White Pine, or Holly. I recently dealt with a chemical nightmare where a homeowner called me in a panic after they completely torched their front lawn and their prize-winning Leyland Cypresses by applying a massive amount of pelletized lime. They thought they were helping the grass, but they effectively poisoned the root zone of their evergreens by spiking the pH to 8.2. The needles did not just turn yellow; they became brittle and fell off in clumps. This is a classic case of a homeowner following a one-size-fits-all lawn care tip without understanding the specific biology of acid-loving conifers.
“Evergreens such as pines and spruces require acidic soil for nutrient availability; when pH exceeds 7.0, iron becomes chemically bound and inaccessible to roots.” – Penn State Extension Arboriculture Guide
The yellowing, or chlorosis, starts at the tips of the needles and works its way inward. This is the tree screaming for iron. If you ignore it, the tree will eventually starve to death. It is a slow, agonizing process. You cannot fix this by just dumping more fertilizer on top. In fact, adding high-nitrogen fertilizers to an alkaline soil can actually make the situation worse by stimulating top growth that the struggling root system cannot support. We have to fix the soil chemistry first. You need to understand the Cation Exchange Capacity (CEC) of your dirt. If you have heavy clay, the soil holds onto those alkaline minerals with a death grip. If you have sandy soil, the nutrients leach out too fast. We are looking for the sweet spot: a pH between 5.0 and 6.0 for most conifers. Anything higher and you are just growing expensive compost. Do not skip the soil test. It is the only way to know the PSI of the problem you are facing.
How long does it take for sulfur to lower soil pH?
Lowering soil pH with elemental sulfur typically takes six months to a year because it requires soil bacteria to oxidize the sulfur into sulfuric acid. This biological process depends heavily on soil temperature and moisture levels, meaning you will not see an immediate green-up of your yellowing needles overnight.
Hack 1: The Elemental Sulfur Calibration
Elemental sulfur is the most effective long-term solution for lowering soil pH because it works with soil microbiology to create a sustainable acidic environment. Unlike aluminum sulfate, which can be toxic to some root systems if over-applied, elemental sulfur is a slow-release amendment. You need to apply it at the drip line of the tree, which is the area directly under the outermost branches where the feeder roots are located. For a medium-clay soil, you are looking at applying approximately 5 pounds of sulfur per 100 square feet to drop the pH by one full point. It is not a race. If you dump it all at once, you will kill the very bacteria you need to process it. I tell my crew: “If the soil does not smell like a swamp, you are doing it right.” We use a drop spreader for precision because getting this stuff on your turf grass can cause localized burning if not watered in immediately.
| Amendment Type | Speed of Action | Longevity | Risk Level |
|---|---|---|---|
| Elemental Sulfur | Slow (6-12 months) | High | Low |
| Aluminum Sulfate | Fast (2-4 weeks) | Low | Moderate (Toxicity) |
| Iron Sulfate | Medium (4-8 weeks) | Medium | Low |
| Pine Needle Mulch | Very Slow (Years) | Permanent | Zero |
Hack 2: Root Flare Exposure and Organic Mulch Transition
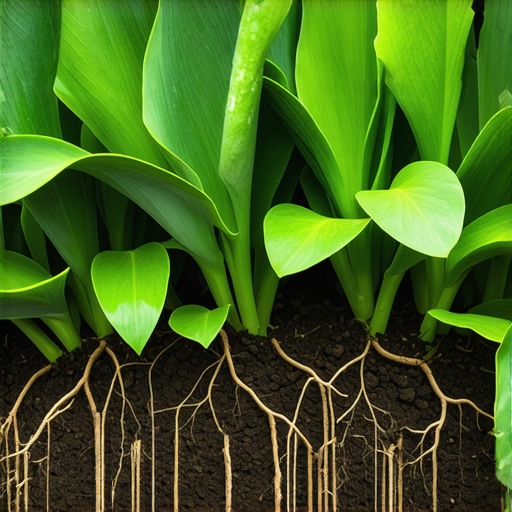
Exposing the root flare and replacing wood chips with pine needle mulch creates a localized acidic micro-environment while preventing root rot and girdling. Most people bury their trees too deep. I see it every day: “mulch volcanoes” piled high against the bark. This traps moisture against the trunk, causing the bark to rot and preventing oxygen from reaching the roots. You need to find the flare: the point where the trunk widens as it meets the roots. If it looks like a telephone pole going straight into the ground, it is too deep. Dig it out. Once exposed, switch your mulch. Standard dyed hardwood mulch can actually be slightly alkaline as it decomposes. Pine needles, or pine straw, are naturally acidic. As they break down, they release tannins and organic acids directly into the top layer of soil. It is a slow drip-feed of acidity that mimics a forest floor. It works. It is simple. Don’t overcomplicate it.
“Soil compaction and high alkalinity are the primary drivers of secondary chlorosis in urban evergreen plantings.” – International Society of Arboriculture (ISA) Management Standards
What is the best fertilizer for acid-loving evergreens?
The best fertilizer for evergreens in alkaline soil is a chelated iron supplement combined with a low-nitrogen, high-acid fertilizer like ammonium sulfate. Chelated iron is specially formulated to remain available to the plant even in high pH conditions, providing a temporary bypass of the soil’s chemical lockout.
Hack 3: Mycorrhizal Inoculation and Chelated Iron
Mycorrhizal fungi create a symbiotic relationship with evergreen roots that enhances nutrient uptake even in sub-optimal pH conditions. These fungi act as an extension of the root system, reaching into microscopic soil pores that roots cannot penetrate. When a tree is stressed by yellowing, the root system is shrinking. By injecting a mycorrhizal inoculant into the soil (about 8-12 inches deep), we are giving the tree a prosthetic digestive system. Combined with a soil drench of chelated iron (specifically EDDHA chelate, which is stable in high pH), you can force-feed the tree the nutrients it needs while the elemental sulfur works on the long-term chemistry. This is the two-pronged attack we use on high-end estates. The chelated iron provides a green-up within weeks, while the fungi and sulfur ensure the tree survives the next decade. It is about engineering a recovery, not just painting the leaves green. Stop buying the cheap spikes at the big-box store. They are garbage. They don’t reach the feeder roots and they contain high salts that kill soil biology.
- Step 1: Perform a professional soil test to determine actual pH and micronutrient levels.
- Step 2: Excavate the root flare to ensure oxygen exchange and prevent bark decay.
- Step 3: Apply elemental sulfur at the calculated rate based on soil texture (clay vs. sand).
- Step 4: Apply a soil drench of EDDHA chelated iron for immediate nutrient availability.
- Step 5: Replace all decorative wood mulch with 3 inches of natural pine straw.
Remember, landscaping is not a decoration; it is a living system. If you ignore the soil, you are just decorating a cemetery. Follow the measurements. Check the pH. Keep the mulch off the trunk. It is that simple. Your evergreens will thank you with deep, dark green needles that can handle the winter wind. Don’t be the homeowner who kills their trees with kindness and a bag of lime.