How to Build a Dry Stack Wall That Won’t Topple
The Engineering of Gravity: Why Most Dry Stack Walls Fail
Building a dry stack wall requires a compacted gravel base of at least 6 inches, a 1:6 batter ratio for stability, and meticulous hearting with clean stone to manage hydrostatic pressure. Success depends on friction and gravity, not mortar or luck. I always drill into my new crew members: if you don’t fix the soil grading first, every plant you put in the ground is just expensive compost. The same logic applies to stone. If your base is trash, your wall is trash. I have seen guys spend weeks stacking beautiful fieldstone only to have the entire structure blow out after the first heavy spring rain because they ignored the hydrostatic pressure building up in the backfill. They built a dam, not a wall. A dry stack wall is a living, breathing structural filter. It is an exercise in civil engineering that uses the weight of the earth against itself. If you do not understand the physics of friction and the angle of repose, you are just piling up expensive trip hazards. Most DIYers and low-bid hacks ignore the invisible forces at play. They see a wall as a vertical surface. In reality, a wall is a massive weight-distribution system that must interface with the specific geology of your site.
Understanding the Foundation and Subgrade Compaction
The foundation of a dry stack wall must be excavated below the frost line in northern climates or at least 8 to 12 inches in stable soils to prevent heaving and lateral shifting. We start by digging a trench that is at least twice as wide as the base of the wall. This is where the amateurs fail. They dig a narrow slit, throw in some uncompacted dirt, and start stacking. You need a modified gravel base, typically 21A or 411 crushed limestone, compacted in 2-inch lifts with a plate compactor. We are looking for a density that resists 1,500 to 2,000 PSI. If the tamper does not bounce off the surface, it is not ready.
“A retaining wall does not fail because of the stone; it fails because of the water trapped behind it.” – Hardscape Engineering Axiom
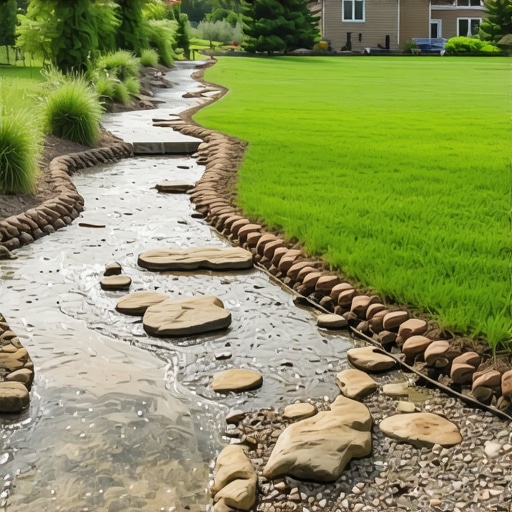
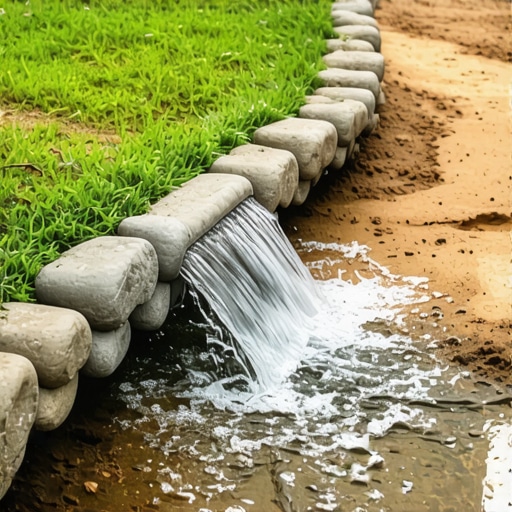
This quote should be tattooed on the forearm of every landscaper. The base is not just for level; it is for drainage. Without a proper gravel chimney behind the wall, water saturates the soil, the weight triples, and the wall bows. Use a 4-inch perforated PVC pipe, wrapped in geotextile fabric, at the base of the backfill to move water away from the structure. Never use corrugated pipe; it crushes under the weight of the stone and the backfill.
How much modified gravel do I need for a wall base?
To calculate the modified gravel needed, multiply the trench length by the width and depth in feet, then divide by 27 to get cubic yards, adding 15 percent for compaction loss. For a 20-foot wall with a 2-foot wide base and 6 inches of gravel, you need roughly 0.75 cubic yards. Order a full yard. You will use the extra for the drainage chimney. Below is a comparison of common materials used in professional hardscaping.
| Material Type | Friction Coefficient | Drainage Rating | Common Application |
|---|---|---|---|
| Angular Fieldstone | High | Excellent | Structural gravity walls |
| Rounded River Rock | Low | Poor | Decorative only; do not stack |
| Dimensional Flagstone | Medium | Good | Formal garden walls |
| Crushed 57 Stone | N/A | Superior | Backfill and drainage chimney |
The Physics of the Stack: Batter and Hearting
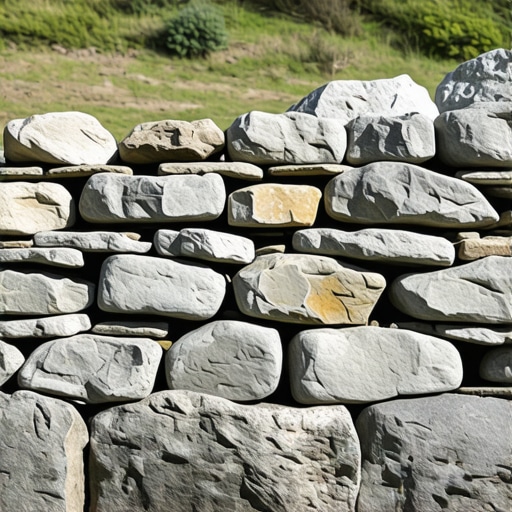
The batter refers to the intentional lean of the wall back toward the slope, which ensures that gravity pulls the stones into the hill rather than away from it. A standard 1:6 batter means for every 6 inches of height, the wall should set back 1 inch. If you build it perfectly vertical, it will eventually tip. Stone is not uniform. You must spend time finding the right face. The most stable walls use 1-over-2 and 2-over-1 stacking. Never create a vertical seam, also known as a running joint. A running joint is a fracture line waiting to happen. You also need through-stones, or bond stones, every 3 feet. These are long stones that span the entire depth of the wall, tying the face into the backfill. They act like anchors. Without them, the face of the wall will eventually peel off like old wallpaper. Then there is the hearting. The middle of the wall should not be filled with dirt. Dirt washes out. It should be filled with small, angular stone chips. This internal friction creates a monolithic structure that can flex with the freeze-thaw cycles without breaking. I tell my apprentices that the stones you cannot see are more important than the ones you can.
How high can I build a dry stack wall without a permit?
Most municipal building codes allow dry stack walls up to 3 feet in height without a structural engineer’s seal or a formal permit. However, always check local zoning ordinances and HOA rules, as some jurisdictions require permits for any wall over 2 feet if it is near a property line or supports a surcharge load like a driveway. If you go higher than 36 inches, you need to start talking about geogrid reinforcement. Geogrid is a high-tenacity polymer mesh that extends back into the soil, using the weight of the earth to pin the wall in place. For anything over 4 feet, you are no longer doing garden design; you are doing civil engineering. You need to account for the surcharge, which is any weight on top of the soil behind the wall. A lawn has a different surcharge than a parking pad.
“Structural integrity in dry stone masonry is achieved through the interlocking of stones and the management of gravitational forces through the center of the wall’s mass.” – Dry Stone Walling Association Standards
This is not a suggestion. It is physics.
The Critical Steps for Long-Term Stability
Before you place the first stone, you must understand the operational lane of your project. In hardscaping, your greatest enemy is water. In lawn care, it might be compaction, but here, it is hydrostatic pressure. Use the following checklist to ensure your wall does not become a pile of rubble in three years.
- Excavate to a depth that accounts for 6 inches of compacted gravel plus the thickness of the first course of stone (the foundation course).
- Install a 4-inch perforated drain pipe at the bottom of the drainage zone, sloped at 1/8 inch per foot toward a daylight exit.
- Level the first course perfectly from front to back, but slightly tilted toward the hill to start your batter.
- Backfill with clean, angular 57 stone as you go. Do not wait until the wall is finished to backfill.
- Compact the soil behind the drainage stone every 6 inches to prevent future settling.
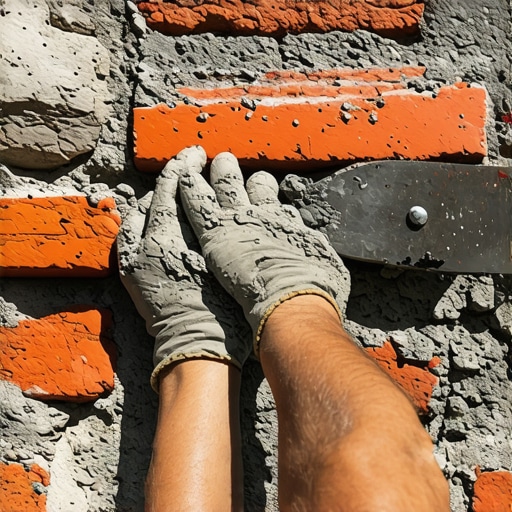
The final course is the capstone. These should be the heaviest, flattest stones you have. They protect the hearting from being washed out by rain. I prefer to use large, heavy slabs that span the entire width of the wall top. If the stones are light, they will be kicked off by kids or dogs. A solid capstone provides the downward pressure that keeps the entire assembly tight. If you follow these steps, the wall will last 100 years. If you skip the drainage or the batter, you will be hiring me in two years to tear it down and do it right. Don’t be the guy who thinks he can outsmart gravity with a bag of mortar from a big-box store. Mortar in a dry stack environment just traps water and causes the stone to spall during a freeze. Let the wall breathe. Let the water flow. Let gravity do the work.
![Build a $150 2026 Gravel Parking Pad [Weekend Fix]](https://lawnmajesty.com/wp-content/uploads/2026/05/Build-a-150-2026-Gravel-Parking-Pad-Weekend-Fix.jpeg)