
How to Create a Dry Creek Bed That Actually Directs Water
The Hardscape Autopsy: Why Most Dry Creek Beds Fail
I recently got called out to tear up a $30,000 patio that was sinking because the previous contractor ignored the basic laws of hydrology. They built a beautiful flagstone surface but installed a ‘dry creek bed’ next to it that was nothing more than a shallow trench filled with pea gravel. Instead of directing water away from the structure, that trench acted as a subterranean reservoir, saturating the subgrade and liquefying the modified gravel base under the patio. The patio didn’t settle; it drowned. This is the reality of residential drainage: if you don’t respect hydrostatic pressure and soil mechanics, your hardscaping will fail. Water always wins. My mission today is to show you how to build a dry creek bed that functions as a high-capacity swale rather than a decorative puddle. We are talking about civil engineering on a backyard scale.
Site Analysis and Soil Grading: The Geometry of Water
Successful dry creek beds require a minimum 2% slope to prevent water stagnation and must be excavated deep enough to handle peak runoff from impervious surfaces like roofs or driveways without scouring the banks. Before you touch a shovel, you need to understand where the water is coming from and where it is going. Most homeowners think they can just ‘eyeball’ a slope. You can’t. You need a transit level or at least a string line and a line level. A 2% grade means a 2-foot drop for every 100 feet of run. If you don’t have that, you are building a pond, not a creek. In heavy clay soils, which are common in the American Southeast and Midwest, water won’t perk into the ground. It stays on top. If your soil is 40% clay or higher, your creek bed needs to be wider and deeper to accommodate the volume. Use a soil ribbon test to check your clay content. It matters.
How much modified gravel do I need for a patio base?
While the question often pertains to the patio itself, the drainage channel supporting it requires a similar structural mindset. For a functional dry creek bed, you should plan for a 4-inch base of angular #57 stone if the soil is unstable. This provides a solid foundation for the larger decorative river rocks and prevents them from sinking into the mud during a heavy rain event. Calculate your tonnage by multiplying the length by width by depth (in feet), then divide by 27 to get cubic yards. Multiply yards by 1.5 to get tons. Don’t guess. Order the right amount.
“A retaining wall doesn’t fail because of the stone; it fails because of the water trapped behind it.” – Hardscape Engineering Axiom
Why Your ‘Landscape Fabric’ Is Garbage
The biggest mistake DIYers and ‘mow-and-blow’ hacks make is using that thin, woven plastic weed barrier from big-box stores. It will clog within two seasons. The fine soil particles (silts and clays) migrate into the weave and seal it shut, turning your drainage feature into a slip-and-slide for mud. You must use a professional-grade, non-woven geotextile fabric. This material is needle-punched, allowing water to pass through the entire surface area while keeping the soil separated from your stone. It is the same material used in highway construction and bridge abutments. It is non-negotiable. If you skip this, the earth will eventually swallow your expensive river rock. I tell my crew every day: if I see the soil touching the rock, you’re fired. It is that critical.
Material Selection: Rock Size vs. Water Velocity
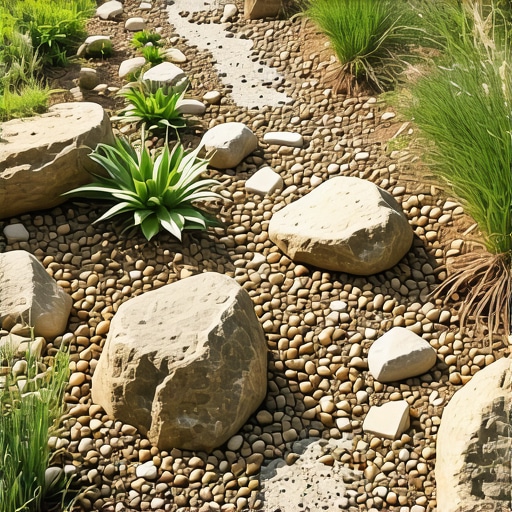
A high-performance dry creek bed consists of a trench lined with heavy-duty geotextile fabric, a base layer of washed stone, and strategically placed river rock or rip-rap that increases friction to slow water velocity. You cannot use pea gravel for the main channel. It is too light and will wash away in a standard summer thunderstorm. You need a mixture of sizes to create ‘interlocking’ stability. I recommend a blend of 2-4 inch river rock for the bed, punctuated by 6-12 inch boulders to act as ‘anchor’ points. These larger stones create turbulence, which slows the water down and prevents it from eroding the end of your run. It is basic fluid dynamics. The heavier the water flow, the larger your rock needs to be.
| #57 Washed Stone | 0.5 – 1 inch | Sub-base stabilization | Low Flow |
| Small River Rock | 1 – 3 inches | General coverage/infill | Moderate Flow |
| Medium Rip-Rap | 4 – 8 inches | Channel lining/Erosion control | High Flow |
| Anchor Boulders | 12+ inches | Structural stability/Energy dissipation | Critical Flow |
The Installation Process: A Step-by-Step Build
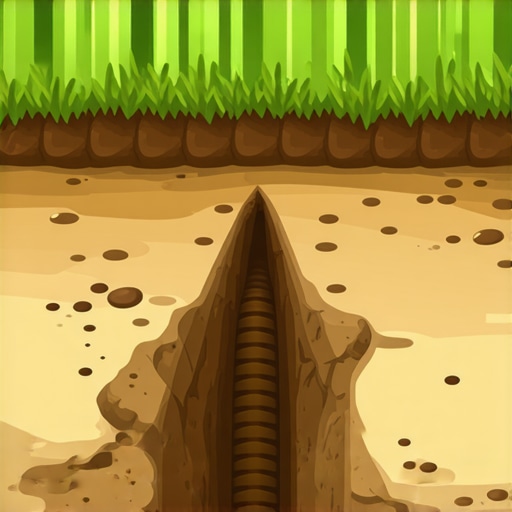
Building a creek bed is a manual labor marathon. First, call 811. Don’t be the idiot who cuts a fiber optic line or a gas main. Once cleared, excavate your trench. It should be parabolic (U-shaped), not V-shaped. A V-shaped trench focuses all the hydraulic energy at a single point, which leads to fabric failure. Dig the trench at least 12 inches deep and 24-36 inches wide. This gives you room for the fabric, the base stone, and the finish stone. After digging, compact the subgrade. Use a plate compactor. If the ground is soft, your creek will shift. Lay your non-woven geotextile, overlapping seams by at least 12 inches and pinning them with 6-inch landscape staples. Don’t be stingy with the staples. Then, place your larger anchor boulders first. They define the shape. Fill in around them with your 2-4 inch rock. Finally, use a hose to test it. Watch the water. If it pools, you have a high spot. Fix it now. It won’t get better on its own.
- Verify Grade: Ensure a consistent downward slope using a transit level.
- Excavate: Remove at least 12 inches of soil in a wide U-shape.
- Manage Soil: Move excavated dirt to a location where it won’t wash back into the trench.
- Install Fabric: Use 4oz or 6oz non-woven geotextile, not plastic.
- Place Anchors: Set 12-inch boulders at bends to prevent bank blowout.
- Infill: Fill the remainder with mixed-size river rock for a natural, stable look.
“Runoff management in residential landscapes must account for the peak discharge rate of the local 10-year storm event to prevent soil erosion.” – Penn State Agricultural Extension
How deep should a dry creek bed be?
For most residential applications, a depth of 12 to 18 inches is required to accommodate the necessary layers of structural aggregate and decorative stone while still leaving a 4-inch ‘freeboard’ or carrying capacity for actual water flow. If the trench is too shallow, the water will simply overtop the banks and erode the surrounding lawn or garden beds, defeating the entire purpose of the install.
Maintenance and Long-Term Stability
Your creek bed is a living system. Over the first year, it will settle. This is normal. You may need to add a few more stones to areas where the fabric becomes visible. The most important maintenance task is leaf management. If leaves clog the gaps between the rocks, they will decompose and turn into soil. Once you have soil in your creek bed, weeds will grow. Use a leaf blower regularly to keep the stones clean. If weeds do take hold, pull them immediately. Do not use heavy herbicides if the creek bed drains into a municipal storm sewer or a local pond. It’s irresponsible and often illegal. Keep the flow path clear. If you see ‘fines’ (small dirt particles) building up at the exit point, it means you have erosion occurring somewhere upstream in the bed. Find the leak and armor it with larger stone. Stop the problem before it becomes a washout. Landscaping isn’t a one-time event; it is a management contract with nature. Water is the client, and she is very demanding.
![Building a 2026 Modern Wood Fence [Budget DIY]](https://lawnmajesty.com/wp-content/uploads/2026/09/Building-a-2026-Modern-Wood-Fence-Budget-DIY.jpeg)

![Stop Hillside Soil Washout for $200 [2026 DIY Fix]](https://lawnmajesty.com/wp-content/uploads/2026/05/Stop-Hillside-Soil-Washout-for-200-2026-DIY-Fix.jpeg)