How to Seal 2026 Stamped Concrete for $100
The Forensic Autopsy of a Failed Slab
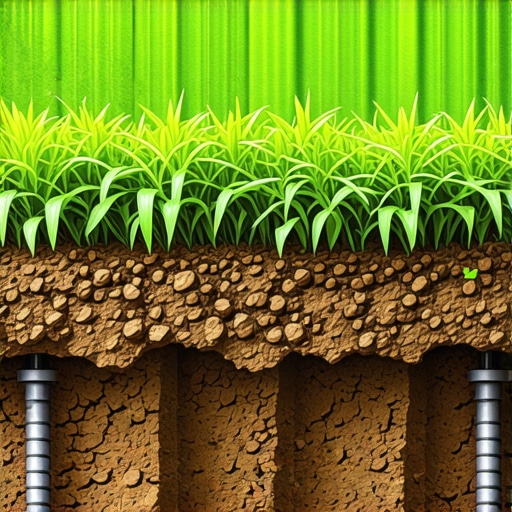
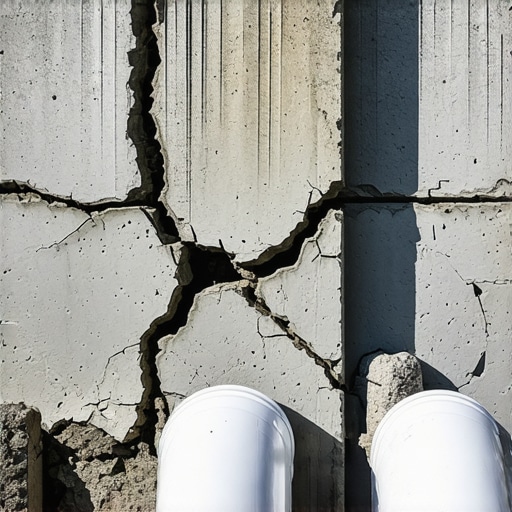
Most homeowners wait until their $20,000 stamped concrete driveway looks like a chalky, grey mess before they think about maintenance, but by then, the structural integrity of the surface is already compromised. Sealing stamped concrete for $100 requires a surgical focus on chemical selection and substrate preparation rather than expensive labor, specifically utilizing high-solids solvent-based acrylics that offer UV protection and moisture resistance. I recently got called out to tear up a $30,000 patio that was sinking and flaking because the previous contractor ignored the hydrostatic pressure building up in the clay soil beneath the slab and then sealed it with a cheap, water-based DIY product that trapped the vapor. The resulting delamination looked like a bad sunburn, with sheets of acrylic peeling off and taking the top 1/16th inch of the decorative color with it. It was a total loss.
The Microscopic Reality of Your Patio
Concrete is not a solid rock; it is a porous sponge full of microscopic capillaries. When you stamp a pattern into it, you create valleys where water pools. Without a proper barrier, that water enters the pores, undergoes freeze-thaw cycles, and exerts internal pressure that shatters the concrete’s surface, a process known as spalling.
“The application of a high-quality sealer is the primary defense against the ingress of chloride ions and moisture, which are the leading causes of rebar corrosion and surface scaling in decorative concrete.” – Hardscape Engineering Axiom
How to Seal Stamped Concrete for $100: The Material Breakdown
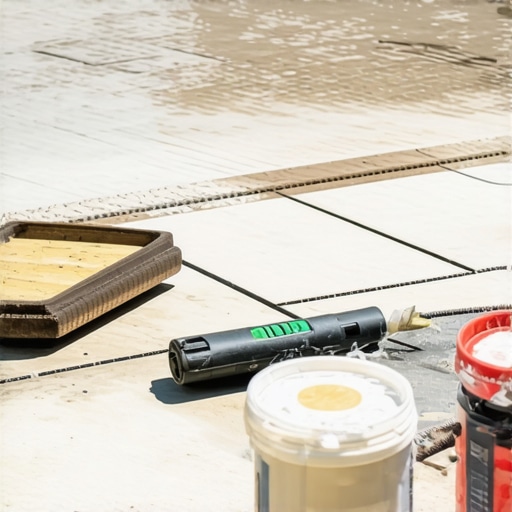
To stay under a $100 budget, you must own or borrow basic tools like a pressure washer and focus your capital on professional-grade chemicals rather than big-box store ‘all-in-one’ buckets. You need a 1-gallon container of 25% solids solvent-based acrylic sealer, a pint of Xylene for thinning or cleanup, and a high-density 3/8-inch nap roller.
| Material | Est. Cost | Function |
|---|---|---|
| 25% Solvent-Based Acrylic | $55.00 | Protective UV barrier and color enhancer |
| Xylene (1 Quart) | $15.00 | Cleaning tools and softening old sealer |
| TSP (Trisodium Phosphate) | $10.00 | Heavy-duty degreasing and cleaning |
| 3/8-inch Nap Roller & Tray | $15.00 | Uniform application |
| Total | $95.00 | Professional Results |
Preparation: The 48-Hour Rule
You cannot rush the dry time. If you apply sealer to concrete that has more than 10% internal moisture, you will experience ‘blushing,’ where the sealer turns a milky white as the moisture tries to escape and gets trapped against the acrylic. Don’t skip the wash. Use a TSP solution and a stiff-bristled brush to scrub the deep crevices of the stamp pattern.
“Proper surface preparation, including the removal of all surface contaminants and ensuring a neutral pH, is critical for the long-term adhesion of any topical coating.” – Penn State Agricultural Extension
The Step-by-Step Sealing Protocol
- The Deep Clean: Pressure wash at 3000 PSI, keeping the tip 12 inches from the surface to avoid etching the cream.
- Chemical Etch (Optional): If the concrete is exceptionally smooth, a mild phosphoric acid wash opens the pores.
- The 48-Hour Desiccation: Let the slab bake in the sun for two full days. No sprinklers. No rain.
- The Perimeter Edge: Use a brush to cut in the edges first, just like painting a room.
- The Main Roll: Apply in thin, 4-foot by 4-foot sections. Do not let the sealer puddle in the stamp joints.
- The Back-Roll: After the first pass, roll back over the area without adding more sealer to even out the thickness.
How much sealer do I need for a 400 sq ft patio?
A typical 1-gallon bucket of professional-grade acrylic sealer covers approximately 200 to 300 square feet, meaning for a standard 400 square foot area, you may need to stretch your budget for a second gallon or opt for a 5-gallon pail which lowers the cost per square foot significantly. [image placeholder]
Why is my concrete sealer turning white?
The white, cloudy appearance is usually moisture vapor blush caused by applying sealer to a damp slab or applying it during high humidity, which prevents the solvent from evaporating correctly and traps water molecules under the film. You can often fix this by ‘misting’ the area with Xylene to re-emulsify the resin and let the moisture escape. It is a tedious fix. Do it right the first time.
Maintenance Schedule: Year One and Beyond
Your $100 investment won’t last forever. In 2026, the sun’s UV rays will begin breaking down the polymer chains in the acrylic. Every three months, check for ‘water beading.’ If water soaks into the concrete instead of sitting on top, it is time for a maintenance coat. Never apply a new layer of sealer over a dirty or flaking old layer. You must clean it first. Don’t use salt for ice melt; it eats through the sealer and the concrete. Use sand. It’s safer.
![Build a $150 2026 Gravel Parking Pad [Weekend Fix]](https://lawnmajesty.com/wp-content/uploads/2026/05/Build-a-150-2026-Gravel-Parking-Pad-Weekend-Fix.jpeg)
![Fix Standing Water: Why Your Yard Needs a Swale [DIY]](https://lawnmajesty.com/wp-content/uploads/2026/06/Fix-Standing-Water-Why-Your-Yard-Needs-a-Swale-DIY.jpeg)