3 Hardscaping Errors That Cause Basement Flooding
The Anatomy of a Hardscape Failure
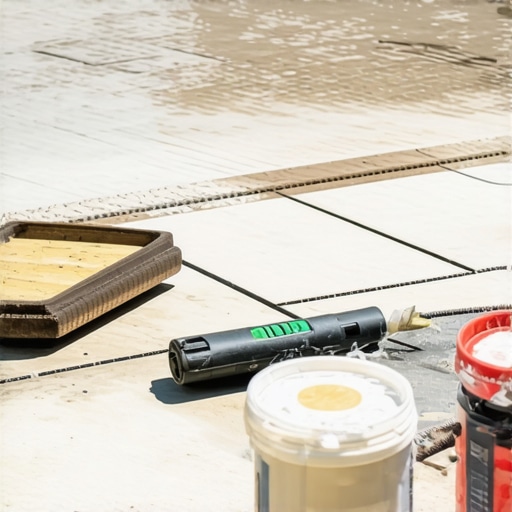
Hardscaping errors like negative grading, improper sub-base compaction, and failed drainage integration cause basement flooding by directing thousands of gallons of runoff toward the foundation rather than away from it, eventually overcoming the home’s waterproofing through hydrostatic pressure. I recently got called out to tear up a $30,000 patio that was sinking because the previous contractor used limestone screenings instead of a proper 2B clean stone for the bedding layer over a clay subgrade. The result was a massive bowl that collected water and funneled it directly into the client’s finished basement. This is not just a cosmetic issue; it is a structural threat. When you move 10 tons of stone into a backyard, you are altering the civil engineering of the property. If you do not respect the physics of water, the water will find its way into your mechanical room. It is that simple.
The Physics of Hydrostatic Pressure
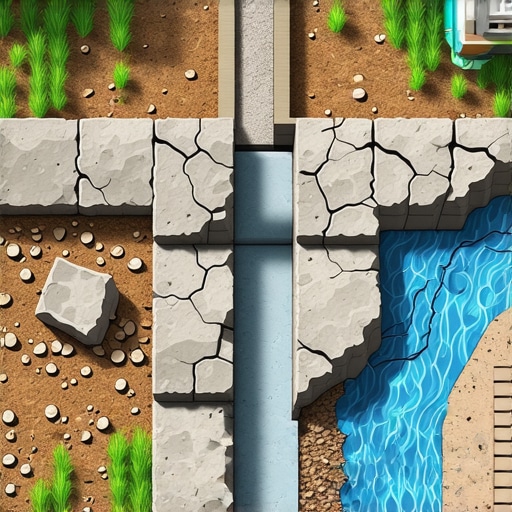
Water is heavy. It weighs approximately 62.4 pounds per cubic foot. When your hardscape prevents water from moving away from the house, it saturates the soil. This saturated soil exerts massive pressure against your foundation walls. If you have a 10-foot wall and the soil is saturated, you are looking at hundreds of pounds of pressure per square foot. Eventually, that water finds a hairline crack or a porous joint in the block work. [IMAGE_PLACEHOLDER] You cannot stop this pressure with a bucket of waterproof paint from a big-box store. You stop it with engineering and gravity.
“A retaining wall doesn’t fail because of the stone; it fails because of the water trapped behind it. Without proper hydrostatic relief, the lateral earth pressure increases exponentially.” – Hardscape Engineering Axiom
Error 1: Negative Grading and the ‘Bowl’ Effect
Negative grading occurs when the finished surface of a patio, walkway, or driveway slopes back toward the foundation of the house, causing water to pool and seep into the basement. We follow a strict rule in this industry: a minimum of a 2% slope away from the structure. That means for every 10 feet of patio, the elevation must drop at least 2.4 inches. I see guys all the time using a 4-foot level and ‘eyeballing’ it. That is how you end up with a pond against your siding. You need a transit or a laser level. If your soil is heavy clay, that water is not going anywhere. It will sit there, turn into a slurry, and eventually undermine the very pavers you just paid for. Don’t skip the transit check.
How much modified gravel do I need for a patio base?
To calculate the required modified gravel, multiply the square footage by the depth (minimum 6 inches for walkways, 8-12 inches for driveways) and divide by 27 to get cubic yards, then multiply by 1.5 to account for compaction ratios. You are looking for a Proctor density of 98%. If you just dump the gravel and rake it out, it will settle. When it settles, the grade changes. When the grade changes, the water follows. I use a 10,000-pound plate compactor for a reason. You want that base to be as hard as a highway before the first paver hits the ground.
Error 2: Inadequate Drainage Infrastructure
Inadequate drainage infrastructure involves failing to integrate French drains, catch basins, or weep holes into hardscape designs, leading to catastrophic water accumulation during heavy rain events. Many contractors think they can just ‘pitch’ the water onto the lawn. But if you have a 1,000-square-foot patio, a one-inch rainstorm is dropping 600 gallons of water. Your lawn cannot absorb 600 gallons in an hour. That water has to go somewhere. If you don’t have a 4-inch perforated PVC pipe (Schedule 40, not that cheap corrugated junk) wrapped in geotextile fabric and buried in clean stone, you are begging for a flood. Weep holes in retaining walls are another non-negotiable. If you don’t give the water a way out, the wall will eventually lean, crack, and collapse.
“Effective site drainage requires that sub-surface water be intercepted and diverted before it can saturate the foundation’s structural zone of influence.” – Penn State Agricultural Extension
Why corrugated drainage pipe is a failure point
I refuse to use corrugated black pipe. It is the hallmark of a ‘mow-and-blow’ hack trying to play contractor. The ridges in the pipe catch silt and debris. Over five years, that 4-inch pipe becomes a 1-inch pipe. Then, under the weight of the soil or a vehicle, it collapses. I only install smooth-wall PVC. It is more expensive and harder to install, but it will still be working 50 years from now. If your contractor shows up with a roll of black plastic pipe, send them home.
Error 3: Improper Surface Permeability and Runoff
Improper surface permeability results from using non-porous materials over large areas without providing a designated exit path for water, which increases the volume and velocity of runoff toward basement window wells. Every square foot of concrete or non-permeable paver you lay down is a square foot of ground that can no longer absorb water. This is basic hydrology. If you are building a large patio near a basement window, you need to consider permeable pavers with a #57 or #8 stone base. This allows the water to infiltrate the ground vertically rather than rushing horizontally toward your foundation. Window wells are another weak point. I’ve seen ‘professionals’ build patios right up to the lip of a window well without installing a dedicated drain inside the well. That is a recipe for a basement swimming pool.
| Material Type | Permeability Rating | Best Use Case | Maintenance Level |
|---|---|---|---|
| Standard Pavers | Low (0-5%) | High-traffic walkways | Low (Polymeric Sand) |
| Permeable Pavers | High (80-100%) | Driveways near foundations | Medium (Gravel Refill) |
| Modified Gravel (CR617) | Near Zero (Compacted) | Base layers only | N/A |
| Clean Stone (#57) | Very High | Drainage trenches/French drains | Low |
How do I stop water from entering basement window wells?
To stop water from entering window wells, you must install a drainage riser connected to the foundation’s footing tile or a dedicated dry well, and ensure the surrounding hardscape is pitched away at a 5% grade. Don’t rely on those plastic covers. They crack. They leak. You need a structural solution. Dig out the well, fill it with 12 inches of clean stone, and ensure there is a clear path for that water to drop down and get carried away by your perimeter drain system.
The Professional’s Remediation Checklist
If you suspect your hardscaping is the cause of your wet basement, do not wait for the next storm. Use this checklist to audit your property.
- Check the Pitch: Use a 10-foot straight edge and a level. You need a 2-inch drop.
- Inspect the Joints: Is your polymeric sand washed out? If so, water is getting under the pavers and saturating the base.
- Locate Downspouts: Are they dumping onto the patio? They must be piped at least 10 feet away from the foundation.
- Audit the Retaining Wall: Look for ‘efflorescence’ (white salty stains). This indicates water is trapped behind the wall and moving through the masonry.
- Foundation Gap: Ensure there is at least a 2-inch gap between your patio surface and your siding/weep holes to prevent capillary action.
Fixing these issues after the fact is expensive. You have to pull up the pavers, re-grade the sub-base, and often install new drainage lines. But it is cheaper than mold remediation and foundation repair. Hardscaping is an investment in your home’s value, but only if it respects the land it sits on. Do it right, or don’t do it at all.
![Fixing 2026 Clogged French Drains [No Digging]](https://lawnmajesty.com/wp-content/uploads/2026/07/Fixing-2026-Clogged-French-Drains-No-Digging.jpeg)
![Build a $500 2026 Flagstone Fire Pit Circle [DIY]](https://lawnmajesty.com/wp-content/uploads/2026/05/Build-a-500-2026-Flagstone-Fire-Pit-Circle-DIY.jpeg)