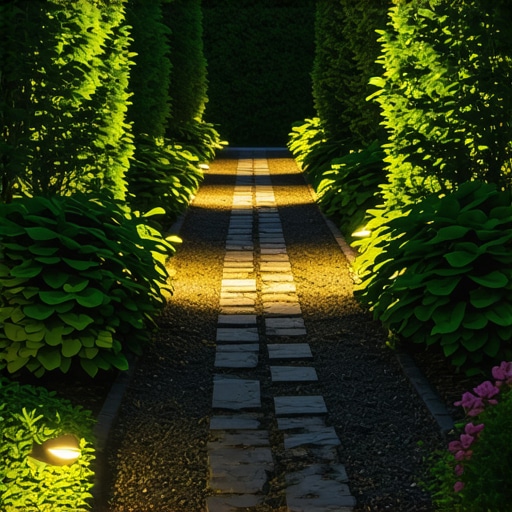
The Best Lighting for Dark Garden Paths
Why Planning Precedes the First Fixture
Professional path lighting requires an engineering mindset that prioritizes visibility, durability, and voltage stability over simple aesthetics. Before purchasing a single fixture, you must calculate the total wattage load and determine the reflectivity of your hardscape materials to ensure the light serves its primary function of safe navigation. I recently got called out to tear up a $30,000 patio that was sinking because the previous contractor decided to trench lighting wires under a primary load-bearing wall without proper conduit. The water followed the loose backfill, saturated the base material, and the whole thing heaved. It was a $5,000 repair for a $200 lighting mistake. Don’t be that guy. Fix your soil grading and wire runs before you even think about the fixtures.
“A retaining wall doesn’t fail because of the stone; it fails because of the water trapped behind it.” – Hardscape Engineering Axiom
The Science of Visibility and Lumens
Path lighting effectiveness depends on the lumen output relative to the mounting height and the spacing between fixtures to avoid ‘hot spots’ and dark voids. For most residential garden paths, a range of 100 to 200 lumens per fixture is the industry standard for providing enough light to identify tripping hazards without causing glare.
How many lumens are needed for a garden walkway?
For a standard three foot wide path, use fixtures producing 100 lumens spaced every six to eight feet. If the path is dark stone like slate or wet-look pavers, you may need to increase this to 150 lumens because dark surfaces absorb more light than lighter concrete or limestone.
| Material Type | Reflectivity Level | Recommended Lumens |
|---|---|---|
| Light Concrete | High | 80 – 120 |
| Bluestone / Slate | Low | 150 – 200 |
| Pea Gravel | Medium | 100 – 150 |
| Dark Mulch | Very Low | 200+ |
Material Science: Why Brass Beats Aluminum
The longevity of your lighting system is dictated by the chemical resistance of the fixture housing to soil acidity and moisture. I tell my clients every day: if you buy those plastic or thin aluminum stakes from the big-box store, you are buying landfill. Aluminum oxidizes. Plastic gets brittle in the sun. In two years, the stakes will snap when the weed-whacker hits them. Solid brass or copper fixtures develop a natural patina that protects the underlying metal from corrosion. They have the mass to withstand ground shifts and accidental impacts from lawn care equipment. It is an investment in durability.
What is the best material for outdoor path lights?
Solid brass is the superior choice for path lighting because it does not rust or corrode when in constant contact with moist soil and fertilizers. Unlike powder-coated aluminum, brass does not peel or flake over time. Use 12 gauge wire for any run over 50 feet to prevent voltage drop. If the voltage at the end of the line dips below 10.5 volts, your LED chips will flicker and die early. It is simple physics.
“Light pollution from poorly shielded outdoor fixtures disrupts the circadian rhythms of beneficial insects and soil microbiology.” – Penn State Agricultural Extension
Engineering the Installation: The Checklist
Success in lighting is buried underground where the connections must remain dry and the cables must stay protected from aeration equipment. Here is the professional installation protocol:
- Call 811: Never stick a shovel in the ground without a utility mark.
- Trench Depth: Bury your 12/2 low voltage cable at least 6 inches deep; 12 inches is better if you plan to aerate the lawn.
- Waterproof Connectors: Only use heat-shrink or gel-filled wire nuts. Standard wire nuts will fail in six months.
- Transformer Sizing: Calculate your total wattage and add a 20 percent buffer for future expansion and wire resistance.
- Voltage Check: Use a multimeter at the furthest fixture to ensure you are within the 11 to 12 volt range for LEDs.
I see so many DIY jobs where the homeowner uses electrical tape for connections. It will rot. Moisture wicks into the copper, turns it green, and the resistance spikes until the transformer trips. Do it right the first time.
The Biological Impact of Lighting
We must consider the nitrogen cycle and the nocturnal ecosystem when choosing bulb temperature. Use warm white bulbs, specifically 2700K to 3000K on the Kelvin scale. Blue-toned ‘cool’ lights are not just ugly; they are a disaster for local biology. They attract more pests and can actually confuse the growth patterns of certain ornamental plants. Your yard should be a functional ecosystem, not a landing strip. Keep the light focused downward. This is called ‘full cutoff’ lighting. It ensures the light hits the path, not your neighbor’s bedroom window or the sky. It is about being a professional. It is about precision. Every inch of that path should be calculated, every wire should be protected, and every fixture should be built to last twenty years, not two.